I only recently learned about fire cider. Last summer when I was researching how to make fermented vegetables, I came across a recipe for fire cider, and it looked pretty delicious.
And when I read about how healthy it is, I was eager to give it a try. It takes 4 weeks for it to be fully done, but it was worth the wait. Wow! This really is the best fire cider recipe.
During the winter a friend of mine was feeling a cold coming on; and shortly after that I did too. So we broke out the fire cider! And I gotta say, it was really powerful stuff.
Not only did it appear to nip that cold in the bud, before it even got a foot hold, it really helped with the symptoms. A slug or two would clear the sinuses and take away that scratchy feeling in my throat.
I don’t have any scientific proof that it works, but, well…it worked. And once you take a look at the ingredients, you’ll see why. It’s packed full of healthy stuff.
Selecting your ingredients
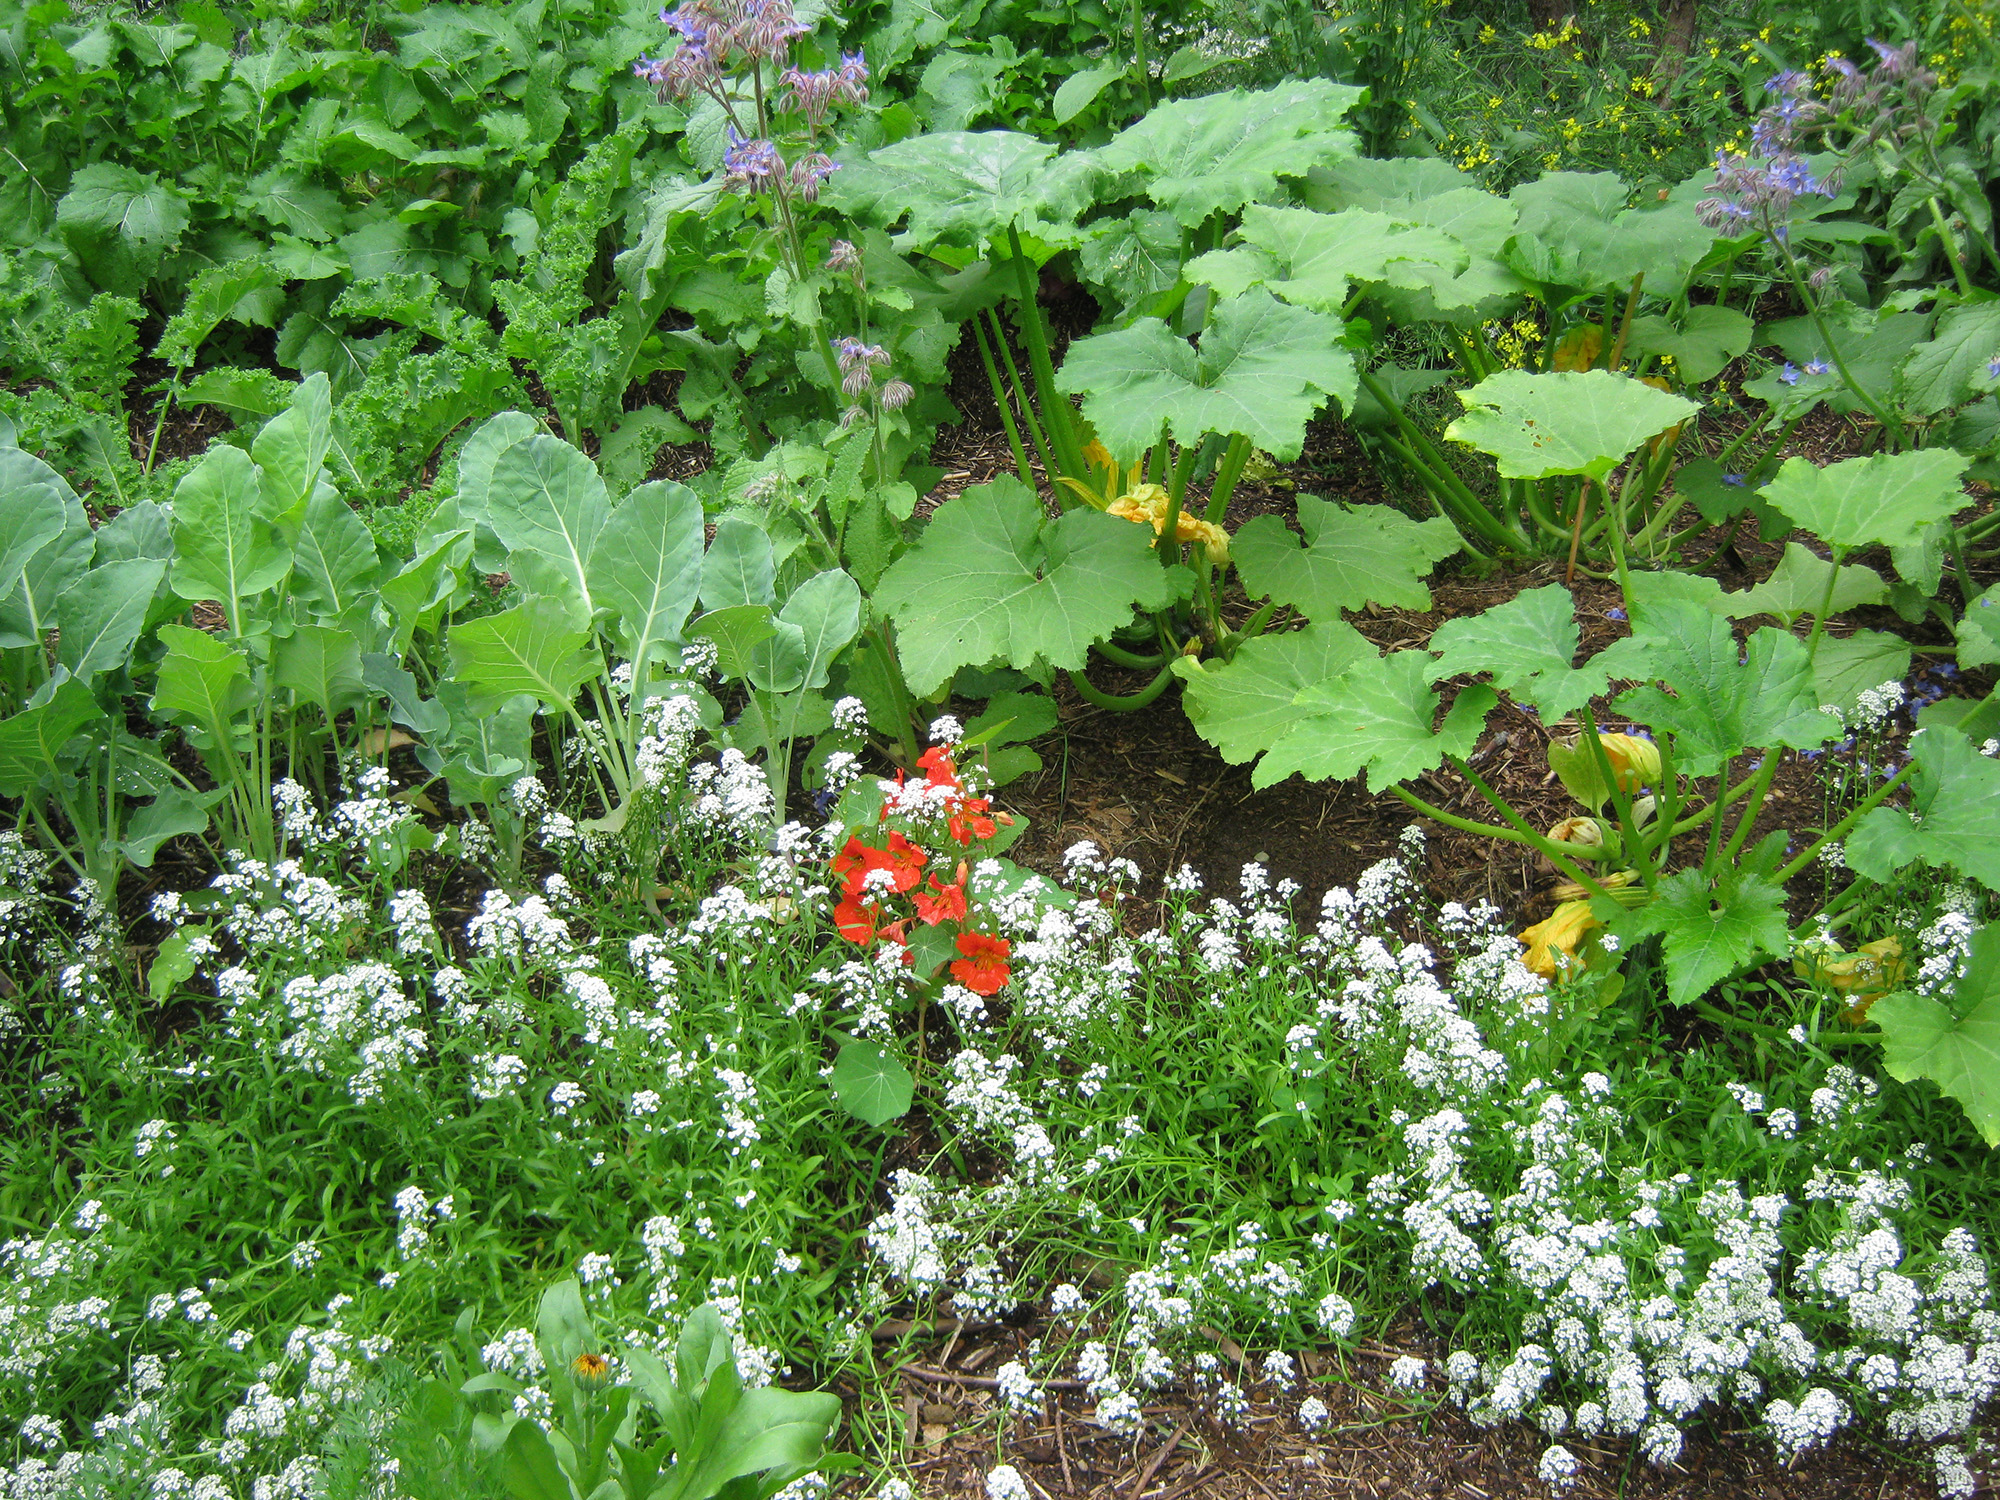
I suggest using organic ingredients whenever possible. It’s just so much safer that way. You just never know what has been put on vegetables these days. And of course, it’s even better if you can grow it yourself.
Now, lemons and oranges aren’t going to be easy to grow here in the north end of the Pacific Northwest – although lemons can be grown if you have a greenhouse they can live in – but we can sure grow onions, garlic, and horseradish.
Hot peppers can also be grown here. They love the sun, and we have plenty of that. This year I’m growing cayenne peppers, and will use those in my fire cider and ferments this fall.
Ginger and turmeric are pretty iffy to grow here, but I’m going to give them a try. I think they will work if I grow them in a pot and move it indoor in the winter. I’ll let you know how that works out.
As for the apple cider vinegar, that’s on my list of things to make as well. I’m going to gather apples where I can this fall, and try my hand at making my own apple cider vinegar. That would be an incredible thing to have. I’ll let you know how that works out too.
Then the only thing left is getting some bees and having my own honey! That certainly won’t happen here – there’s no room, and not enough sun. But when I have property . . .
Ah, the dreams we dream.
Okay, let’s get back to our fire cider recipe. When I made this I used a food processor to grate everything except the lemon and orange. In hindsight, it would have been good to use the food processor for that too. So next time, everything goes in!
When I made it, I also forgot to put the honey in. It’s supposed to go in after sitting for 4 weeks, and then getting strained. But I forgot. So I don’t know what it will taste like with the honey, but I suspect it’ll be dang tasty.
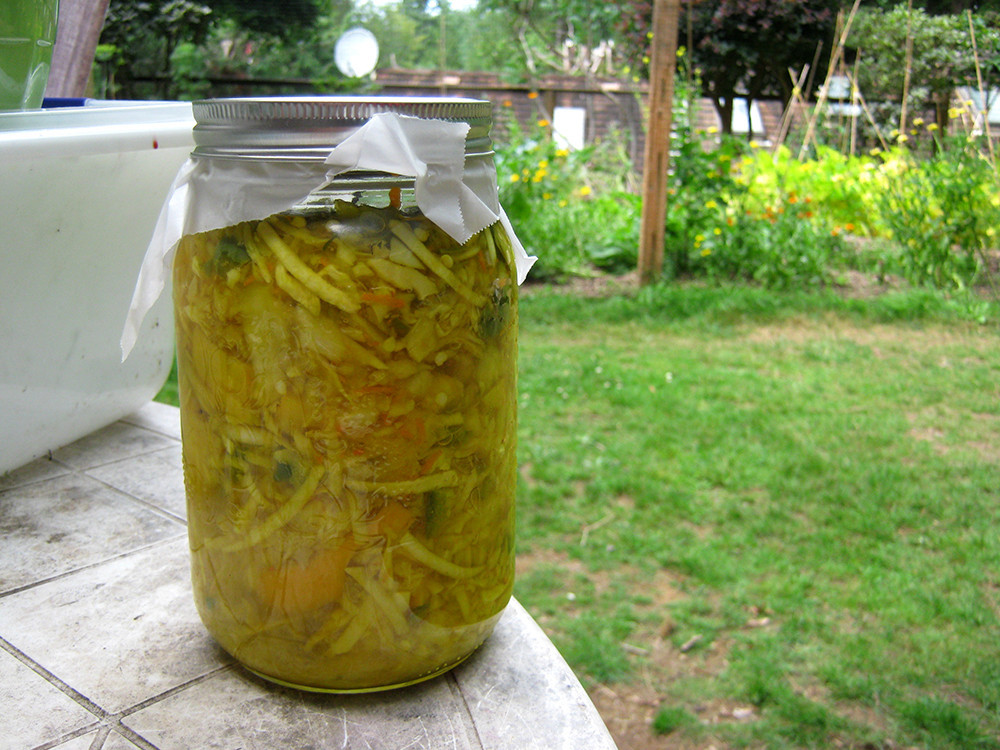
Here is the recipe I used to make my first batch of fire cider.
Fire Cider Recipe
Ingredients
1 lg horseradish root, about 7” long, scrubbed, grated
1 lg ginger root, about 7” long, grated
1 lg onion, chopped
1 lg orange, skin and all, chopped
1 lemon, skin and all, chopped
16 cloves of garlic, chopped
2-4 habanero peppers, stem removed, chopped (can use other hot peppers)
1 tbsp ground turmeric, or fresh turmeric, grated
raw apple cider vinegar
raw honey (add after straining, to taste)
Other things I added: parsley (detox), rosemary, oregano (antioxidants)
Instructions
Process all ingredients in a food processor, one at a time. Mix together in a bowl.
Add all the ingredients except the honey to 2 quart jars. Pour enough vinegar to cover. Seal and store in cool dark place for 4 weeks. Strain and bottle. Add honey to taste after straining.
Tips for making the best fire cider
- Put the veggies into the food processor separately. If you put them in all together, by the time the horseradish is chopped, the lemons and oranges will be mush. So put them in one at time, and then dump them into a bowl to mix.
- If you don’t have a food processor, that’s fine. Just use a cheese grater for most of the stuff, and chop up the other stuff as fine as you can. It will all be good.
- Vinegar has a corrosive effect on metal. If you are using mason jars, I suggest replacing the metal rings with plastic rings. They will last a lot longer, and won’t taint your fire cider, or anything else you make. You can purchase replacement tops here.
- When straining your fire cider, use a few layers of cheese cloth for the first strain. Let all the veggies go into the cheese cloth, and then give it a good squeeze to get all the goodness out. If you want to strain it again to get the finer stuff out, try using a coffee filter, or a piece of cotton. Personally, I don’t think it needs to be strained again, but it’s up to you.
- You can make substitutes or additions to the main recipe. If you want to make it a little less spicy, trying using peppers that aren’t quite as hot. Jalapeños work well.
- Make sure the apple cider vinegar you use is raw, meaning unpasteurized. Same goes for the honey. It should be unpasteurized. And if you can get it local, that’s even better.
- Add in homegrown herbs to make it even healthier, and tastier.
And that’s about it! A pretty straight forward recipe, for an amazing tonic. I hope you get a chance to make it!
~
The best fire cider recipe, as in most things, is the simplest. This recipe is packed with goodness, without being at all complicated. Just throw stuff into a food processor, and SHAZAM! You’ll have delicious, nutritious fire cider in four weeks.
If you decide to make this recipe, please leave me a message and let me know how it turned out.
Health, Hope & Happiness
Tracy
This article may contain affiliate links. If you click on a link and make a purchase, I will receive a small commission, at no extra cost to you. See the full Affiliate Disclosure here.