This is my own personal ‘recipe’ for making easy fermented vegetables. I wrote this out for my sister, as she was interested in what I was doing. It’s not really a recipe, as there are few measurements, and the ingredient list can be just about anything you want. But I’ve included all the steps I did to make my fermented veggies.
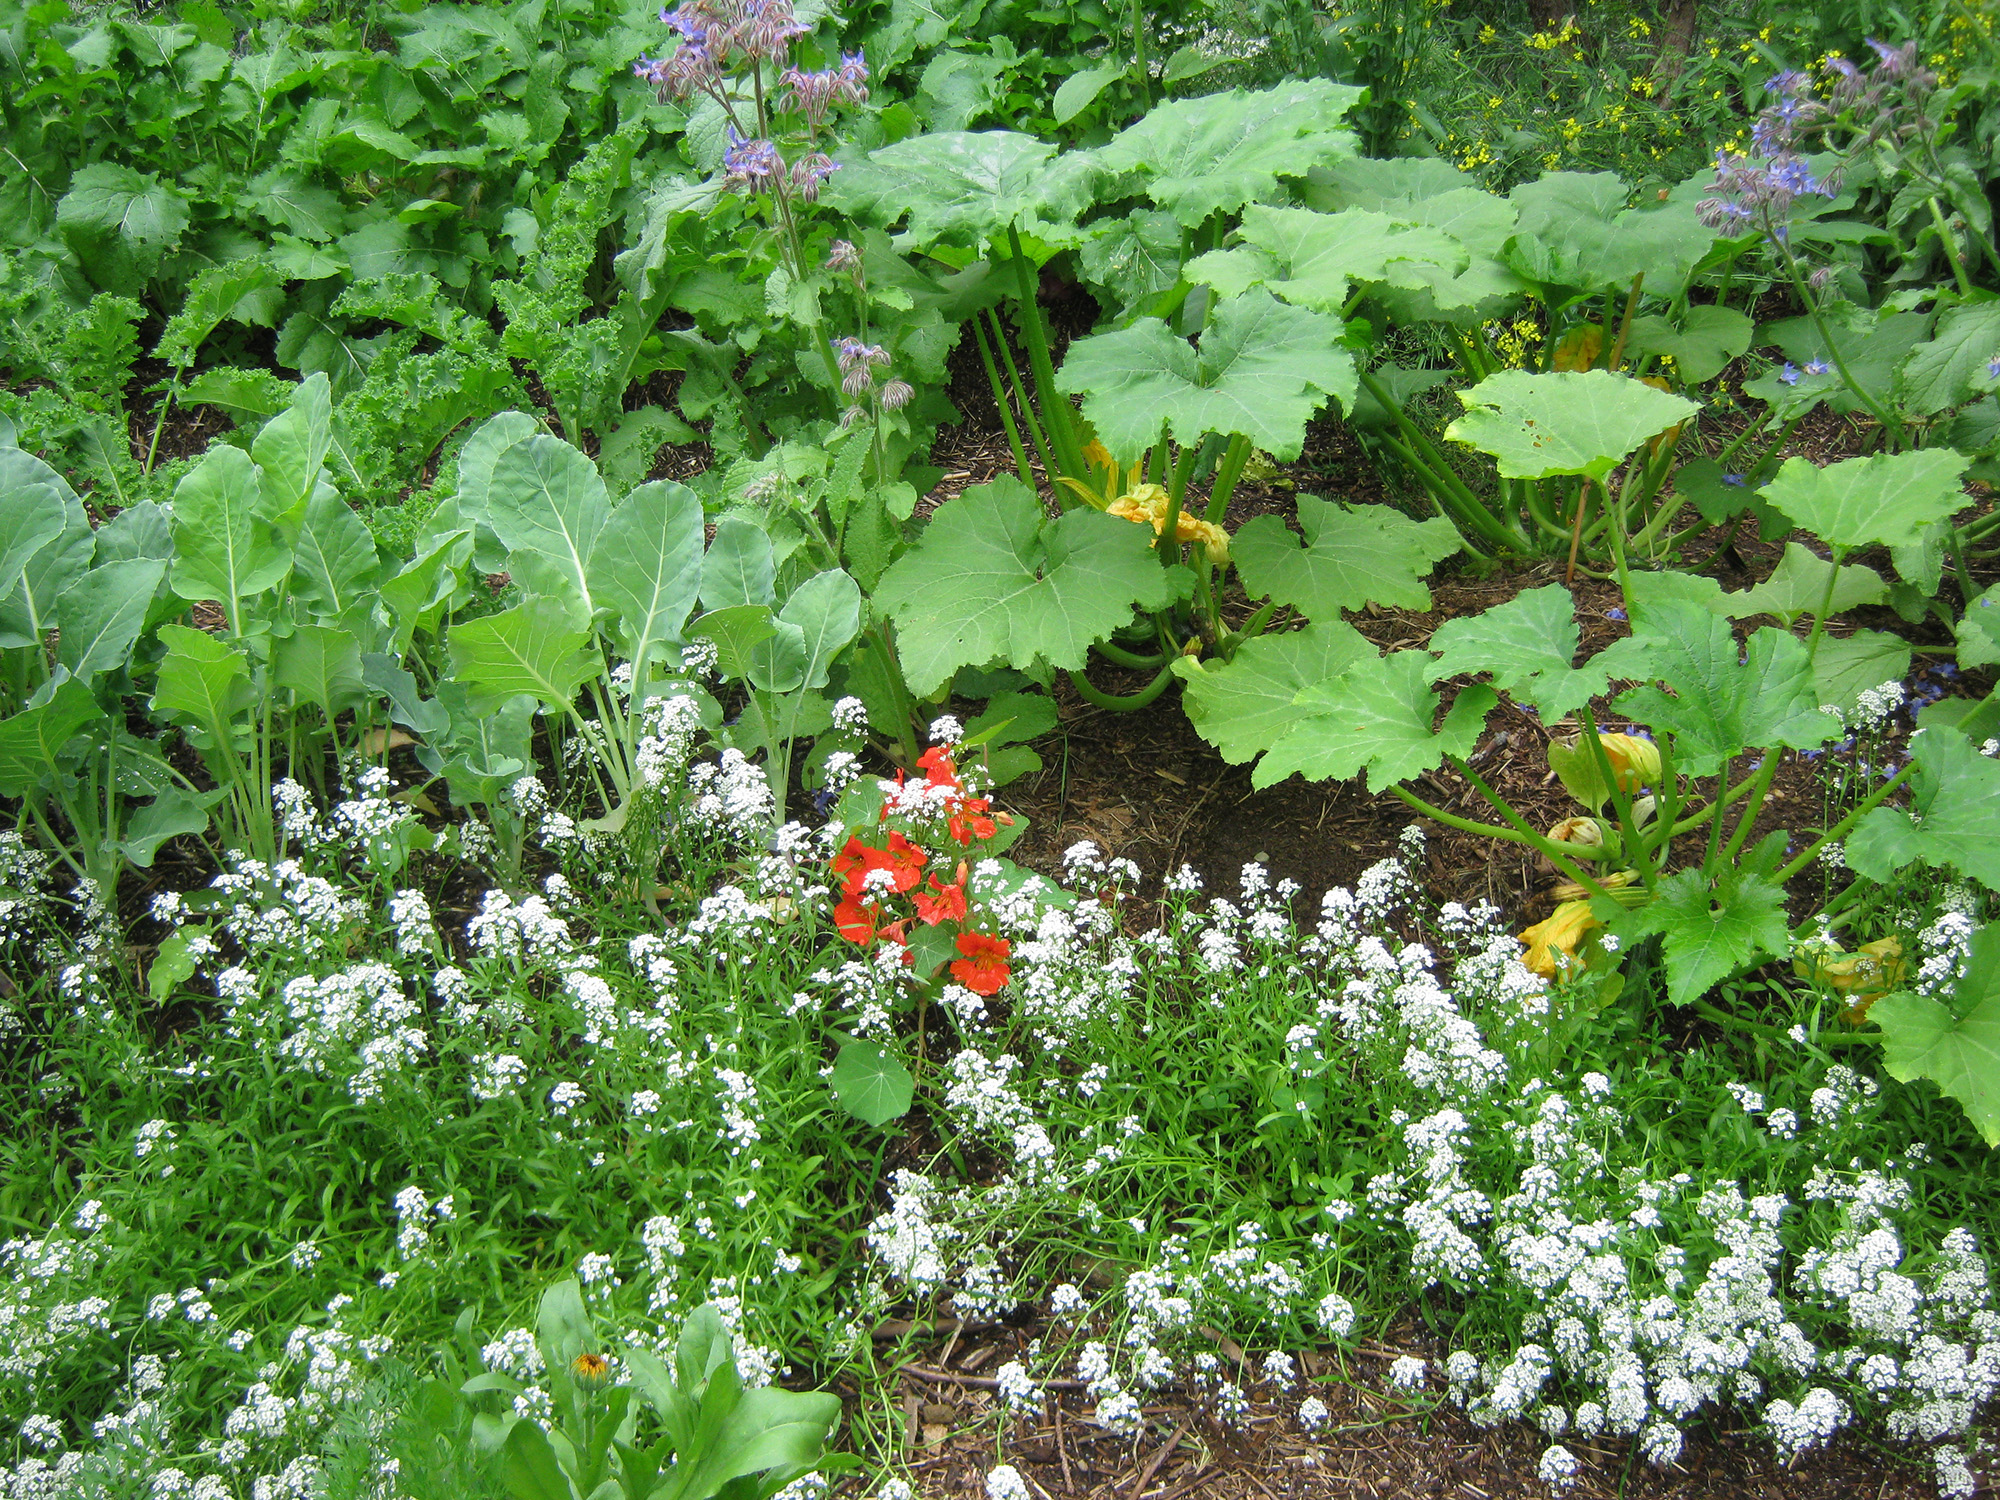
This is the kind of concoction that can be made with just about anything you have coming out of the garden. Add in a few organic veggies from the farmer’s market if you don’t have everything you want growing at home.
This really is quite delicious, and I have enjoyed having a taste of fresh veggies throughout the winter months. It’s a good thing spring is just around the corner, because my last gallon jar of ferment is just about empty.
I hope you enjoy!
Fermented vegetables recipe
Ingredients:
Grate or thinly slice any of the following to fill a quart jar, or whatever size jars you want to use. We save our glass jars, and reuse them for all kinds of things, including ferments.
- Cabbage – this can be any kind of head cabbage, or Chinese cabbage.
- Kale
- Chard*
- Carrots
- Garlic
- Onions – any kind of onion, or you could use leeks instead.
- Sweet peppers
- Optional: Hot peppers (a little goes a long way! And don’t use the seeds.)
- Other options: grated daikon radish, turnip, beet, kohlrabi, herbs – the sky’s the limit really.
- Salt: 1-3 tablespoons of non-iodized salt per quart (4 cups) of veggies.**
*You can use any sort of leafy green, as long as it’s not too thin and soft. You can still use those, but just not a lot of them or it can get mushy. I used beet tops, turnip tops, and radish tops, and a little bit of mustard greens, and it was awesome.
**I’d start with 2 tablespoons of salt. If it’s too salty, use less the next time. If you’d like to try it saltier, use 3 tablespoons next time. 1 tbsp is about the minimum, and 3 tbsp is the maximum, for a quart jar. After you have already made a batch of fermented veggies, you can try using the brine from your last batch to get the new batch started. It often works quite well, and you don’t have to add in any extra salt if you don’t want to.
Directions
Put all the veggies into a bowl and sprinkle with the salt. Mix it in well and let it sit for a while. This will start bringing any juices out of the veggies.
After it has sat for a while (an hour or so), massage (squeeze and mix) the veggies until you’ve gotten the juices all out. The amount of juice really depends on what veggies you use. Cabbage gives a lot of juice, but kale doesn’t. So if there isn’t tons of juice, that’s fine.
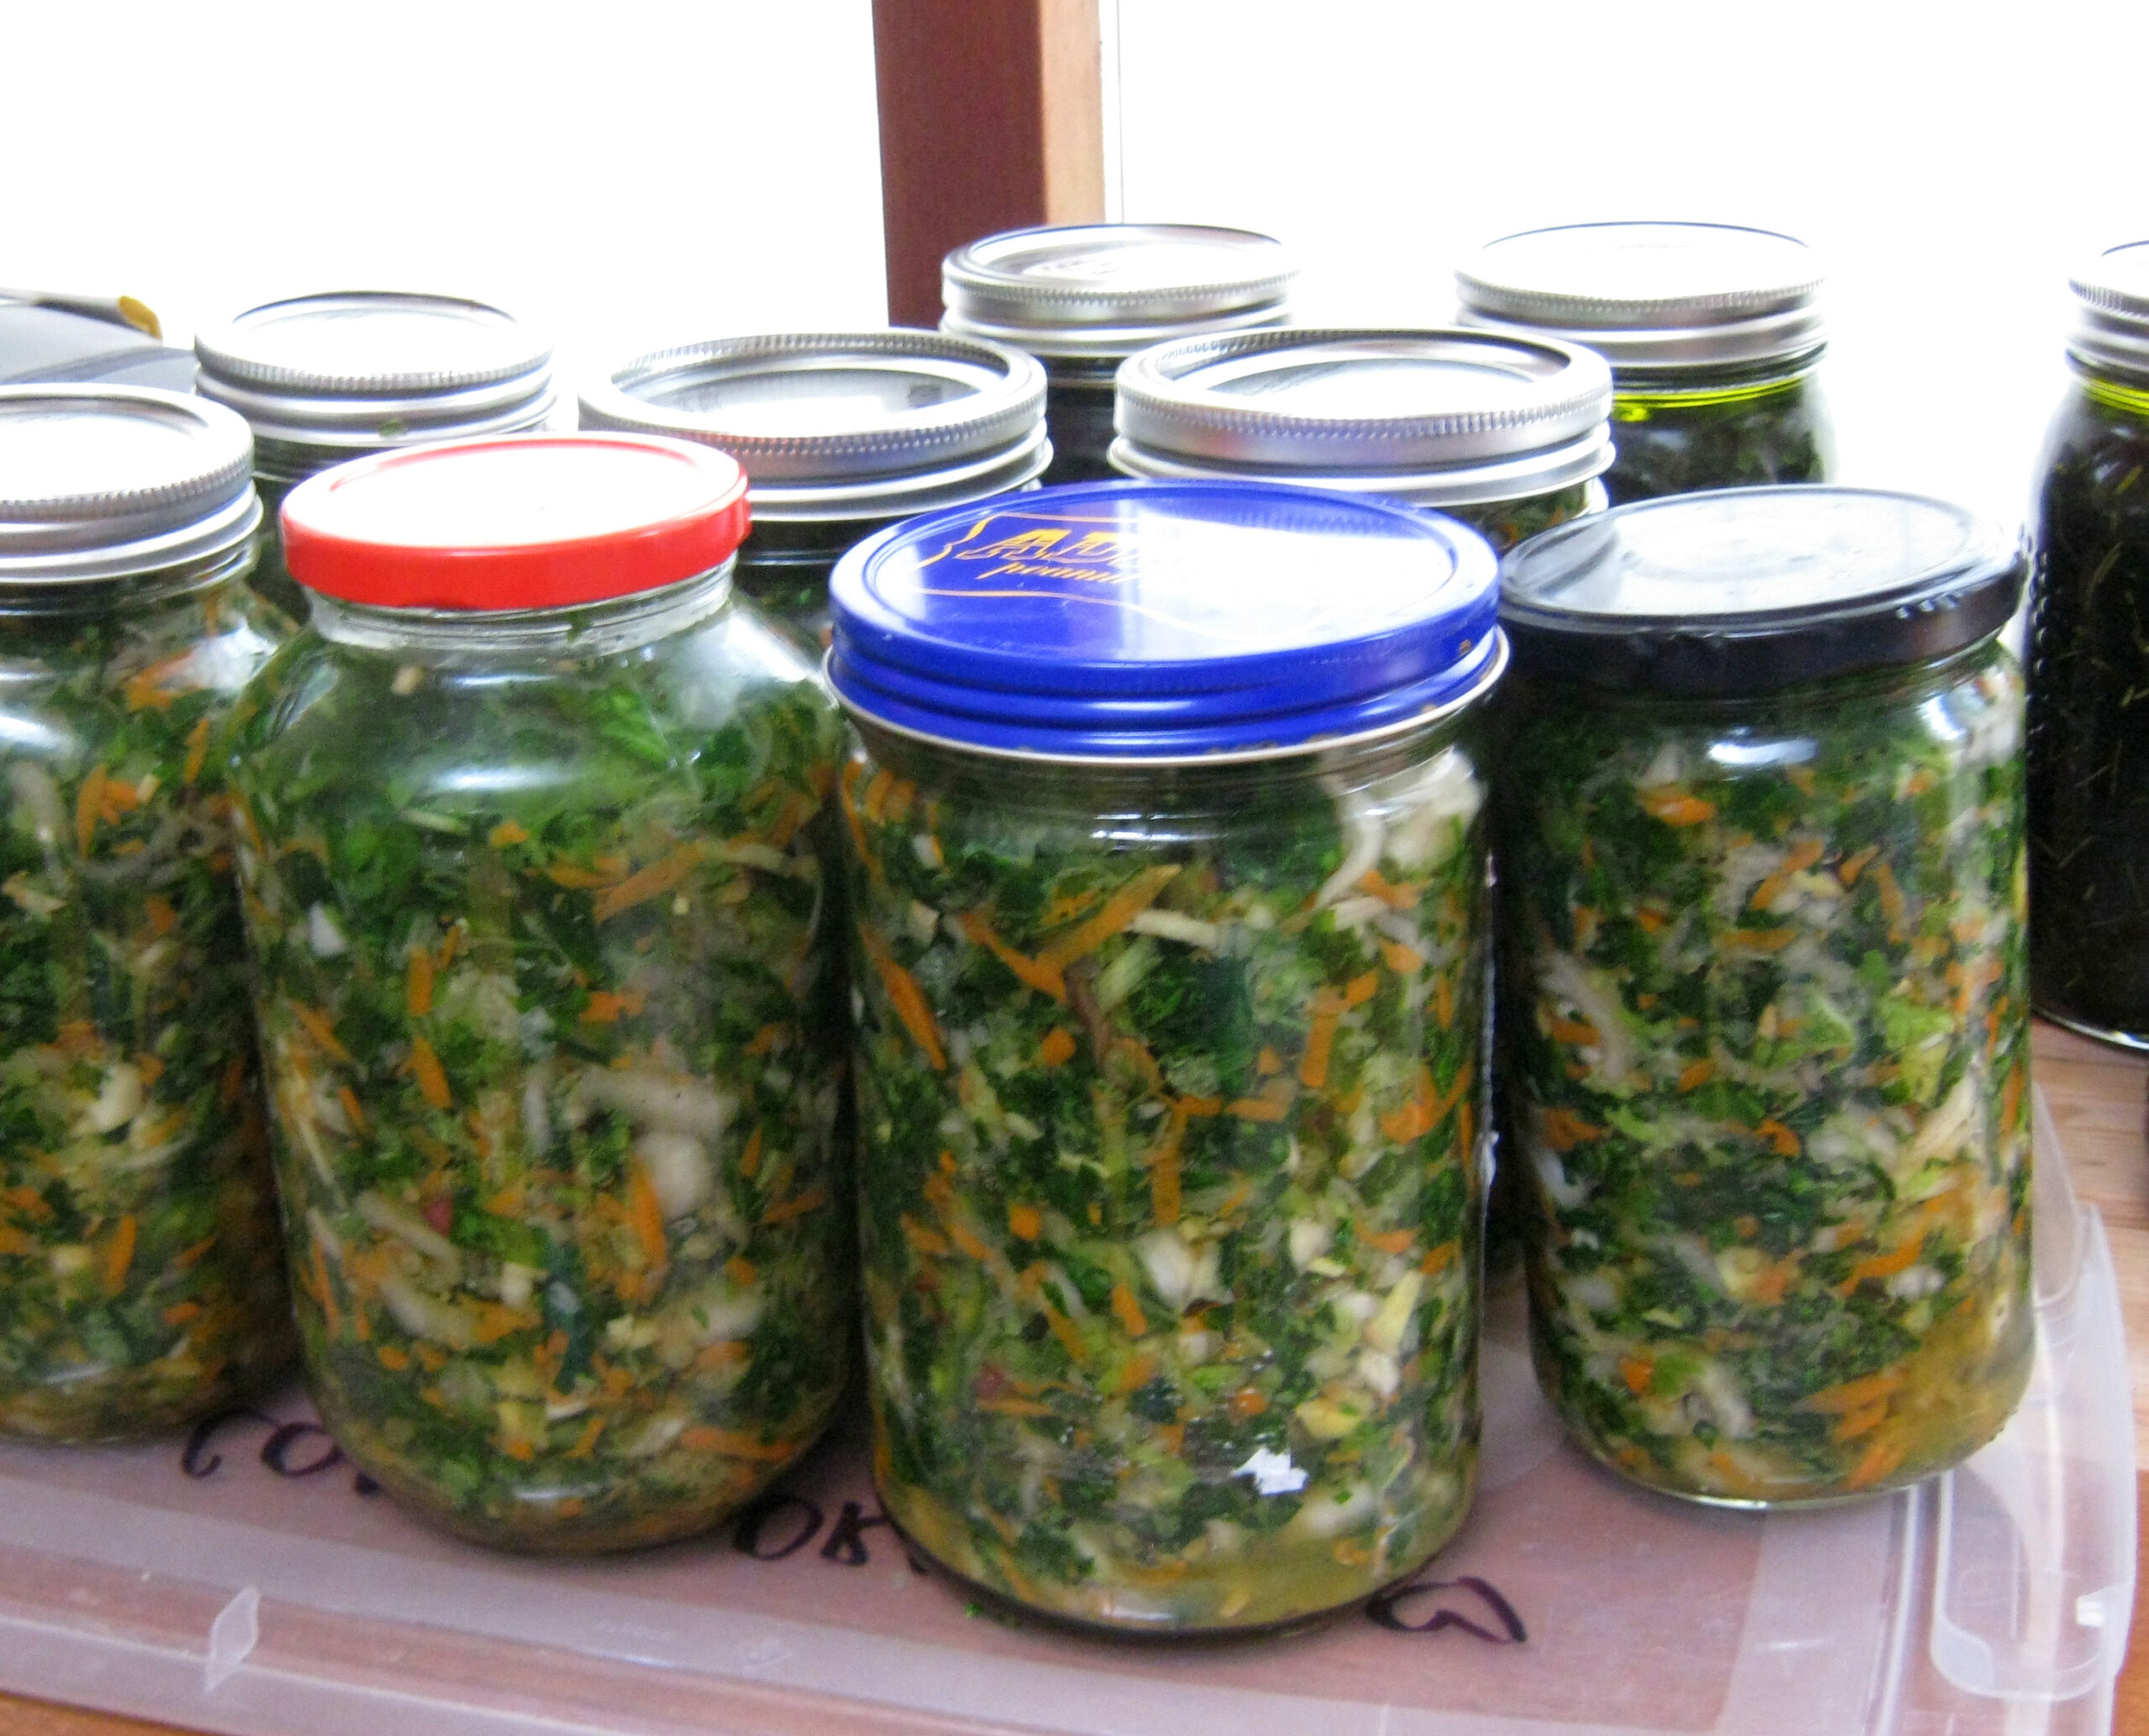
When it’s all mixed and mashed, stuff it into the sterilized jar. Really pack it in, and try to minimize any air pockets. Put in small amounts at a time and mash it down.
Leave about an inch or two of head room from the top of the veg to the top of the jar.
Pour any juice over the veggies. If there isn’t enough to cover them, dissolve a tablespoon of salt in a cup of water and top it up. Save the rest of the water, because you might need to top it up again.
Once the jar is full, take a clean knife or something long and thin – I use a bamboo skewer – and run it around the inside of the jar, and kind of poke it into the veg, to release any air bubbles. You’ll see the bubbles coming up.
The idea is to release as much trapped air as possible. Fermentation is an anaerobic process, so you don’t want air. And you want the liquid to filter right down to the bottom.
Once you’ve done this, you might need to top it up with liquid again. Fill it right up. And put it on a plate or tray, as it will probably overflow a bit when it starts fermenting.
You can either put a cloth over the top of the jar with a rubber band or string or something; or put the lid on loosely, and remember to ‘burp’ the jar at least once a day.
Because it’s hot there, it will probably start to ferment quickly. Within 2 or 3 days, you should start to see tiny bubbles rising up the sides of the jar. This is the process starting. But don’t worry if it doesn’t happen right away. Give it a week. ****
Start tasting it about 3 days after the fermentation starts. Once it gets to a flavor you like, put it in the fridge. And enjoy!
Now start another one. By the time the first once is eaten, you’ll have another one ready to go.
Storing fermented vegetables
Once your fermented vegetables have a taste that you like, you need to move them to cold storage. This can be in a fridge, or in a really cold part of your basement or garage. Whatever you have.
You don’t want them to freeze, but keeping them ‘fridge’ temperature – 3 or 4 degrees – will slow down the fermening process. It will still continue to ferment – the process doesn’t really stop – but it slows down tremendously in the cold.
Trouble shooting
I don’t know how much saltiness you like, but if it’s too salty for you to eat after it’s done fermenting, rinse it and strain it, then repack with distilled (boiled and cooled) water with about a teaspoon of salt dissolved in it. I don’t like much salt, but I didn’t find it salty at all.
You can experiment with all kinds of mixes. For my fermented salsa, I used green tomatoes, leeks, garlic and cilantro. You can do just fermented peppers, or peppers, garlic and onions, to use as a sort of condiment. LOTS of options. Have fun!
Sometimes, after you open a jar, you might find a teeny bit of a mold type thing – usually white – on the top. This isn’t going to hurt you or the ferment. Just take the top layer off, and top it up with clean water so all veggies are covered.
If the fermentation process doesn’t LOOK like it has started, with tiny bubbles coming up from the bottom, you can tell by the smell. It will start to have a fermented smell – sharp and tangy. If it hasn’t done anything after a week, cook it up in a stir-fry, and try again. Perhaps use more salt next time, if you didn’t use the full 3 tablespoons. Or if you did it with the lid on, try doing it with just the cloth covering, to help it catch those wild yeasts.
Fermenting isn’t an exact science, and there are a lot of elements that need to come together, so keep trying, and you’ll get it.
Tools of the trade
There are plenty of useful tools out there that are meant to make fermenting vegetables easier. And if you plan on making a large amount of ferments, you might want to look into stocking your kitchen with these handy tools.
I haven’t had the extra cash to pick any of these up yet, but I’ve seen them used when friends made fermented vegetables, and they really are awesome. They’re all on my shopping list!
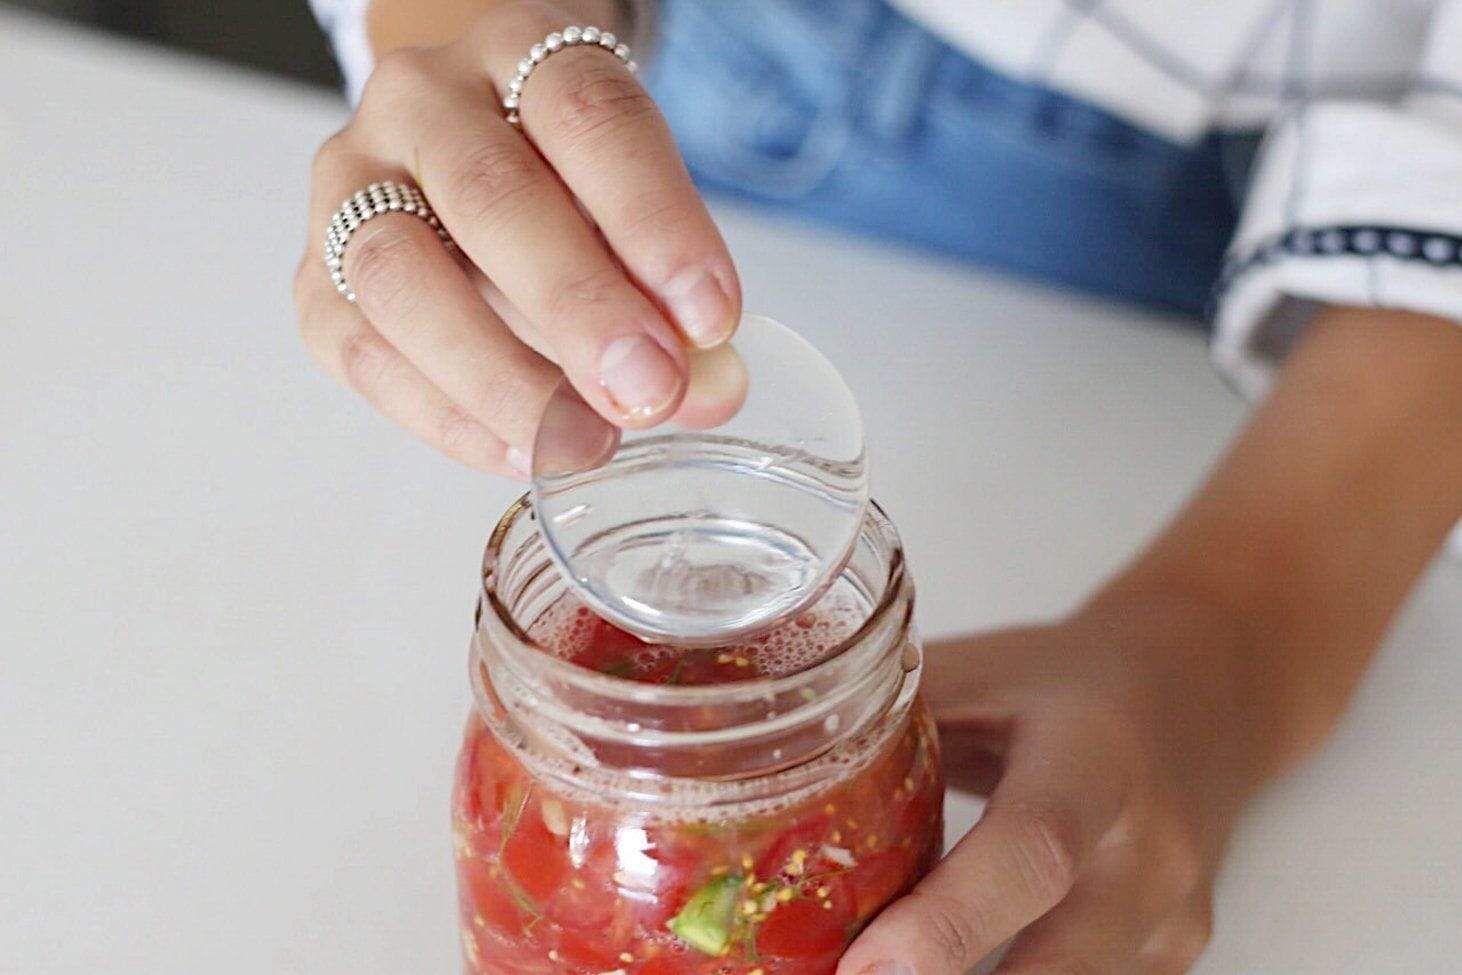
When fermenting vegetables, one difficulty can be getting the vegetables to stay below the surface of the brine. They can get a bit moldy, and that can taint the whole jar. Using these glass fermentation weights is a safe and easy way to keep the veggies in their place.
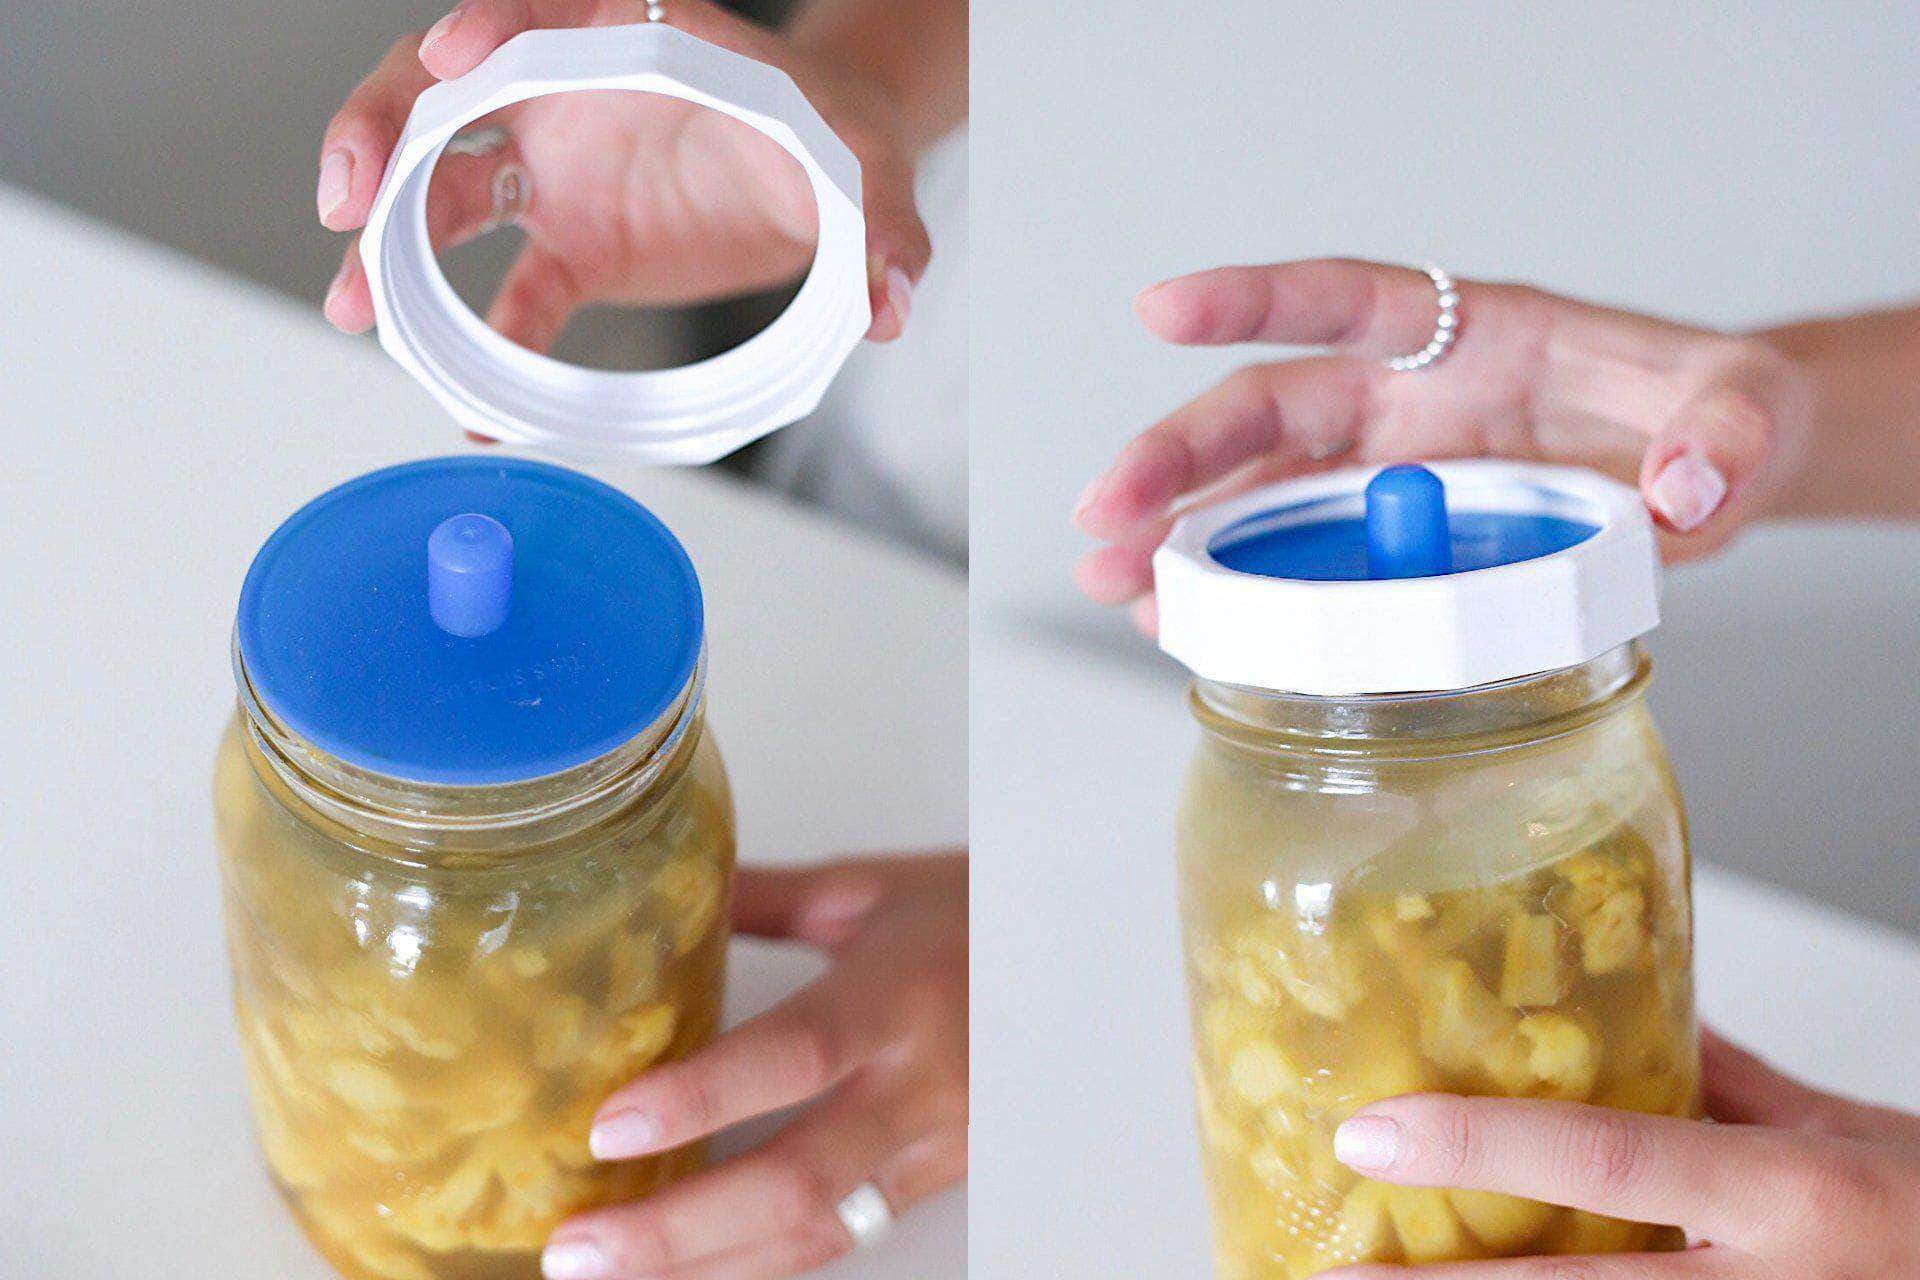
And last but not least: when your vegetables are fermenting, it is often necessary to ‘burp’ the jars. As gasses from the fermenting process bubble up, you need to open the jar to let the gasses out, to avoid some nasty messes.
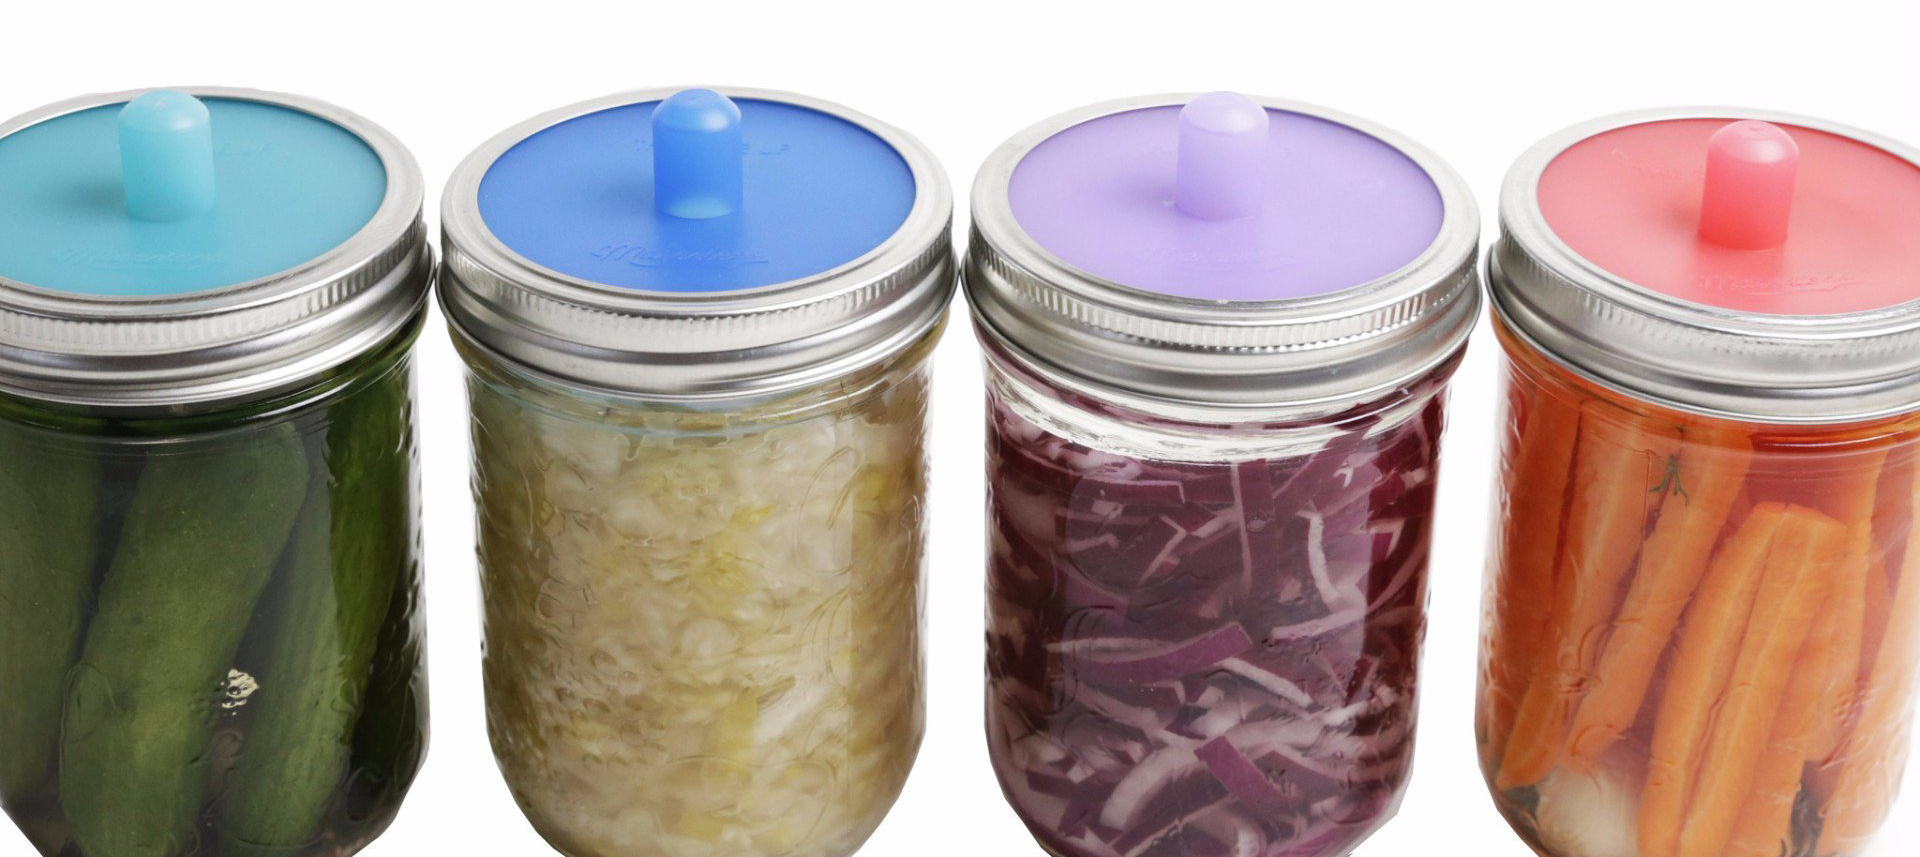
But if you have self-burping lids, you can rest easy. They will take care of everything, and all you have to do is taste-test your veggies in a few days, and see if they’re ready for the cold room. Yum
I would also suggest getting these replacement rings. The metal rings that come with the jars will soon start to rust and deteriorate.

And really, that’s probably all you’ll need. There are a few other handy items, such as a fermentation tamper, used to pound the veggies to get the juices out. But you can use just about anything for that, as long as it is clean and fits into your jar.
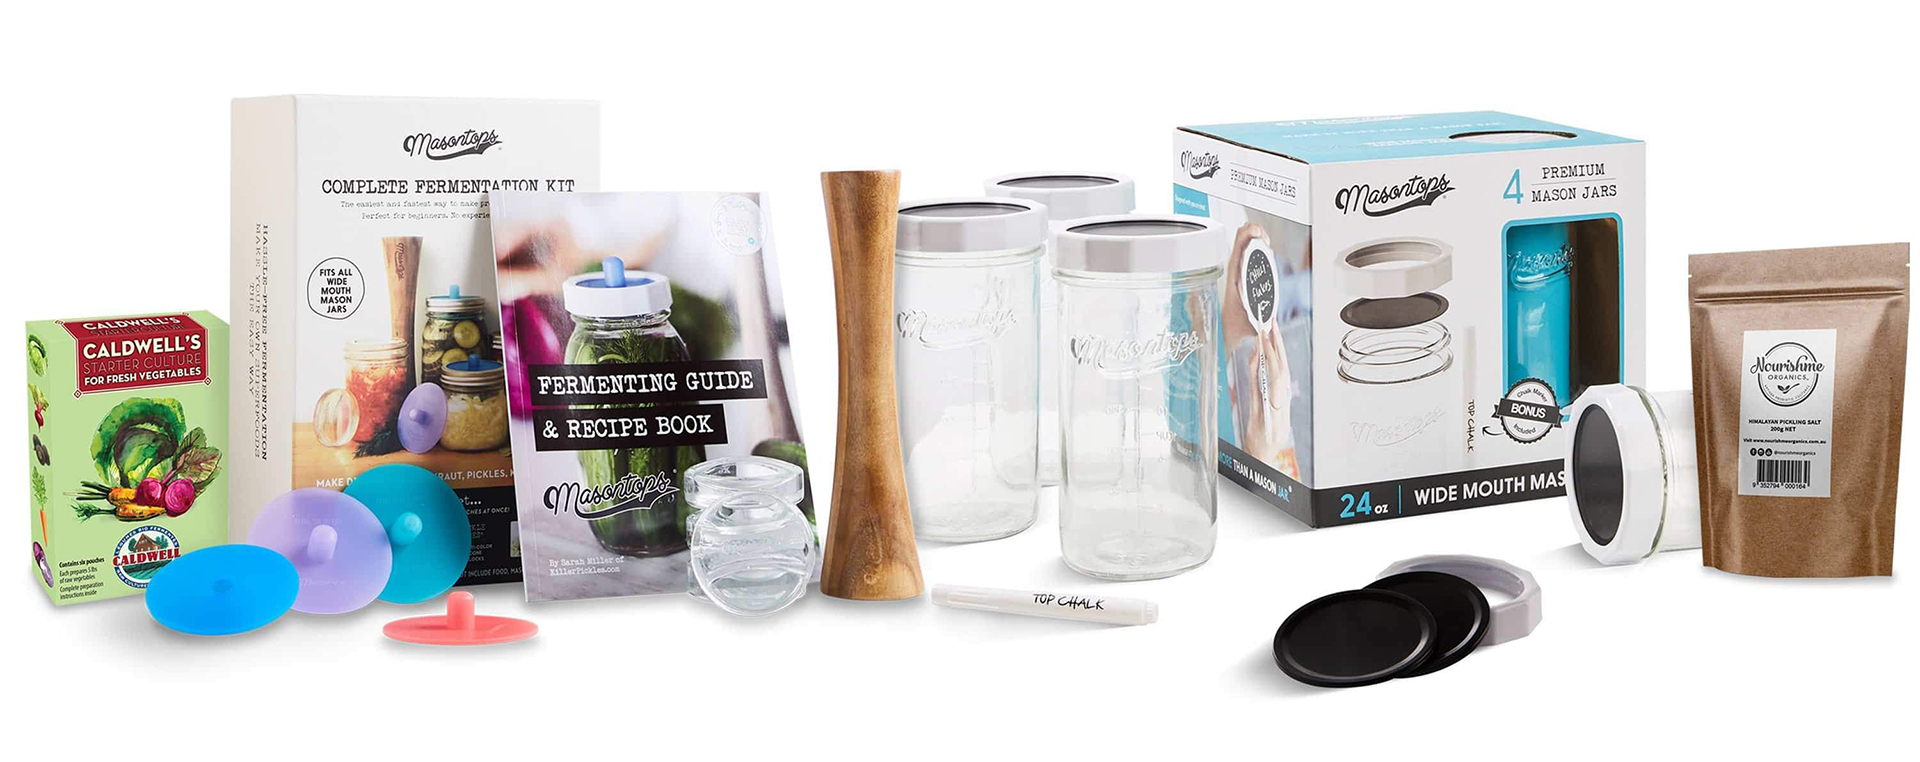
And here’s a kit that has all of the bits and bobs, including an instruction book, some starter culture, and jars as well. Everything you need to get started fermenting your own vegetables.
And if you’re wanting to take your skills beyond the easy fermented vegetables recipe I’ve shared here, this is where you want to go: Cultures For Health has some amazing recipes. I plan on trying quite a few this year!
Using your fermented veggies
My favorite way to use my fermented vegetables is to stir-fry some pork or chicken with a little curry powder, and serve it over rice with the cold ferment on top. I love the hot and cold foods together, and the flavor is just amazing.
You can also add a scoop or two to your salads; or use it as a side, like coleslaw. It can be used as a condiment with just about any kind of meal that can use a zing of tangy flavor.
The thing to remember is that you don’t want to heat fermented vegetables. The heat kills the beneficial bacteria you have worked so hard to cultivate. So think about how you can work this lovely, tangy, flavorful and incredibly healthy food into your daily meals without heating it up too much.
If you make this recipe, please let me know in the comments below. And if you have any questions, please feel free to ask, and I’ll do my best to answer.
Health, Hope & Happiness
Tracy
This article may contain affiliate links. If you click on a link and make a purchase, I will receive a small commission, at no extra cost to you. See the full Affiliate Disclosure here.
Hi, Tracy!
I really enjoyed your post since I was grown up in a small village in the southern part of my home country where there are very beneficial conditions for nurturing all kinds of fruits and vegetables.
My mother also is using the glass jar for the preparation of canned foods.
I have a quick question: you have mentioned that you recommend a non-iodized salt, and I wonder if there is any specific reason for that?
Would an iodized salt do in this case? Since I am having issues with my thyroid, I am always using only iodized salt.
I appreciate your feedback.
Best Wishes,
Natalie
Hi Natalie. I’m glad you enjoyed the article.
As for the salt: iodized salt inhibits the beneficial bacteria that we are trying to grow when we ferment vegetables. It might work, but it’s iffy. But I would definitely give it a try, if that’s all you have. And let me know if it works out.
Thanks for visiting the site.
Tracy
Great post! I like fermented vegetables. My mom always makes a few jars for winter and they are delicious! Thanks for sharing your ideas and tools of the trade. I’ll definitely show this post to my mom. Thanks and bon appetit!
Thanks, Ivan. I’m glad to meet another fermented veg lover. So delicious, and so healthy.
I hope your mom gets some good information from my article.
Thanks!
Tracy
Thanks for this fermented vegetables recipe.
I don’t have much information about this because I seldom eat fermented vegetables. The process you mentioned here looks easy.
what’s the difference in fermentation in winter and summer?
Does fermentation take a shorter period of time in summer?
What are the benefits of eating fermented vegetables?
Hi Fiona
I’m glad you enjoyed the recipe.
In warm weather, the vegetables will ferment faster than they will in cooler weather. So you need to check them every couple of days, to make sure they taste the way you want them, and then pop them in the fridge, or other cold place.
Fermented vegetables have many health benefits, such as:
A probiotic, for gut health.
Increased availability of vitamins and minerals, and the body’s ability to absorb them.
Improved immune function.
I hope that helps.
Great job Tracy,
Fermented vegetables are so good for you, but I rarely get the opportunity to incorporate them into my low carb lifestyle other than ordering Kimchi… back when we used to have restaurants that we could sit in and order prepared food. I need to re-read this and give this a try!
Bob
Hi Bob;
Yes, fermented vegetables are incredibly healthy; and more important than ever, now that we need to keep our immune systems in top form.
Making your own is the only way to really get the most out of its health benefits. Store bought, or what is served in restaurants, is generally all about the taste, but has been stripped of its health benefits by heat canning. So, although it tastes like kimchi, it doesn’t have the benefits we look for in a ferment.
I hope you give this recipe a try. It really is so easy, and so satisfying.
Thanks for stopping by and commenting.
Tracy