Oddly enough, I have seen people go to the trouble of planting a garden, and then, whether they lose interest or just get too busy, the garden is left to fend for itself.
The weeds take over, plants go to seed, and perfectly lovely vegetables just rot on the vine or in the soil. This is certainly a sad waste of a lovingly planted permaculture garden.
I get it. Life happens, priorities pile up, people pull you this way and that, and all of a sudden it’s late summer and the garden is just too overwhelming to even contemplate.
There are ways to make gardening easier, and building a permaculture garden is a giant step in the right direction. The permaculture design system is perfect for helping us incorporate things like gardens into our lives.
But for this conversation, let’s suppose that you’ve already built your garden, planted it with all kinds of lovely plants, and now you’re not sure what’s next.
I have actually met people who could walk through a garden and not know what they could pick to eat. It’s like they don’t recognize food when it isn’t neatly wrapped in plastic, labeled, and sitting on a shelf. It was rather astounding, to say the least.
While gardening is a wonderfully therapeutic and glorious pastime for me, I realize that not everyone instinctively knows how or when to harvest in a garden; or knows what to do with the produce once it’s harvested. And that can be stressful and overwhelming.
So here are a few little tips and hints to help you get to know your garden, and make the most of everything that you’re growing in it.
Grow something for every season
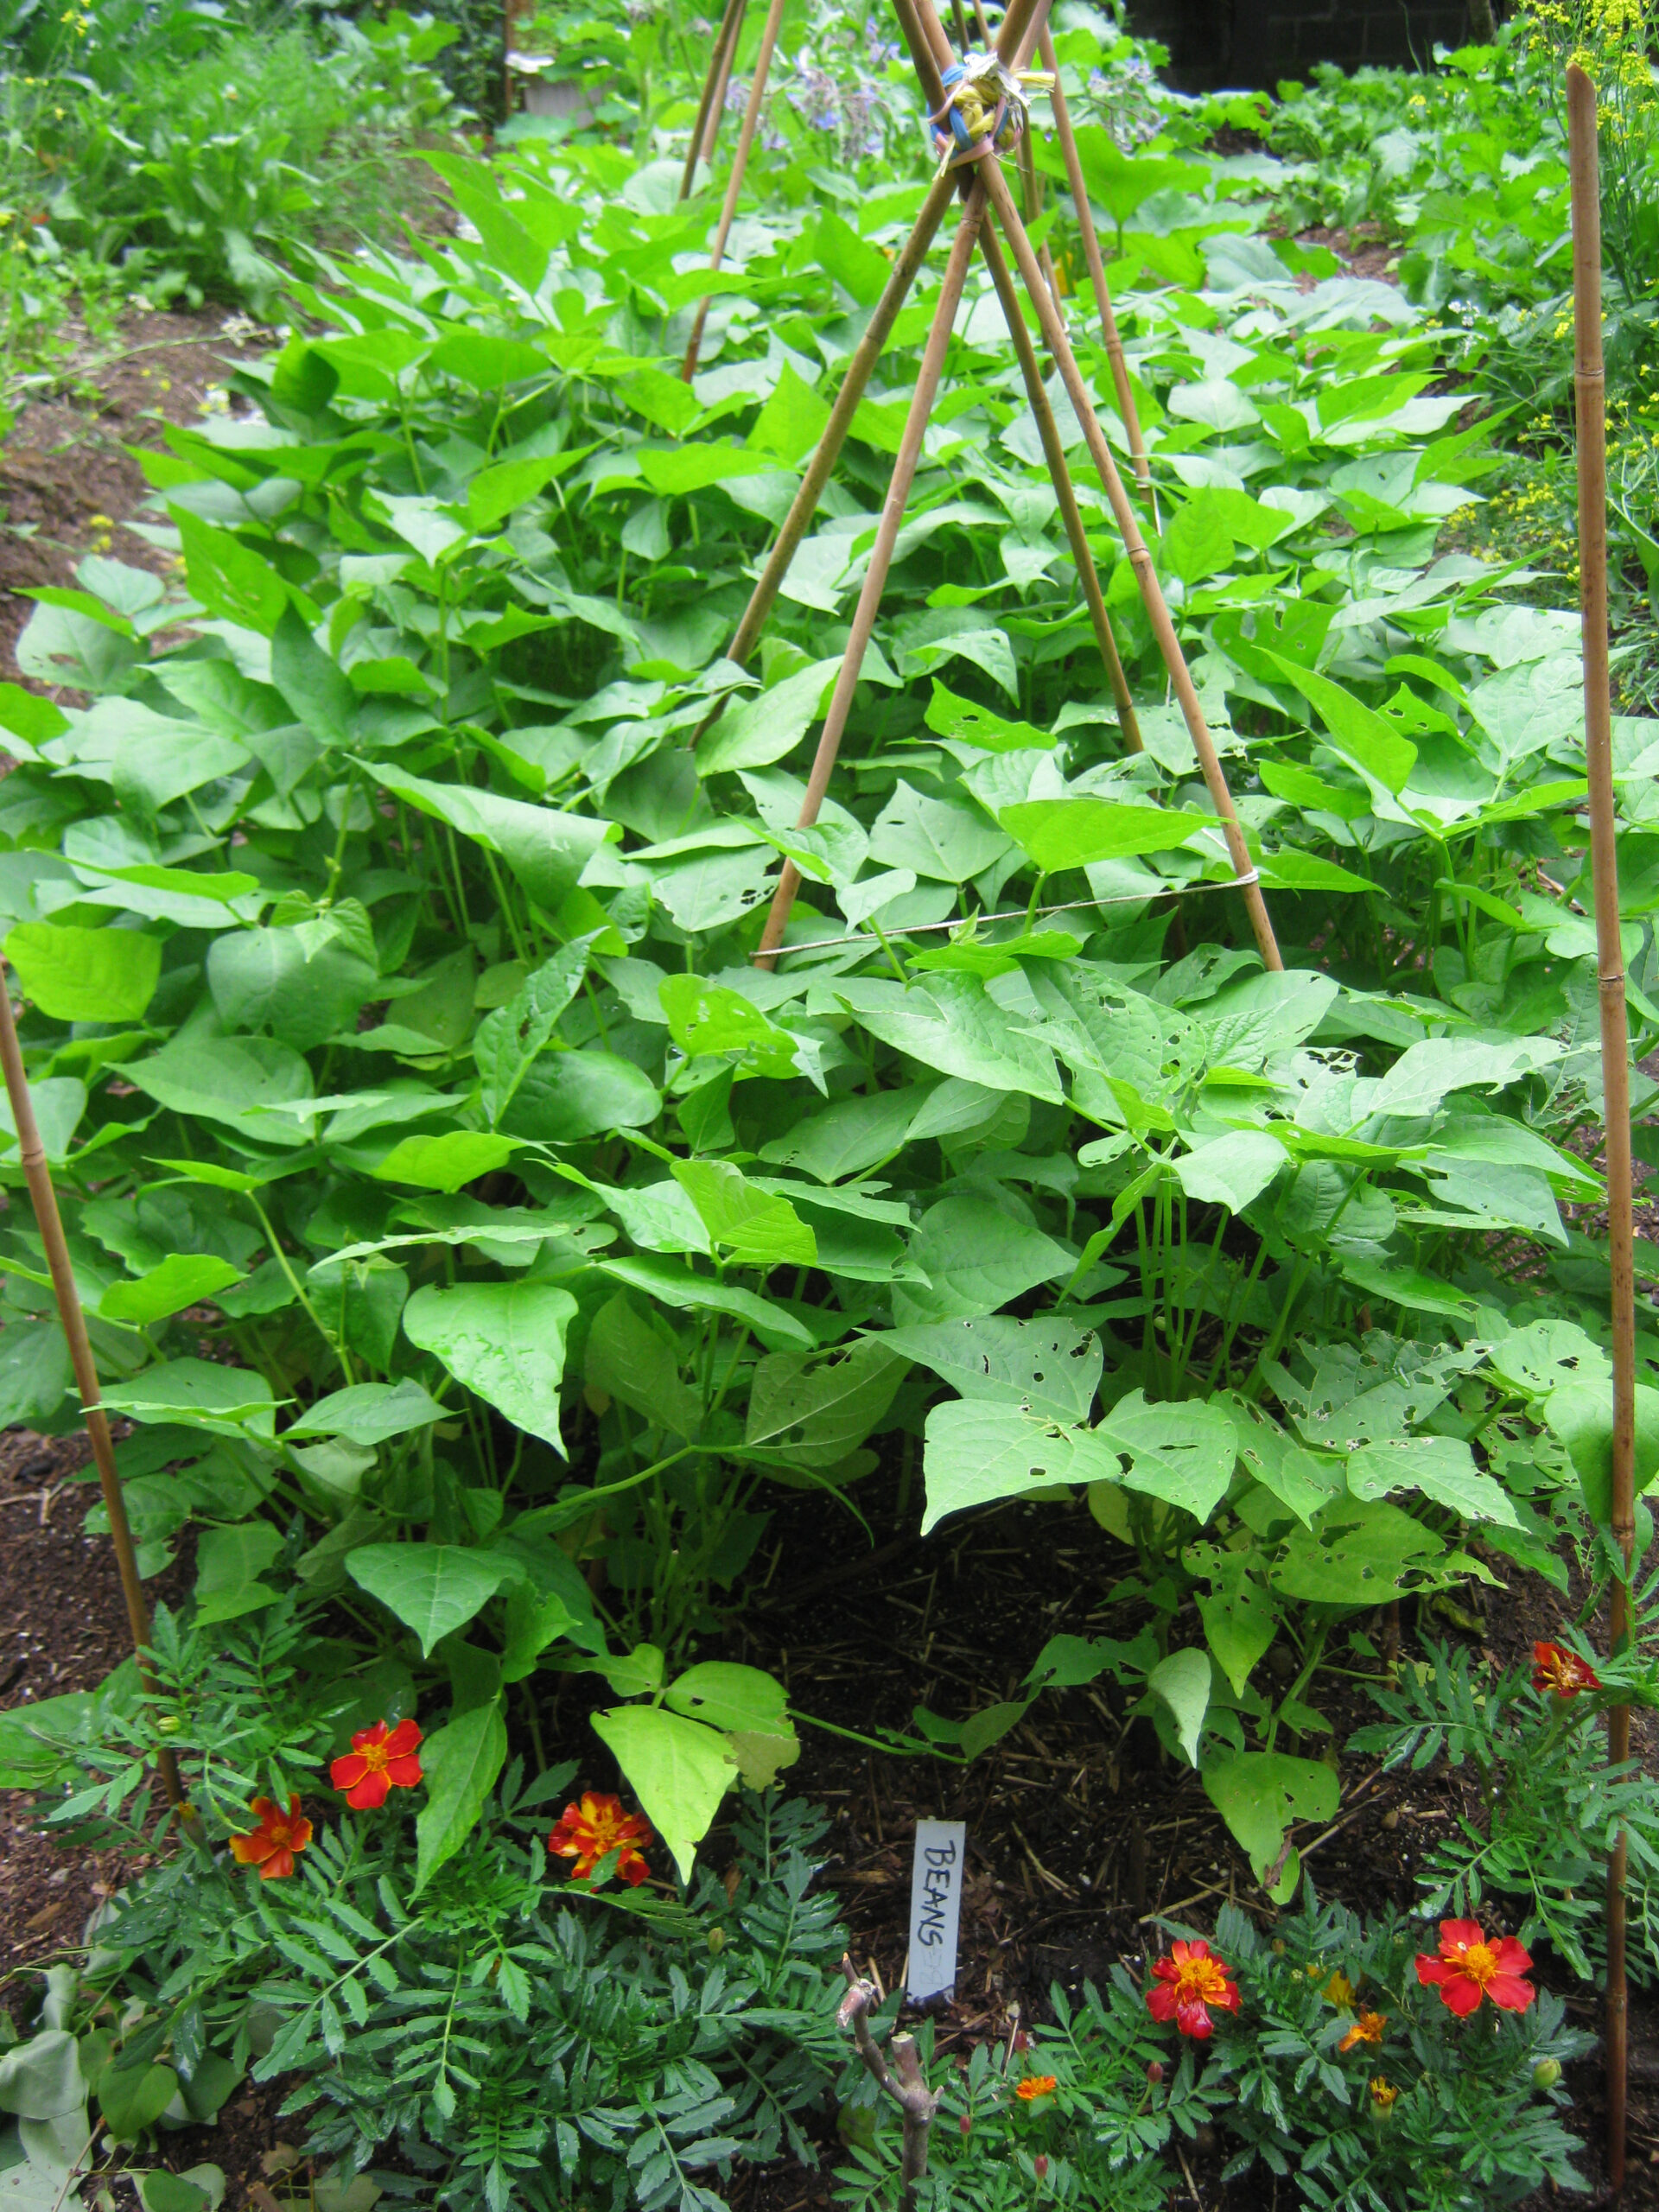
While there are some vegetables that you plant in the spring and then harvest in the fall – winter squash and drying beans, for example – many vegetables are ready to be harvested and eaten from late spring onward, right through summer into late fall. So you don’t have to harvest everything all at once.
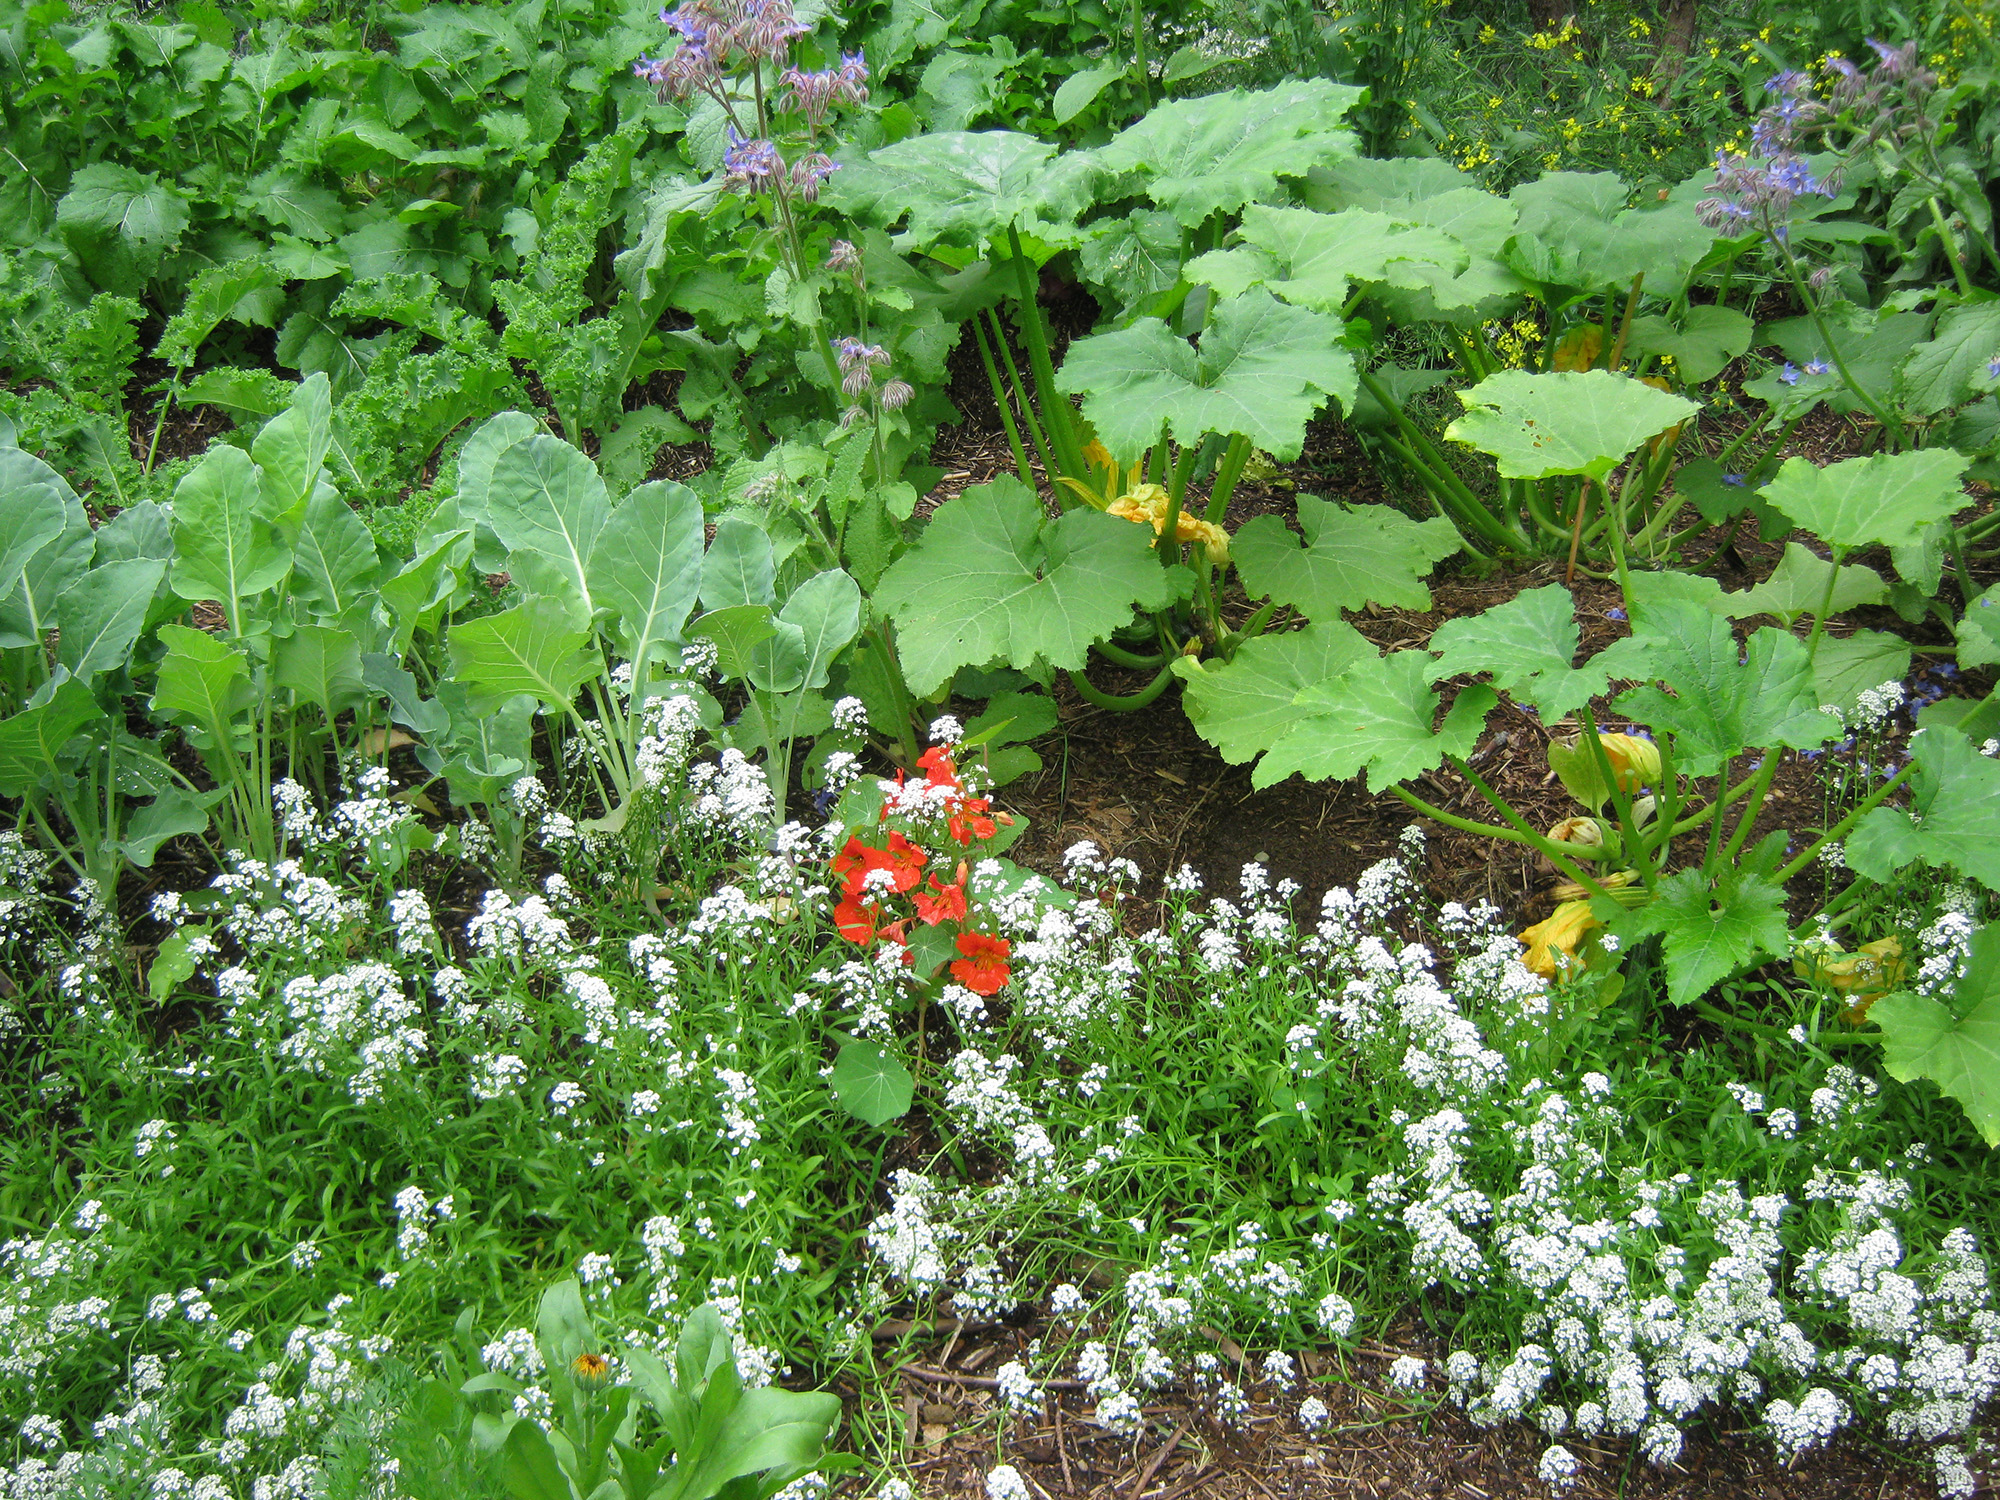
Planting a wide variety of greens enables you to go out to the garden and pick a little of this and a little of that, and put together your own version of a gourmet salad.
Last year we had mustard greens, pac choi, arugula, a lettuce mix, parsley, rapini, radishes, beet greens, chard, nasturtium and borage leaves and flowers, and kale.
From mid spring to late fall, a person could walk through my garden every day and find something to put into a salad. Toss in a diced apple, some seeds, or tuna and mayo, and you’ve got yourself an amazingly healthy and delicious bowl of garden yumminess.
I LOVE stir-fries. Many of the greens mentioned above found their way into my stir-fries last year. And some found themselves swimming in a big pot of stew as recently as a week ago (beginning of January).
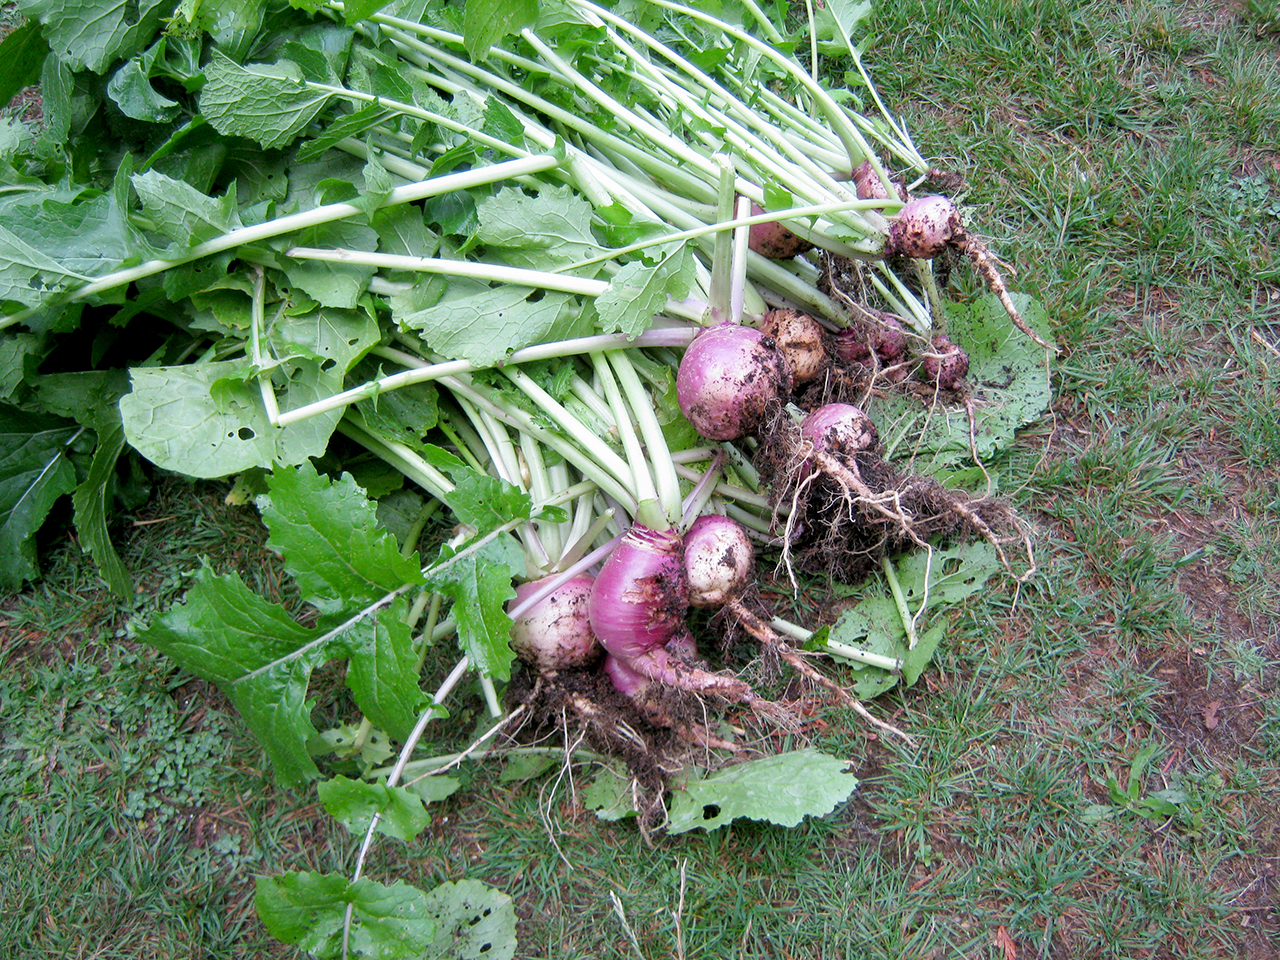
During the main summer season we had snow peas, broccoli, turnips, carrots, kohlrabi, celery, and beets to add to the goodness.
Using herbs
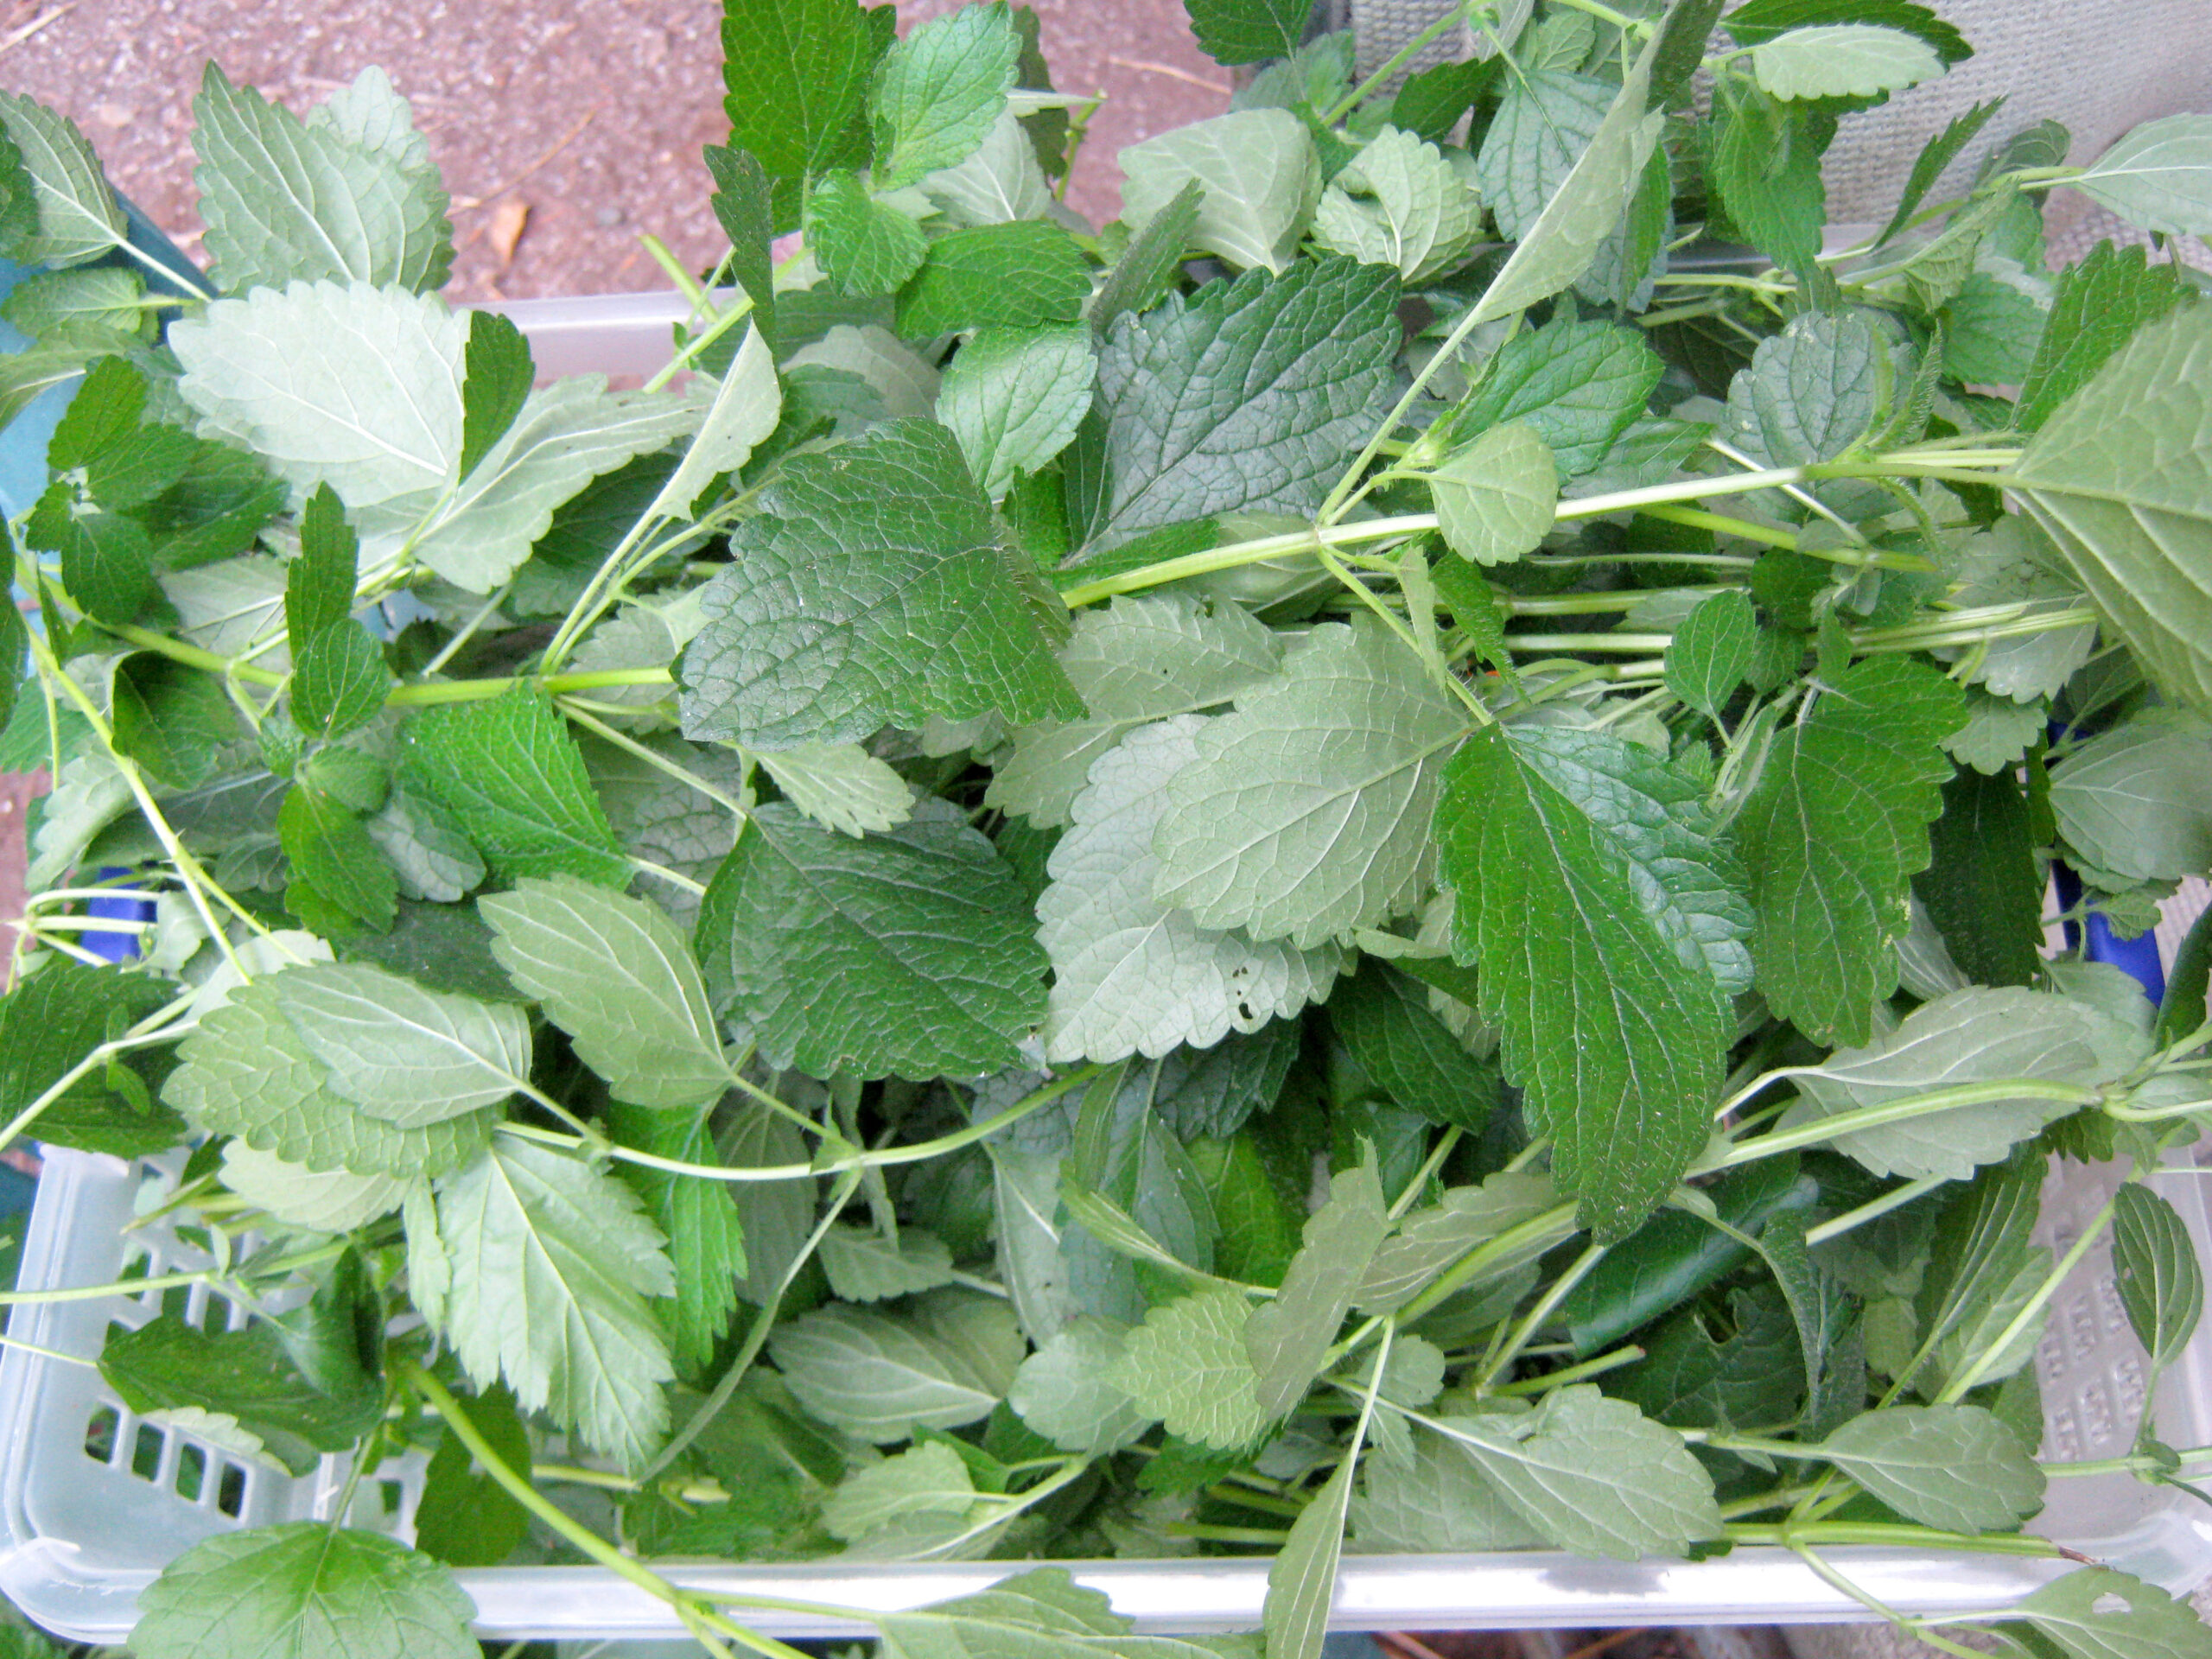
Herbs are amazing things to grow in your garden. We made sun tea using lots of different things in the garden: mints, lemon balm, sage, rosemary, thyme, oregano, and bee balm, to name a few.
Making sun tea is as easy as pie. Take a jar – I used a quart jar – put a bunch of herbs in it, add water, leave it in the sun for a day, then strain out the herbs. Sometimes I’d throw in a green tea bag. I would add ginger honey, or maybe some fruit juice, and sip on it all day.
I had two jars going – while I was drinking one jar, the other one was brewing in the sun. It was a great way to keep pumping healthy herbal goodness into my body. I felt quite virtuous while drinking it.
Drying herbs is also something that can be ongoing throughout the season. When the lemon balm gets big and is about to flower, cut it back and dry it. It will come back with another flush of growth. The same for other things like oregano, parsley, chives, basil, and other quick growing herbs.
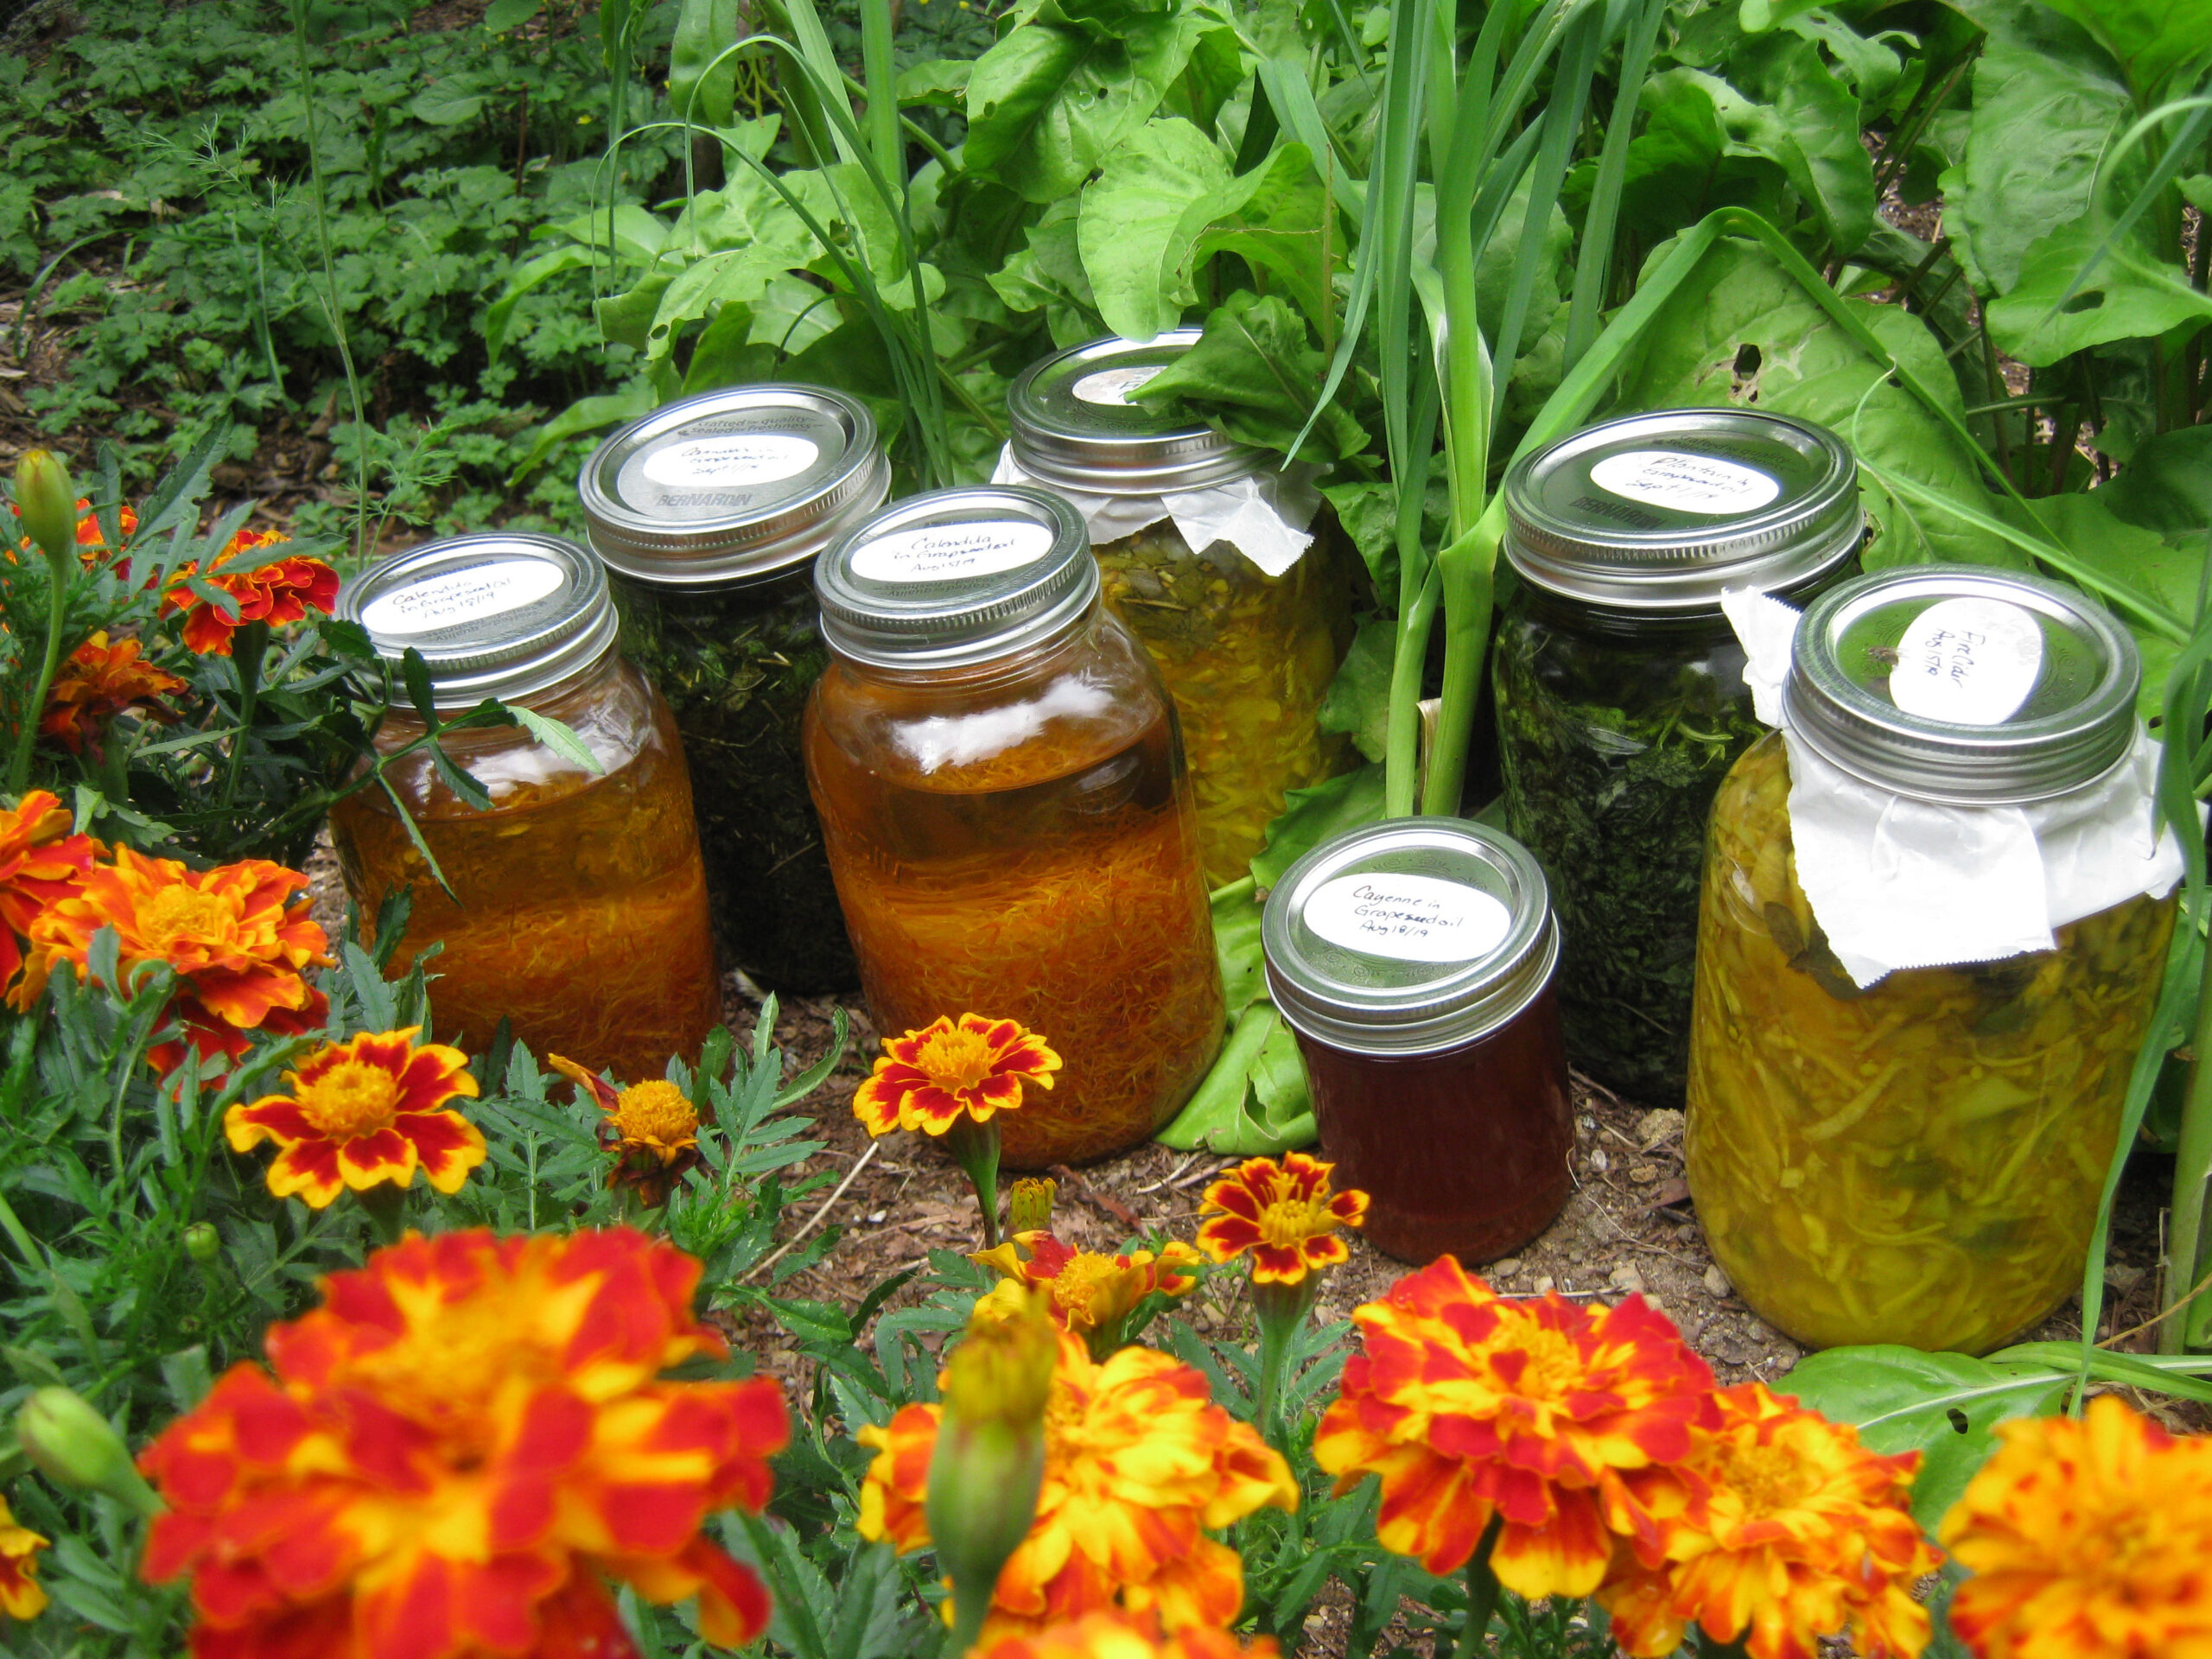
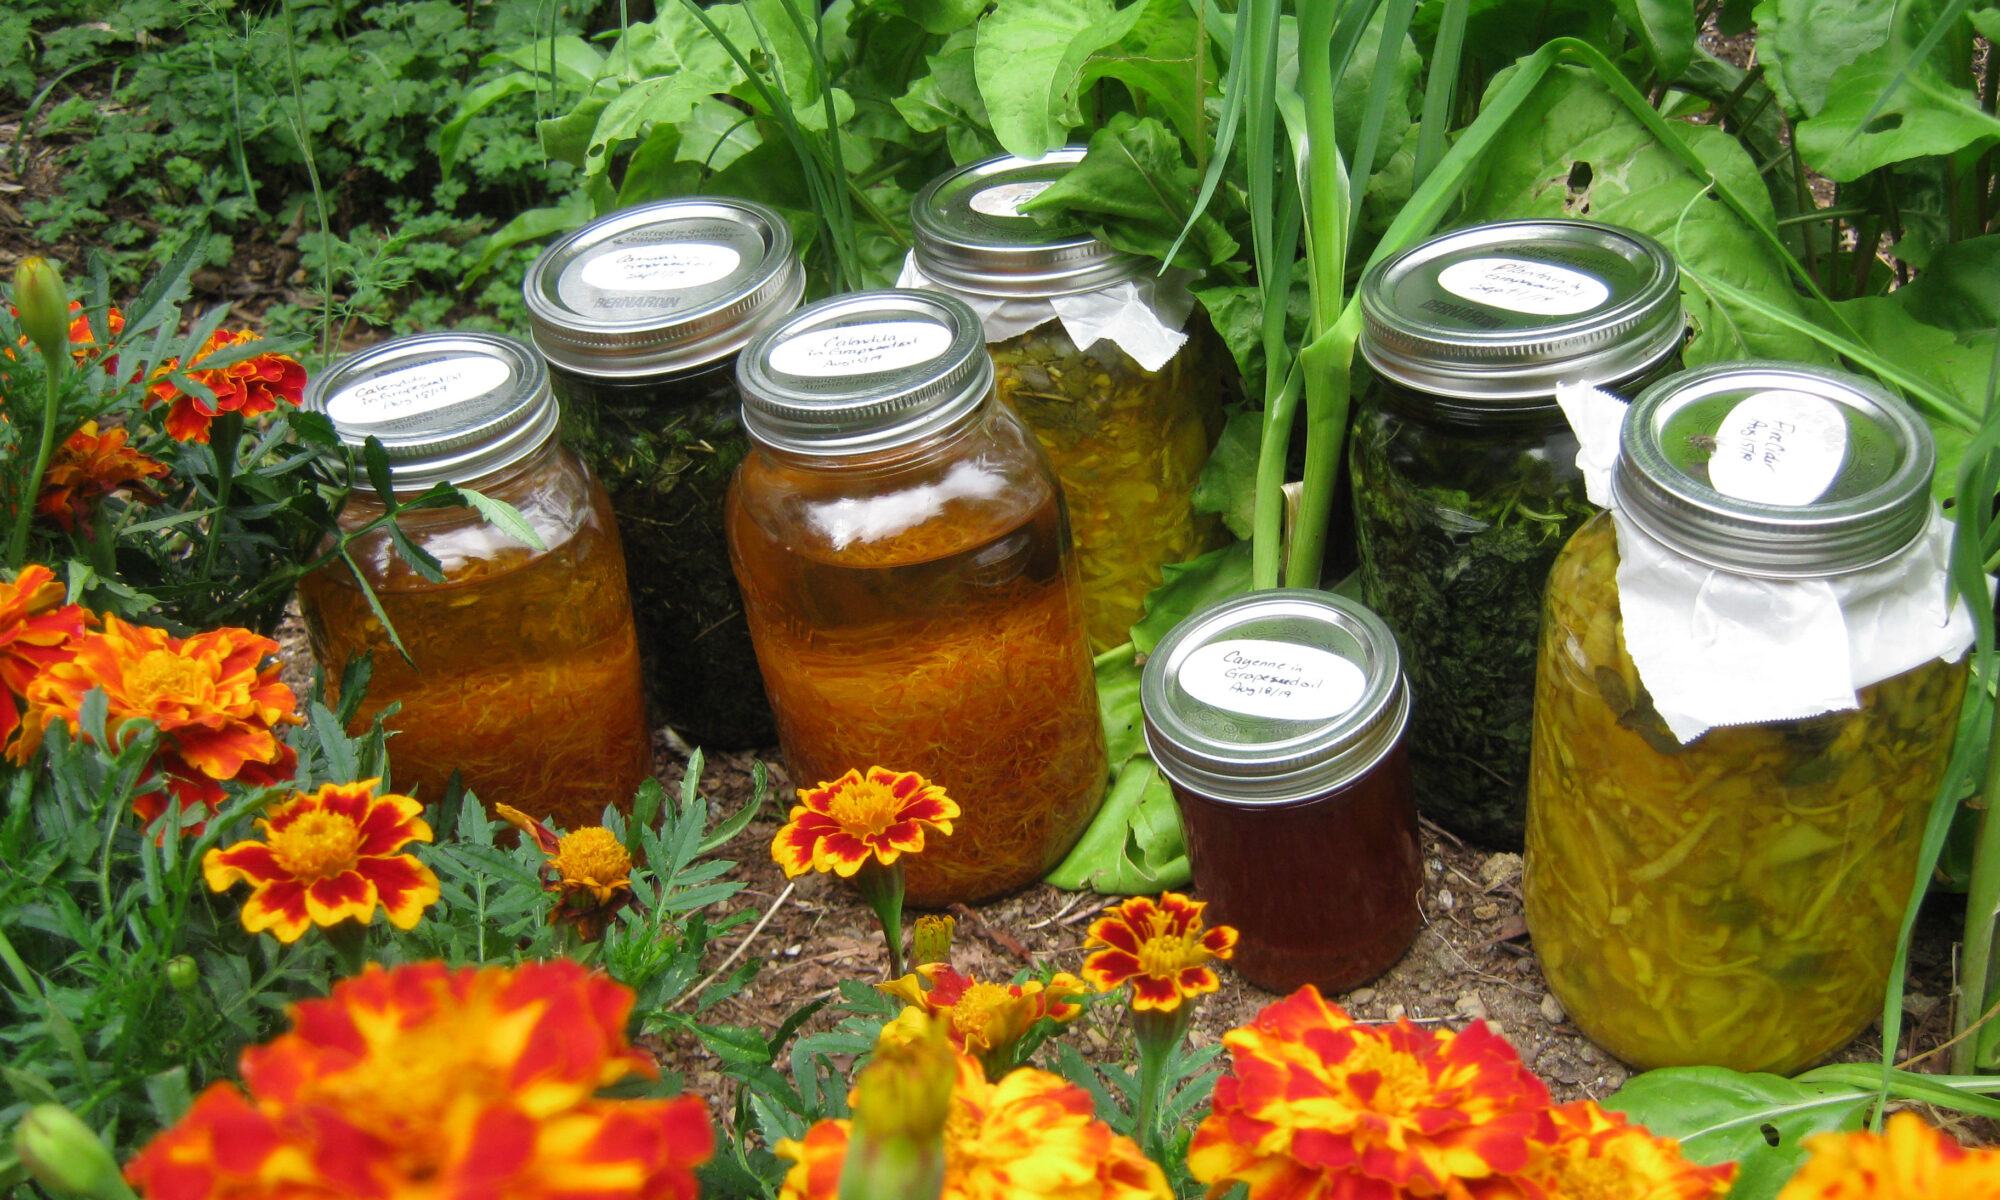
Another way I use my herbs is to make infused oils. I mostly used grape seed oil – it was a good price, and is much nicer to use on the skin – but I also used olive oil for some.
Basically, you soak the herbs in the oil for at least six weeks or so, then strain it and use the infused oil for a variety of things. I’ll do a write up about this, so you get it right; otherwise, you can end up with a moldy mess. Ugh.
Some of the oils can be used for cooking – such as the rosemary infused olive oil I made – but they can also be used for a variety of uses on the body.
I made a really nice body lotion using a variety of infused oils – calendula, rosemary, plantain, lemon balm – mixed with beeswax and essential oils. It smells great, and leaves my skin so soft.
I also made a nice massage oil for sore muscles and joints using infused oils and essential oils. And I made some hair products from these oils as well. Great stuff.
I will be writing about my experiences and experiments with this eventually. I’m having a lot of fun with it, and still learning. I love the idea of making my own products, and avoiding the toxic sludge that is generally sold in stores.
A different way to preserve your harvest: fermented vegetables
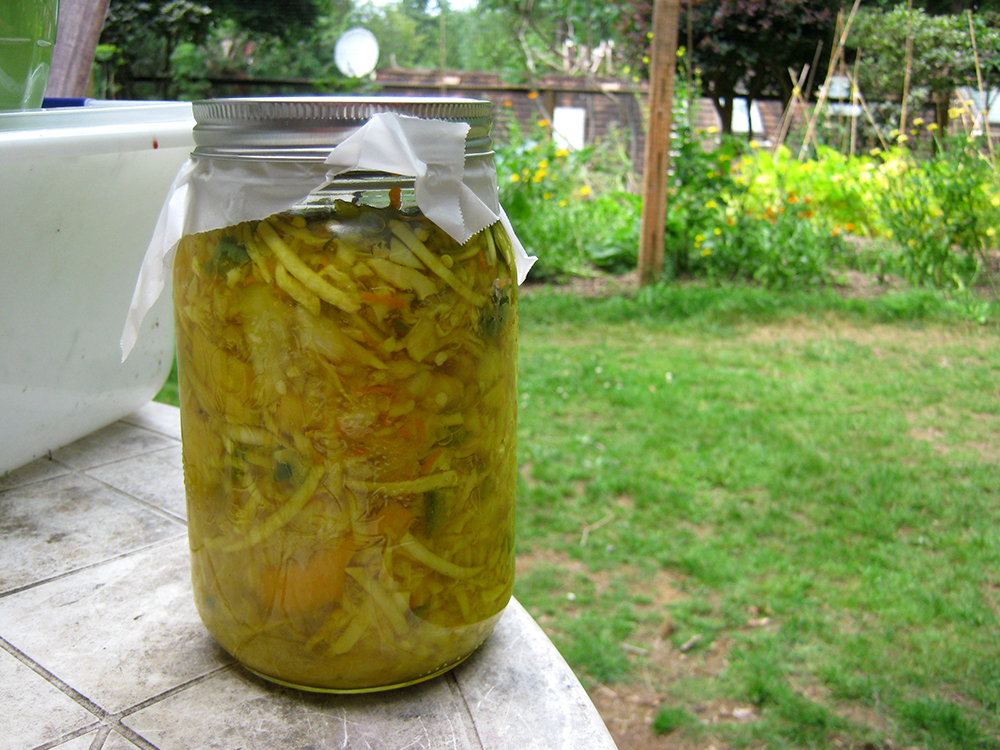
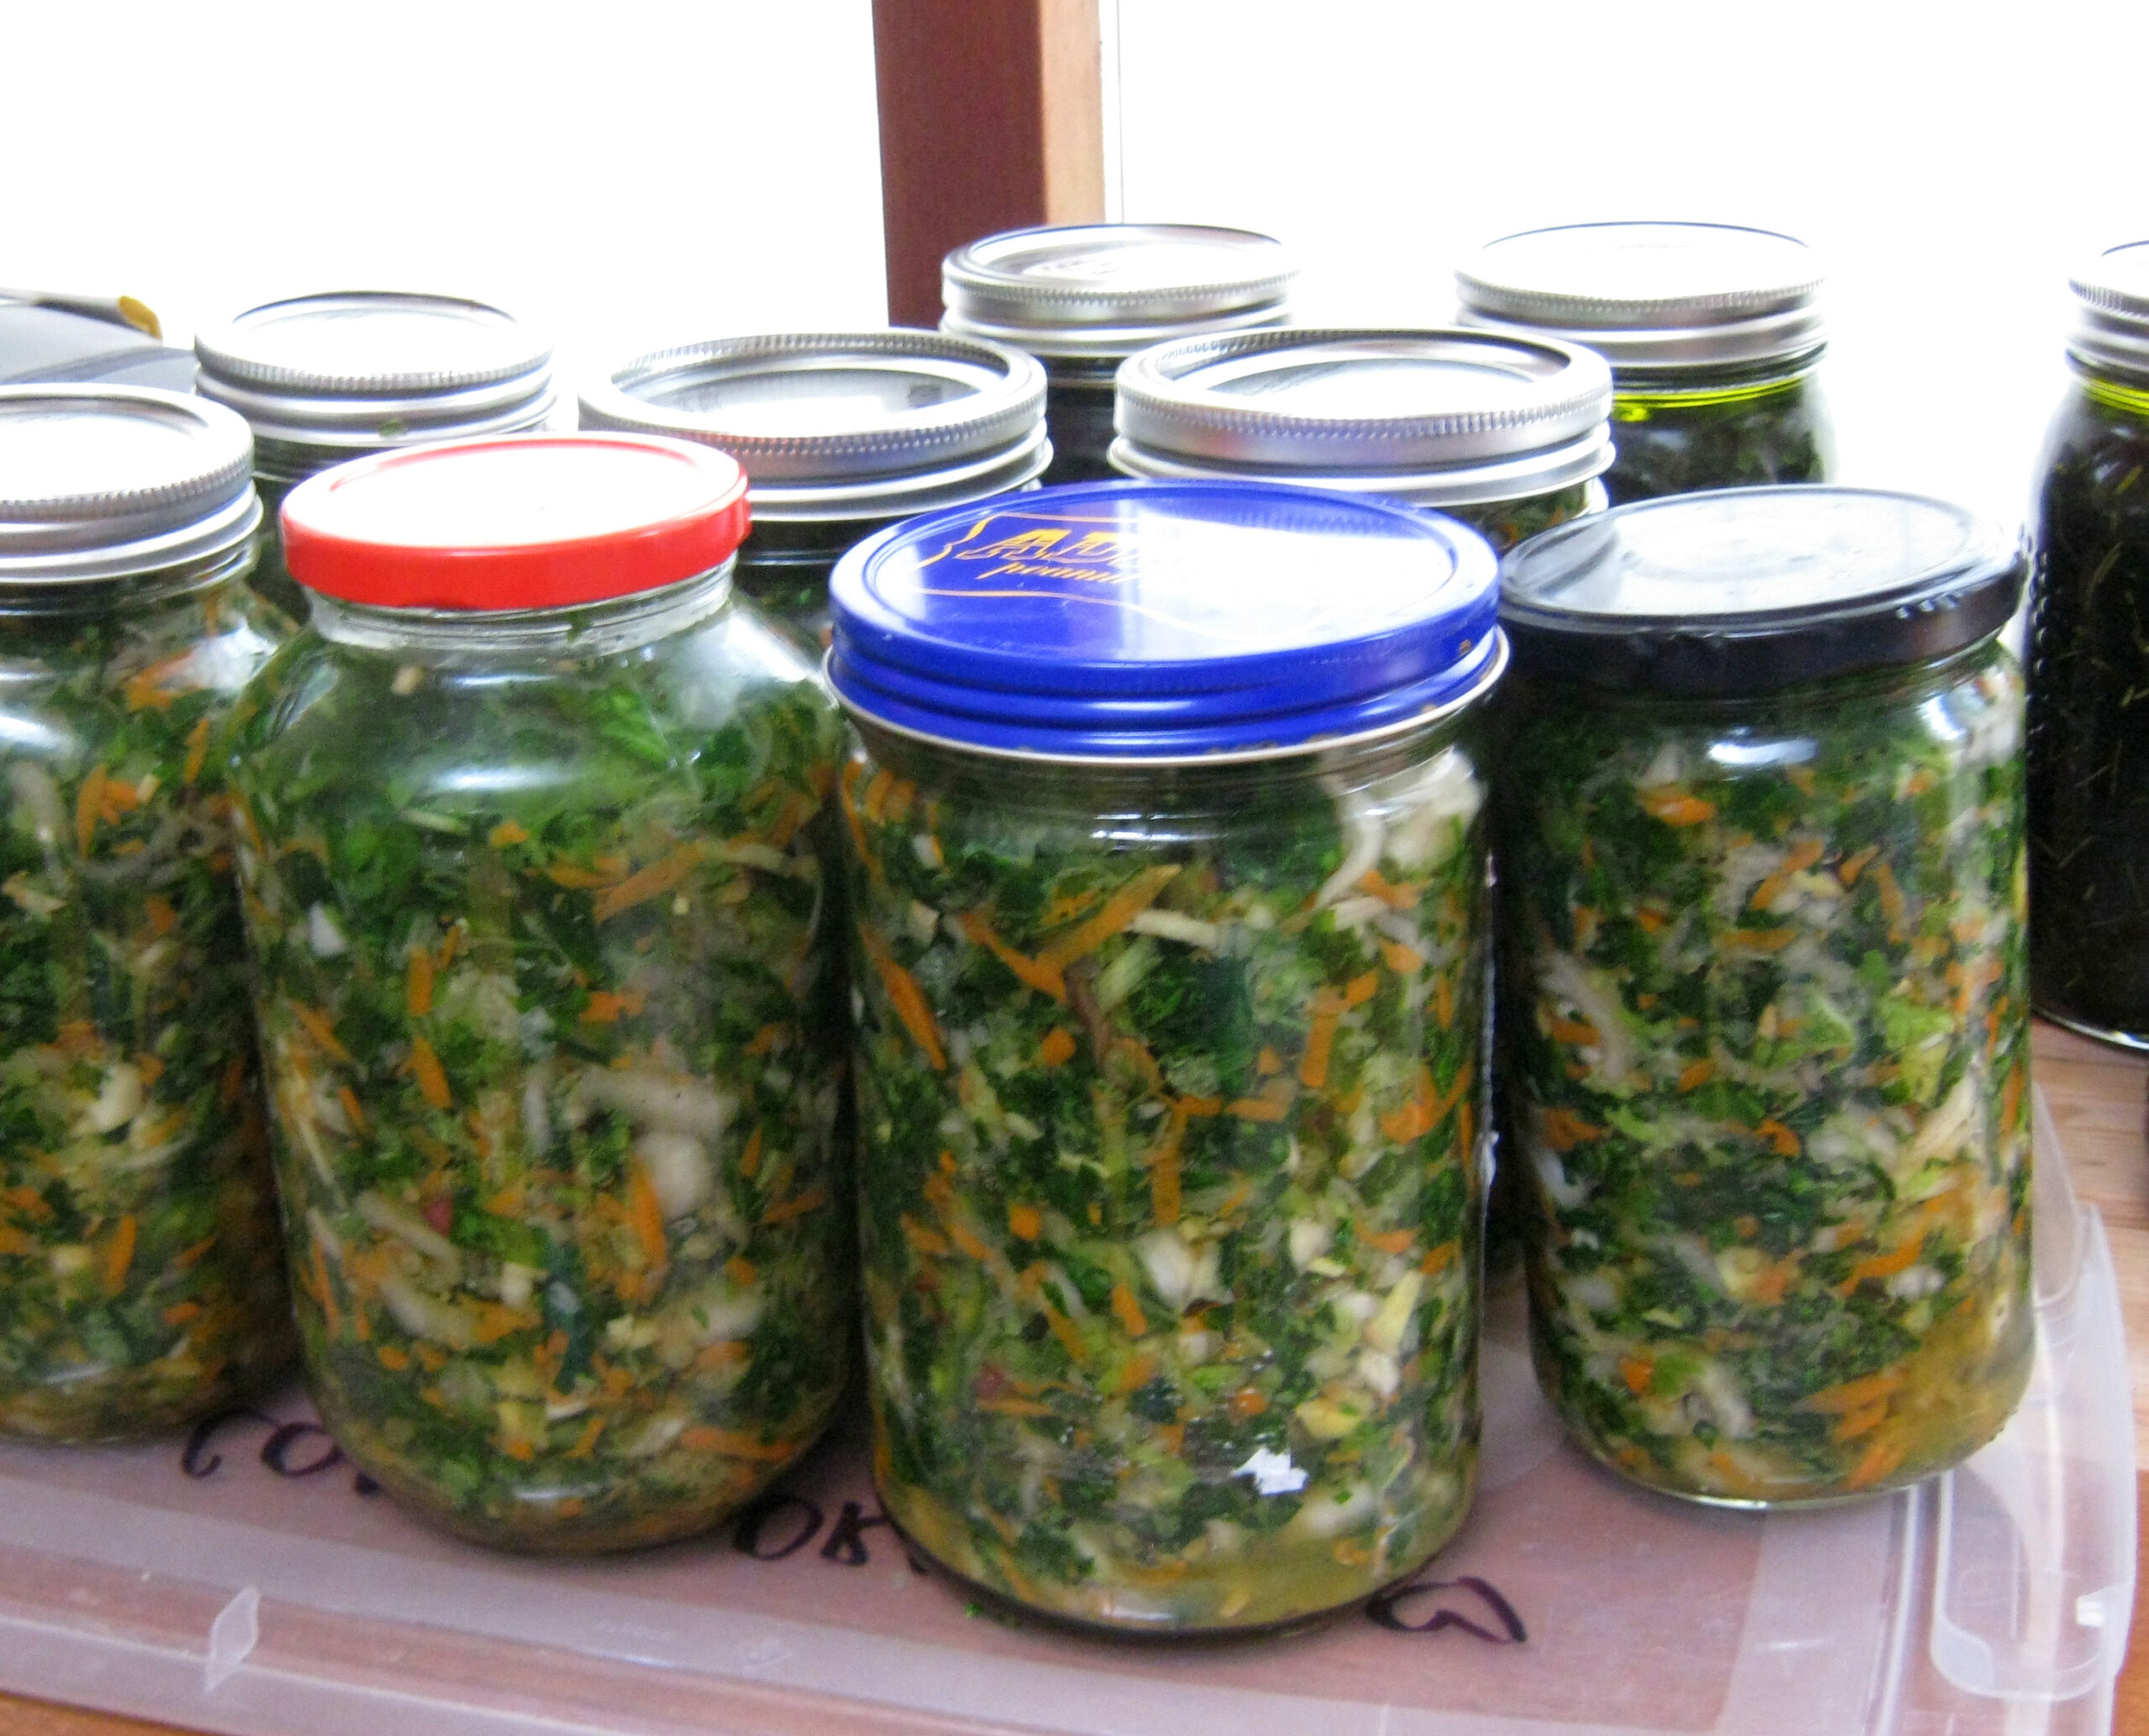
When it comes to preserving your vegetables, if you aren’t into canning, and don’t have a freezer to preserve your veg, you can try making fermented vegetables.
I made my first ferments last year, and we’re hooked. I put together three gallons of ferments just last week, as we had a lot of mustard greens that needed to e picked.
It is delicious, and amazingly good for you. Eating ferments is one of the awesome things you can do for your body; and it is not difficult to make. Even the dog likes it! Here is my fermented vegetables recipe.
You can do very simple ferments, with a limited amount of tools needed. But if you are planning to do a lot of fermenting, and want to make things a little easier on yourself, you can purchase some very helpful items:
- fermenting lids, which regulate the air, so you don’t have to watch each jar, and burp it to let air out every day
- replacement rings for mason jars – the metal ones rust, and can ruin your ferment
- glass weights, for holding the veggies down under the liquid so it doesn’t mold
- you can also get a tamper to help pack those veggies into the jar, crush the veggies to release the juices, and get rid of air bubbles
- and all kinds of kits and bits for you to play with
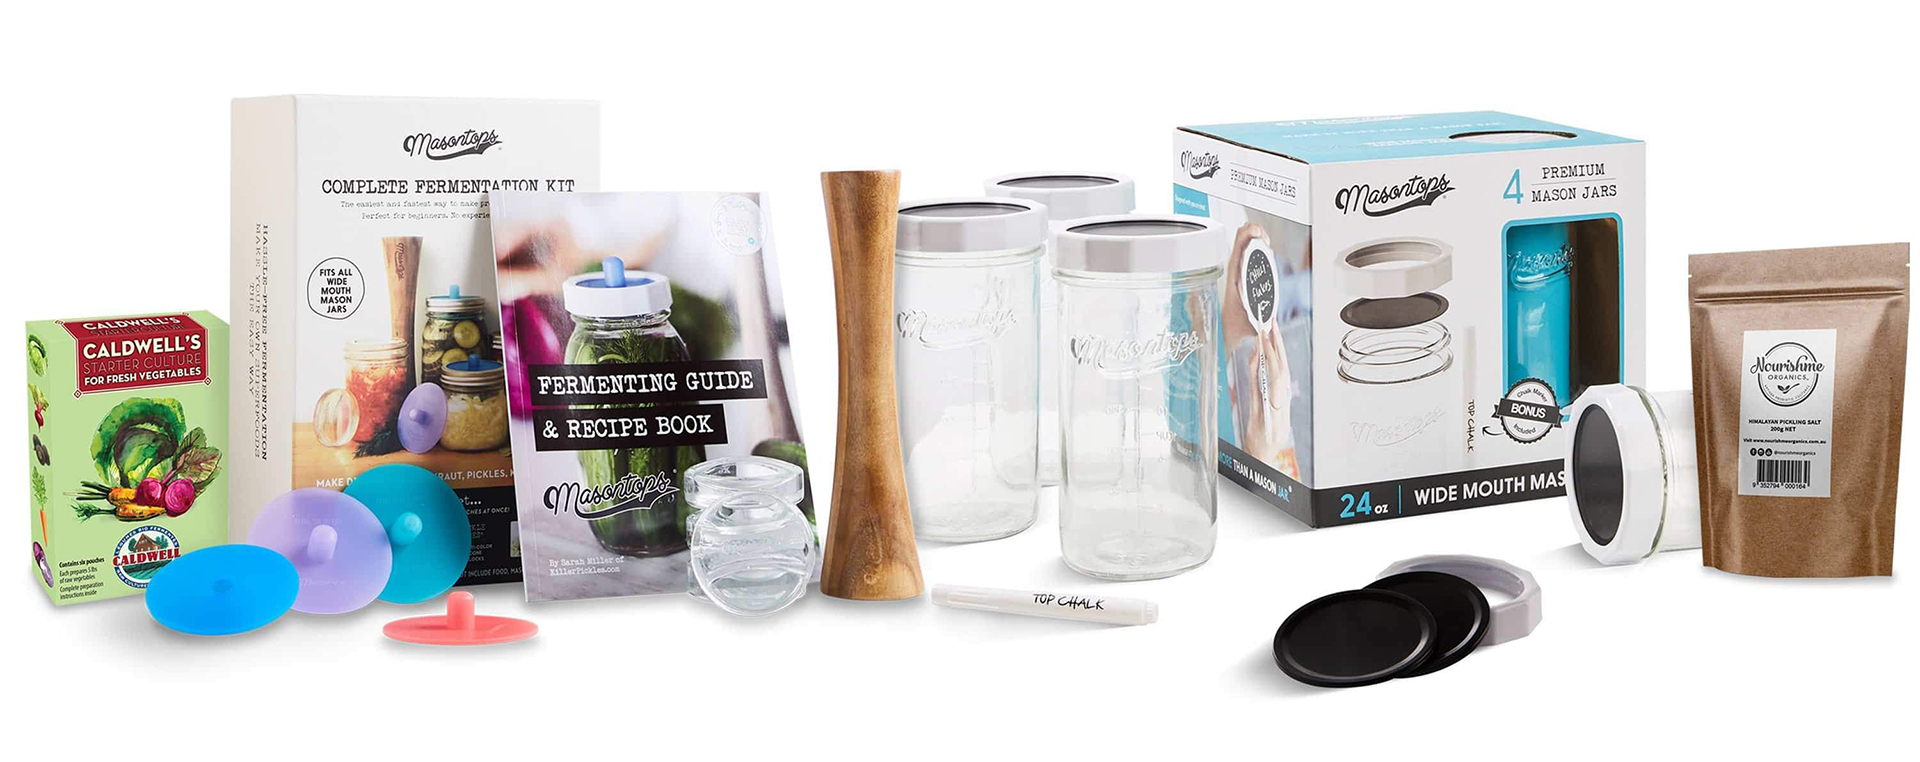
And, of course, there are many books on fermentation; the classic being The Art of Fermentation, by Sandor Ellis Katz.
Preserve vegetables by drying them
If you want to try another way of preserving your garden bounty, try drying it. You can either build a solar dehydrator, or you can buy an electric one. When food is dried properly, it can last for quite some time in a sealed container in a cool place.
Many things can be dried. Here are just a few of the things that I have either tried myself, or intend to try this year. Some of these, such as the hot peppers, garlic and onions, can be powdered and used in your spice shakers. Nice.
- kale
- zucchini
- herbs
- tomatoes
- sweet peppers
- hot peppers
- garlic
- onions
Did you know?
Sometimes things can get away from us in the garden. But it’s generally not a big deal. If the mustards and pac choi bolt (make flowers, in readiness for making seeds), just eat the flowers. They are sweet and spicy, and quite delicious. Even if a head of broccoli starts to flower, it is still perfectly edible, and perfectly delicious.
There are many parts of plants that you might not even know are edible, and which are often more nutritious than the part we are used to eating.
This mostly falls into the ‘greens’ category. Greens are some of the most nutritious things we can eat. Beet, turnip, and radish tops are super healthy, and very tasty in a stir-fry.
Stems and leaves of broccoli, kohlrabi and other cabbage family plants are also often delicious and always nutritious. And tender young pea, bean, and squash leaves are edible as well.
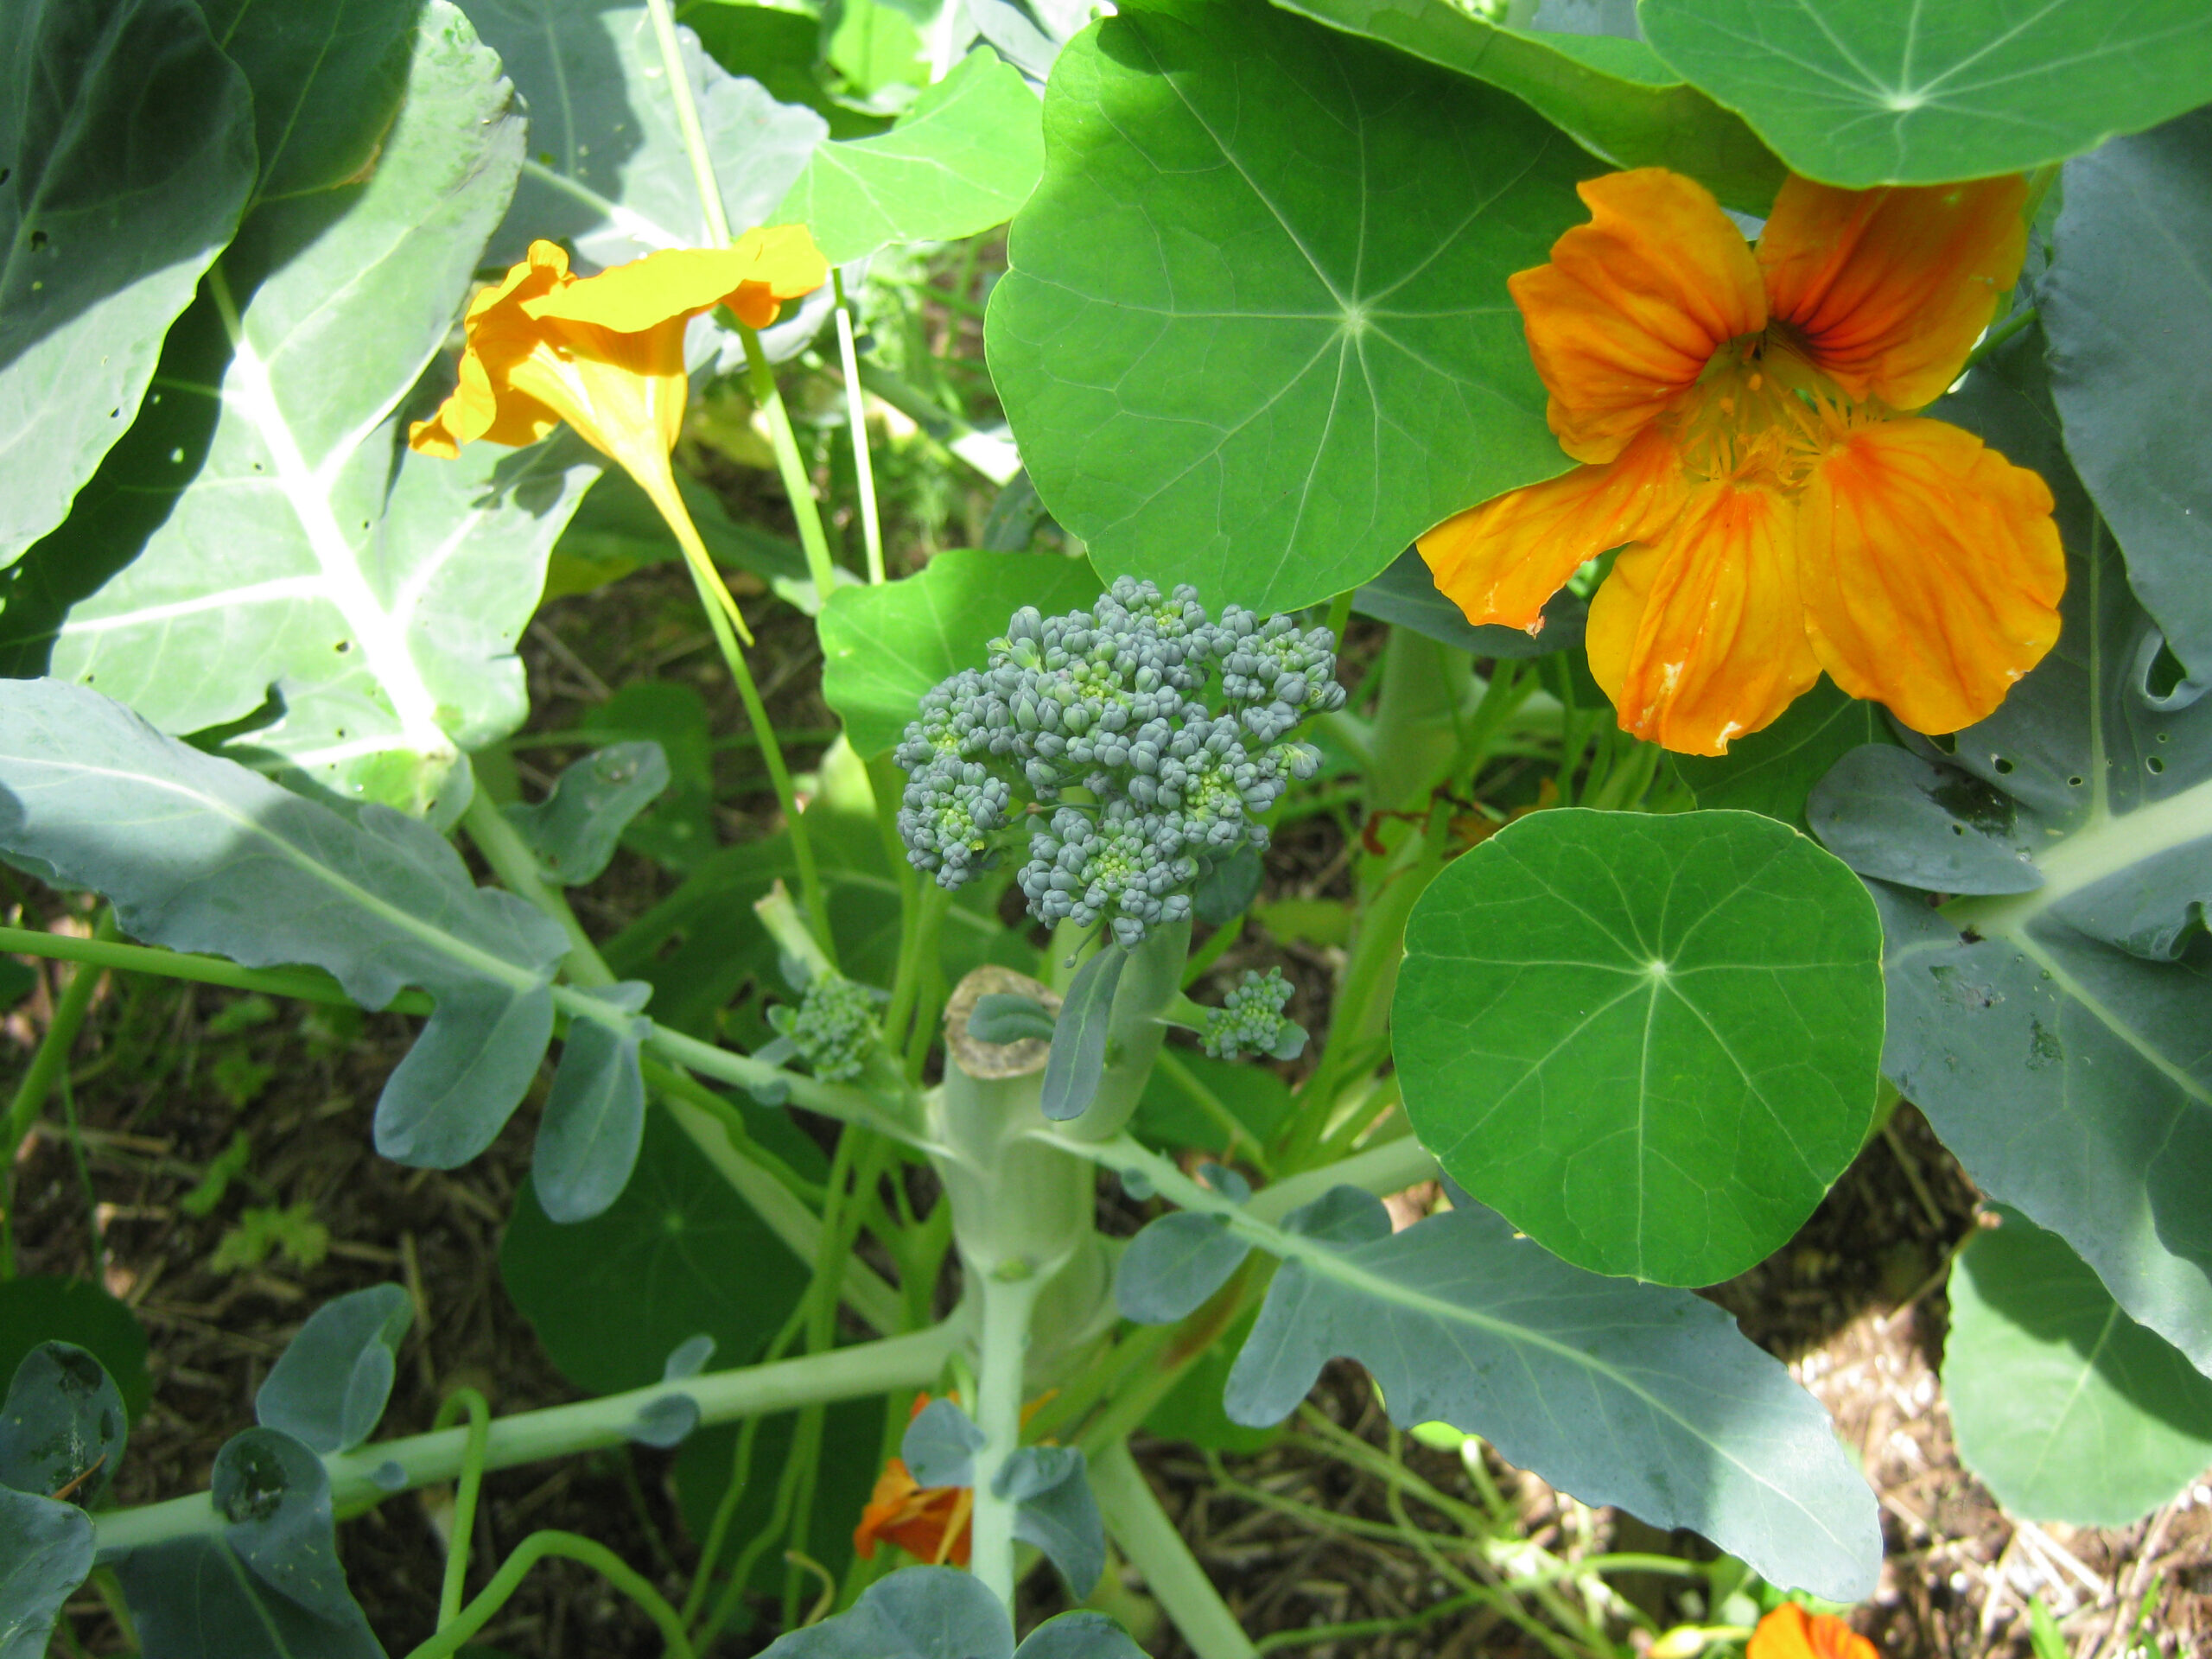
There are many flowers that are good to eat. Nasturtiums, calendula, borage, violets, and herb flowers are all edible, and make a salad a thing of beauty.
There are a wide variety of lettuces, but almost all of them – whether they are usually left to grow into a head or not – are able to be picked as leaf lettuce, enabling you to start eating them much earlier, and continue eating them much longer.
Just pick the outer leaves of a few plants to make up your salad, and they will keep growing and putting out leaves. The same is true for beet leaves, chard, kale, and mustards. Just keeping picking them and they’ll keep pumping out their gardeny goodness.
Some herbs are edible in different ways at different phases of their life cycle. Cilantro leaves are awesome in fresh salsa, gazpacho, or any Mexican dishes. But if they go to seed, that seed is then called coriander, and is also great for flavoring. Dill is useful in leaf and seed form. And the flowers of all herbs are quite lovely to eat.
Some plants, such as radishes, make their seeds in little pods, and if you eat them green they are super delicious. And mustard seed is used to make…mustard! Very tasty in a stir-fry or fermented veggie mix. Yum.
Any questions?
Hopefully you have learned a few new things about your garden and what it can provide for you that you didn’t know you could eat.
There is more bounty in the garden than you might be aware of, so take full advantage of this to really diversify your diet. Introduce new tastes into your cooking, and experiment with uses beyond the culinary.
Watch for more about what comes out of my permaculture garden this summer, and what I do with it. Experiment and have fun with your garden, and you’ll continue to learn every year.
Please drop me a note in the comments below, with your questions, thoughts or observations. I’m always happy to hear from you. And if you liked this post, consider clicking that share button below.
Thanks for dropping by!
Health, Hope & Happiness
Tracy
i went for a visit to my friend’s garden and i learnt a lot. using permaculture always seemed like a big deal but that day, i learnt a lot. with the help of your article also i am sure when i get my own garden i will be able to get everything set. i hope i can ask for help again when i need it.
Thanks for visiting my website, Benny. And I hope you continue to learn through the articles I write.
If you ever have any questions, I’d be happy to help.
Tracy
Planting is one thing, having the luxury of time to tend to the plants and allow them to grow is another thing entirely. I really like this post and how you have explained in details of how things work out with gardening and how to preserve harvested garden leaves especially vegetables. This is great and quite delighted to have come across this. Thumbs up
Hi, thanks for stopping by! Yes, a garden can be a big time commitment if it’s not done right.
The joy of permaculture is that we learn to build our gardens so that they don’t take up a lot of time and energy in the future.
I’m glad you enjoyed the article, and I hope you’ll continue to visit.
Oh, I love fire cider! Forgot to make some for this winter season, but reading this post is inspiring me to put some together to have on hand. The sun tea sounds amazing, and definitely plan to try it this year with fresh herbs from the garden we are starting up.
I noticed with your oil infusions, that the picture shows them outside. Should I let them sit outside to infuse for the six weeks (bringing in during rainy days), or place the jars in a cool dark place?
Also love your suggestions on fermenting vegetables. Fermented foods is a staple in our home, and always looking for new ways to make it even tastier!
As mentioned, we are just now starting our garden, and am so glad that I ran across your page, for it truly is inspiring, and making me want to grow all sorts of delicious goodies!
Thank you so much for sharing!
Hi Brandy
Yes, Fire cider is awesome, isn’t it? I knocked a cold on its butt last year by guzzling fire cider. Great for the immune system, just like the ferments.
When I make oil infusions, I like to have them about room temperature – just warm-ish – while they are steeping. Then I store them in a cool place. They were just out in the garden for a sexy photo shoot. 🙂
I wish you the best of luck with your new garden, and I hope you’ll come back and peruse the other pages on my site, and ask me any questions you may have. I’m always happy to help.
Tracy
Hello! At first all credit goes to you for extraordinary thinking. I really appreciate to you for the nice post.
You have posted about how to use permaculture garden. Gardening is my passion. I have all kinds of tree in my own garden. There are many kinds of flowers, vegetables, wood trees etc. I love to do gardening . you have posted about advance gardening. In my garden I use natural product. I harvest seasonal product. It gives me food and etc. I am really benefitted for it. From the article I have learned some new knowledge too. So thank you for the post again.