Starting your first permaculture vegetable garden can feel a bit daunting. You’ve been taught by convention that to build a garden you need expensive equipment to till up the soil; and lots of stuff like fertilizers, pesticides, and other manmade garden inputs. Well, I’m here to tell you, it doesn’t have to be that way.
In fact, if you want to build a natural and productive garden, which will produce healthy organic food for you and your family, you will avoid all of those things.
Tilling the soil breaks up the soil food web, and slowly kills your soil. It might not show up the first year, but if you continue to till each year, your soil will become more and more depleted. And depleted soil cannot grow healthy food.
So you might start adding fertilizers and other amendments. But the more you till, the more you need to add to your soil. It’s a vicious cycle that can end up costing you more money than you need to spend. And the vegetables you grow will have fewer and fewer nutrients in them.
Permaculture suggests we garden in a natural way, emulating what happens in the natural world, but speeding it up a bit.
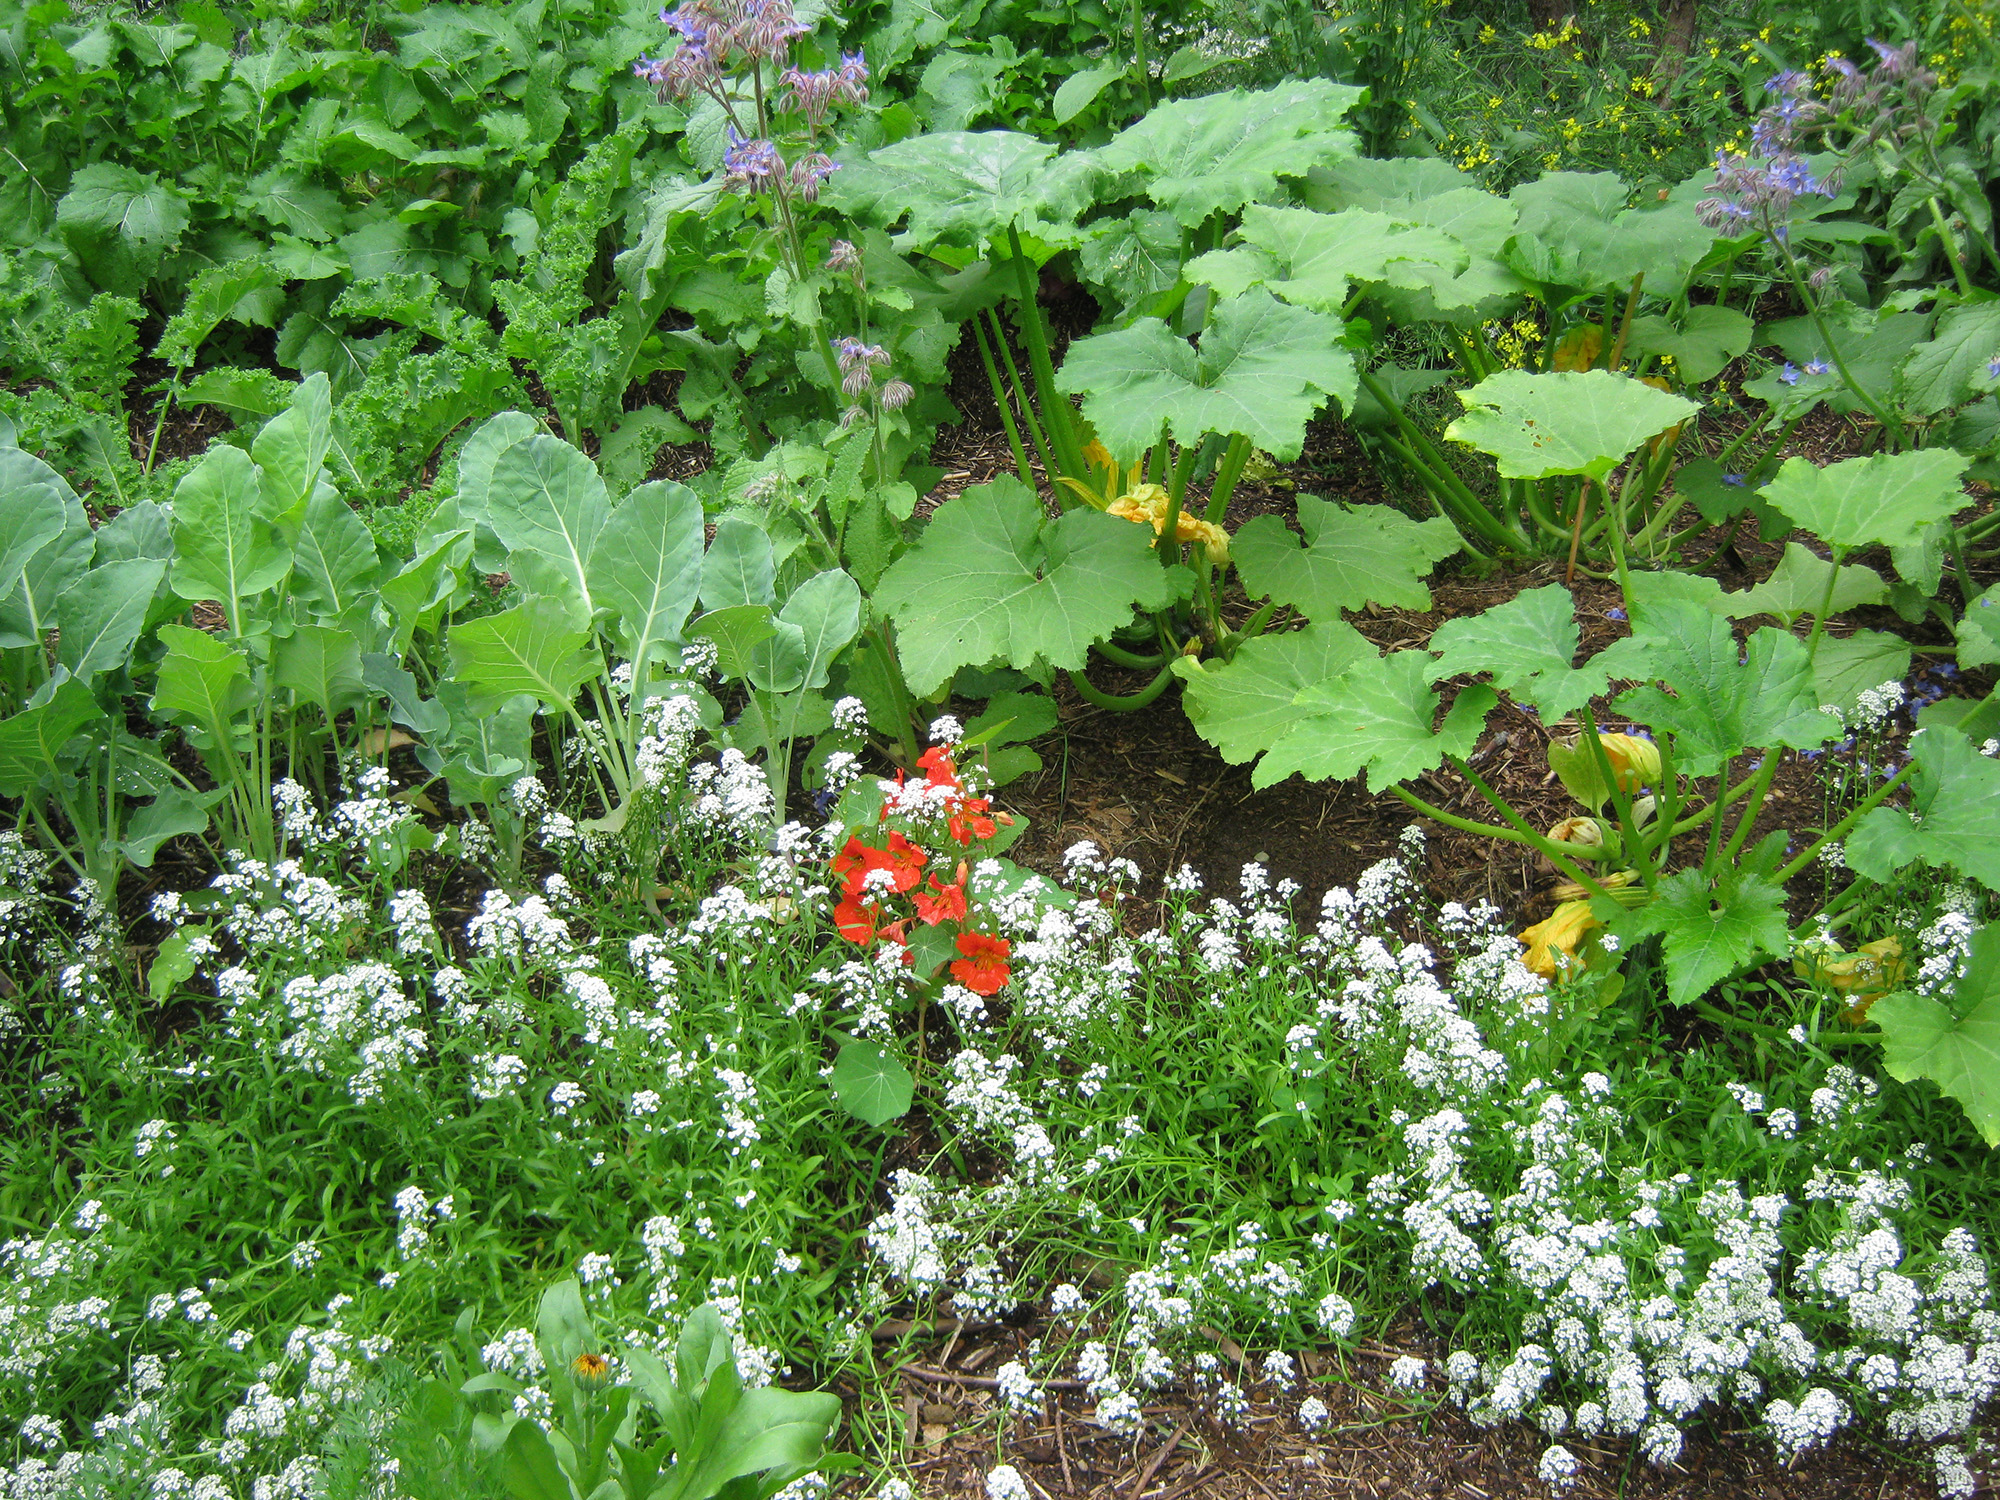
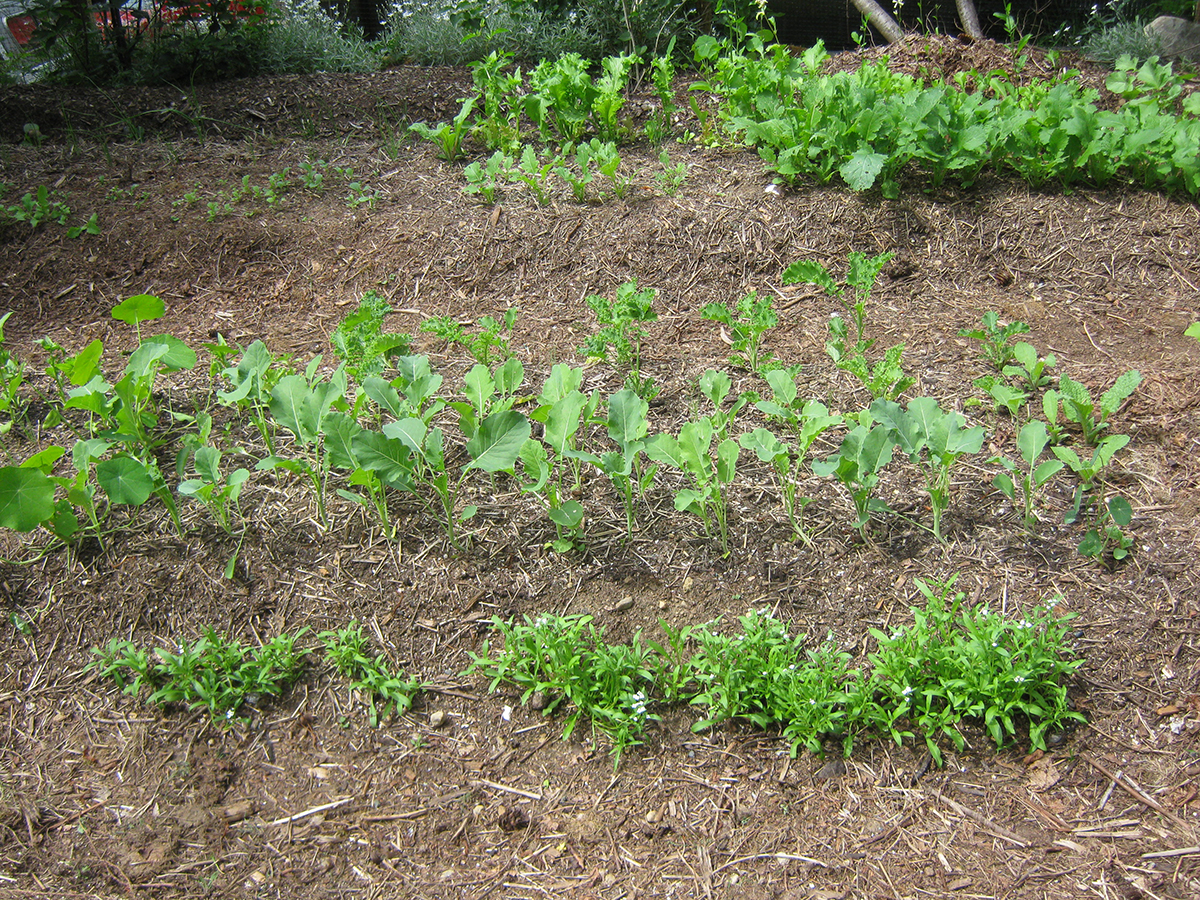
Adding compost to the garden every year – just layer it on top, don’t till it in – feeds the soil, and adds organic matter, which is a very important soil food and water holding ingredient in your soil.
It is the soil’s job to feed the plants, and your job to feed the soil. There are plenty of things you can add to the garden which feed the soil. Compost, worm castings, seaweed, leaf or straw mulch, and manure are all excellent, natural garden amendments.
All of these amendments are designed to feed the soil and keep it healthy and nutrient rich. Keep adding these goodies to your soil, and it will reward you with healthy, organic, nutrient rich vegetables
So! Let’s get this garden started.
How to build a vegetable garden quickly and easily
I’ve written about some great ways to start a vegetable garden here and here. For this beginner’s garden we’re going to take the simplest route. All you’ll need is some cardboard or newspaper, and some good compost.
Now, let’s find a good site for your garden. You’ll want to have as much sun as possible; but if you have a shady yard, don’t despair. My garden gets about 8 hours tops, and the sun doesn’t hit it until about 10:00am, and I get plenty of production. But sun is a definite asset, so do your best.
You’ll also want to have easy access to water. If it’s difficult to get water to your garden, you might put it off and put your garden in jeopardy. So make sure there’s a faucet nearby, or easily accessed.
Here are the easy steps to building your garden:
- Wet your cardboard or newspaper well. Use a wheelbarrow or bathtub to soak it in.
- Mark out the area you want to use for your vegetable garden.
- Spread the wet paper out over the area you’ve marked out – if you’re using newspaper, make sure it is several layers thick.
- Cover the wet paper or cardboard with the compost. Try to get about 3 inches on there. And make sure to cover all the paper, otherwise it will dry out.
Voila! You now have a garden.
There are other steps you might like to add in, if you have the time, energy, and resources. You can use a shovel to flip the top layer of sod over before covering the area with paper. This will help with weed control.
If you live in a dry climate, you can add mulch of some kind on top of the compost. This will hold moisture in, and help in the soil building process.
Supplies
Building this quick and easy vegetable garden really doesn’t require much in the way of supplies. You’ll need:
- Cardboard or newspaper – enough to cover your chosen garden area
- A large tub or wheel barrow to soak it in
- A shovel, to cover the paper with compost – and to flip the turf, if you decide to go that route
Planting a vegetable garden
Now comes the real fun part – getting those seeds planted. As with most things, there are plenty of ways to plant a garden. Some prefer to buy or grow transplants. Some prefer to seed directly in the soil.
I do a little of both. Last year I started quite a few transplants. But I was getting some perennial herbs started, and as it was the first year I gardened here, I didn’t know what to expect in this shady yard.
This year I’m only starting a few transplants – tomatoes, peppers, and some early cabbages. Everything else will be direct seeded this spring and summer.
In the fall, I will be starting transplants. The sun disappears quite early from this garden, so I think it will help to get some fairly large transplants for the winter garden. That way they’ll have a head start before the sun goes behind the trees.
When and how to start seeds indoors
The internet is loaded with information about starting your seeds indoors. So I’m just going to offer a few pointers that I feel are important when learning to start seeds.
The actual act of starting seeds is simple. Seeds just…grow. It’s what they do. But when we make them grow at unusual times, then we must help them out. Here are my recommendations:
Try to give them as much light as possible. Seedlings that don’t get enough light get leggy and weak, and we want strong transplants, so they don’t get too much transplant shock when we plant them.
Make sure that the seedlings are in a place where they get some air movement. The more still the air is, the more chance for damping off, and other fungi and molds to grow.
Don’t make things too wet. You want the top of the soil moist until the seeds sprout. But seedlings don’t want to be waterlogged. So water when necessary, but probably not every day.
Some seedlings want it warm, and some seedlings like it a bit cooler. For example, tomatoes and peppers love the heat, but lettuce, spinach and pac choi are more partial to cool weather. Do your research and find out what your new veggie seedlings like.
As for when to plant your vegetable seeds, that depends on where you live. Each seed packet should have an indication of when to start it.
Some might say to start indoors so many weeks before or after the last frost date, so it’s important for you to find out what that is in your area.
Another number on the packet that you should know about is the Days to Maturity. This can give you an idea of whether it will do well in your area. If you have a short growing season, choose varieties that have a short Days to Maturity.
Direct seeding
Direct seeding just means planting the seeds directly in the garden, instead of growing seedlings inside and then transplanting to the garden later. There are a few advantages to direct seeding:
- You don’t have to spend money on lights, electricity, seed trays, etc.
- It’s quicker and easier to plant seeds than to transplant seedlings
- Direct seeded plants can be stronger, and more resilient
Multi-seeding
This is a technique that I first read about in Eliot Coleman’s The New Organic Gardener book (one of my favorite gardening books). And then I saw that Charles Dowding does the same thing.
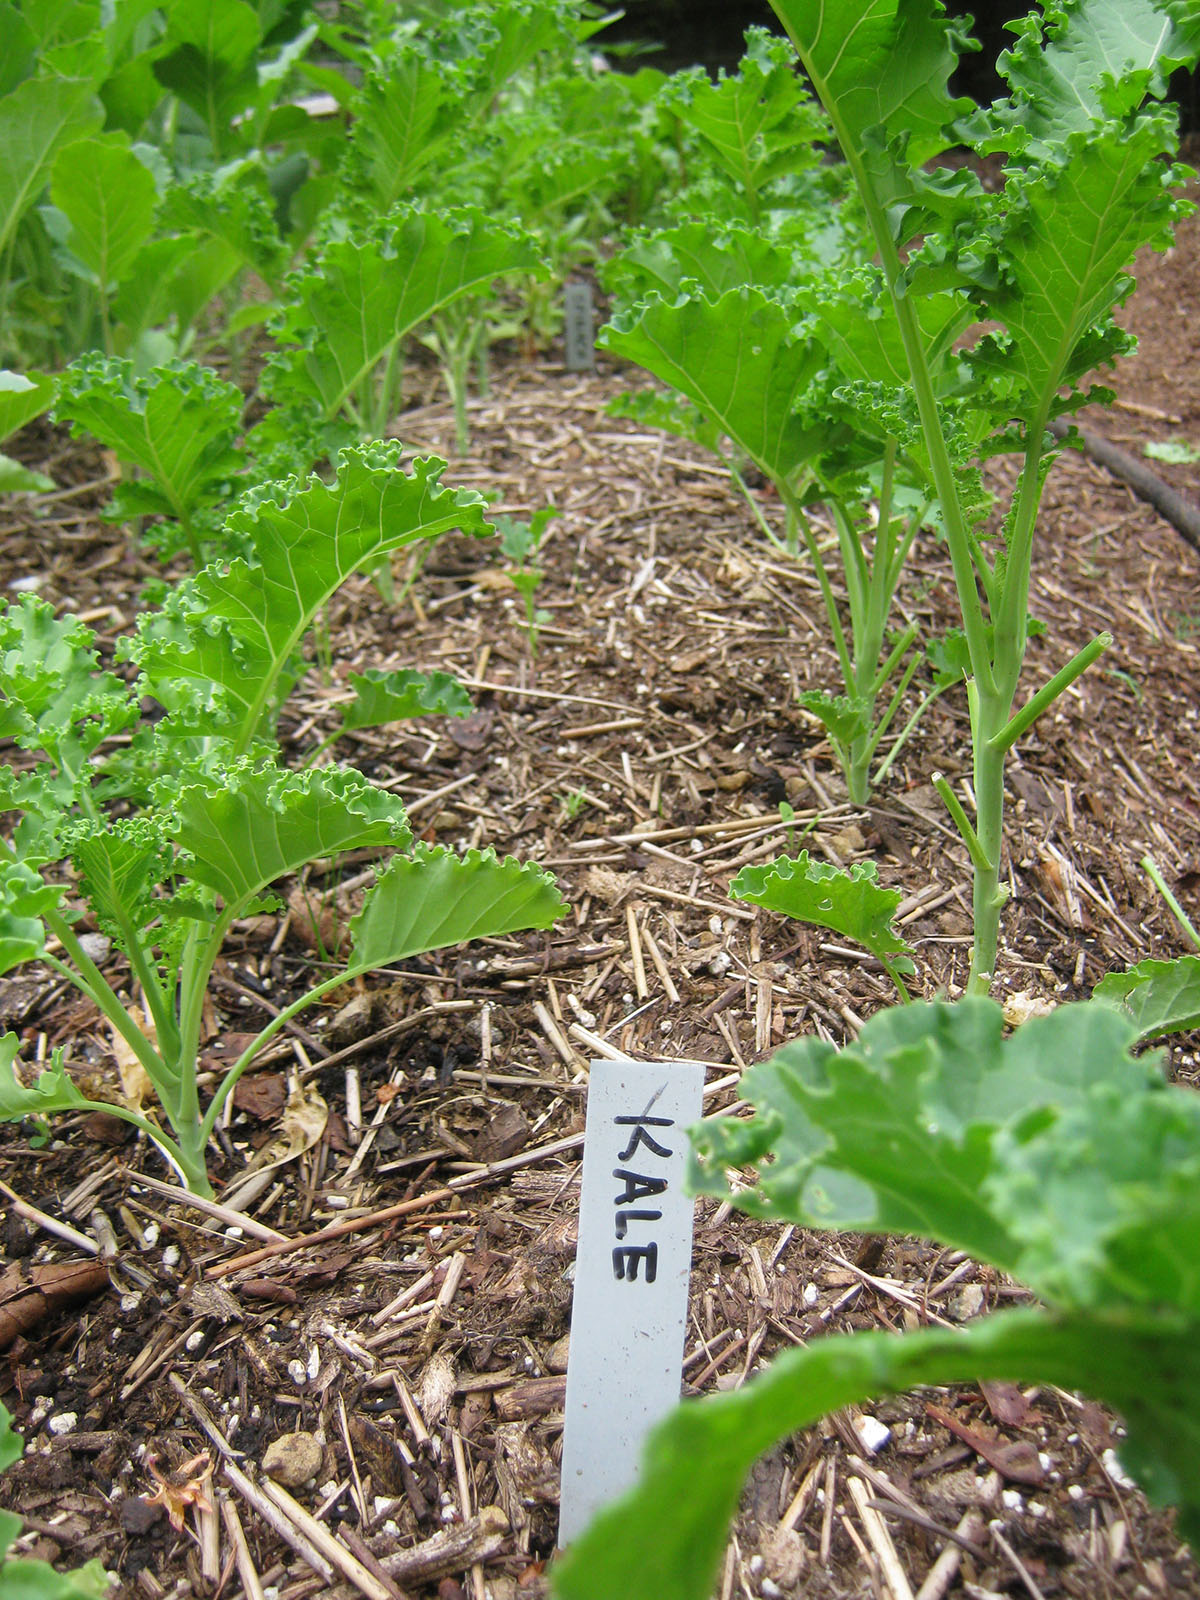
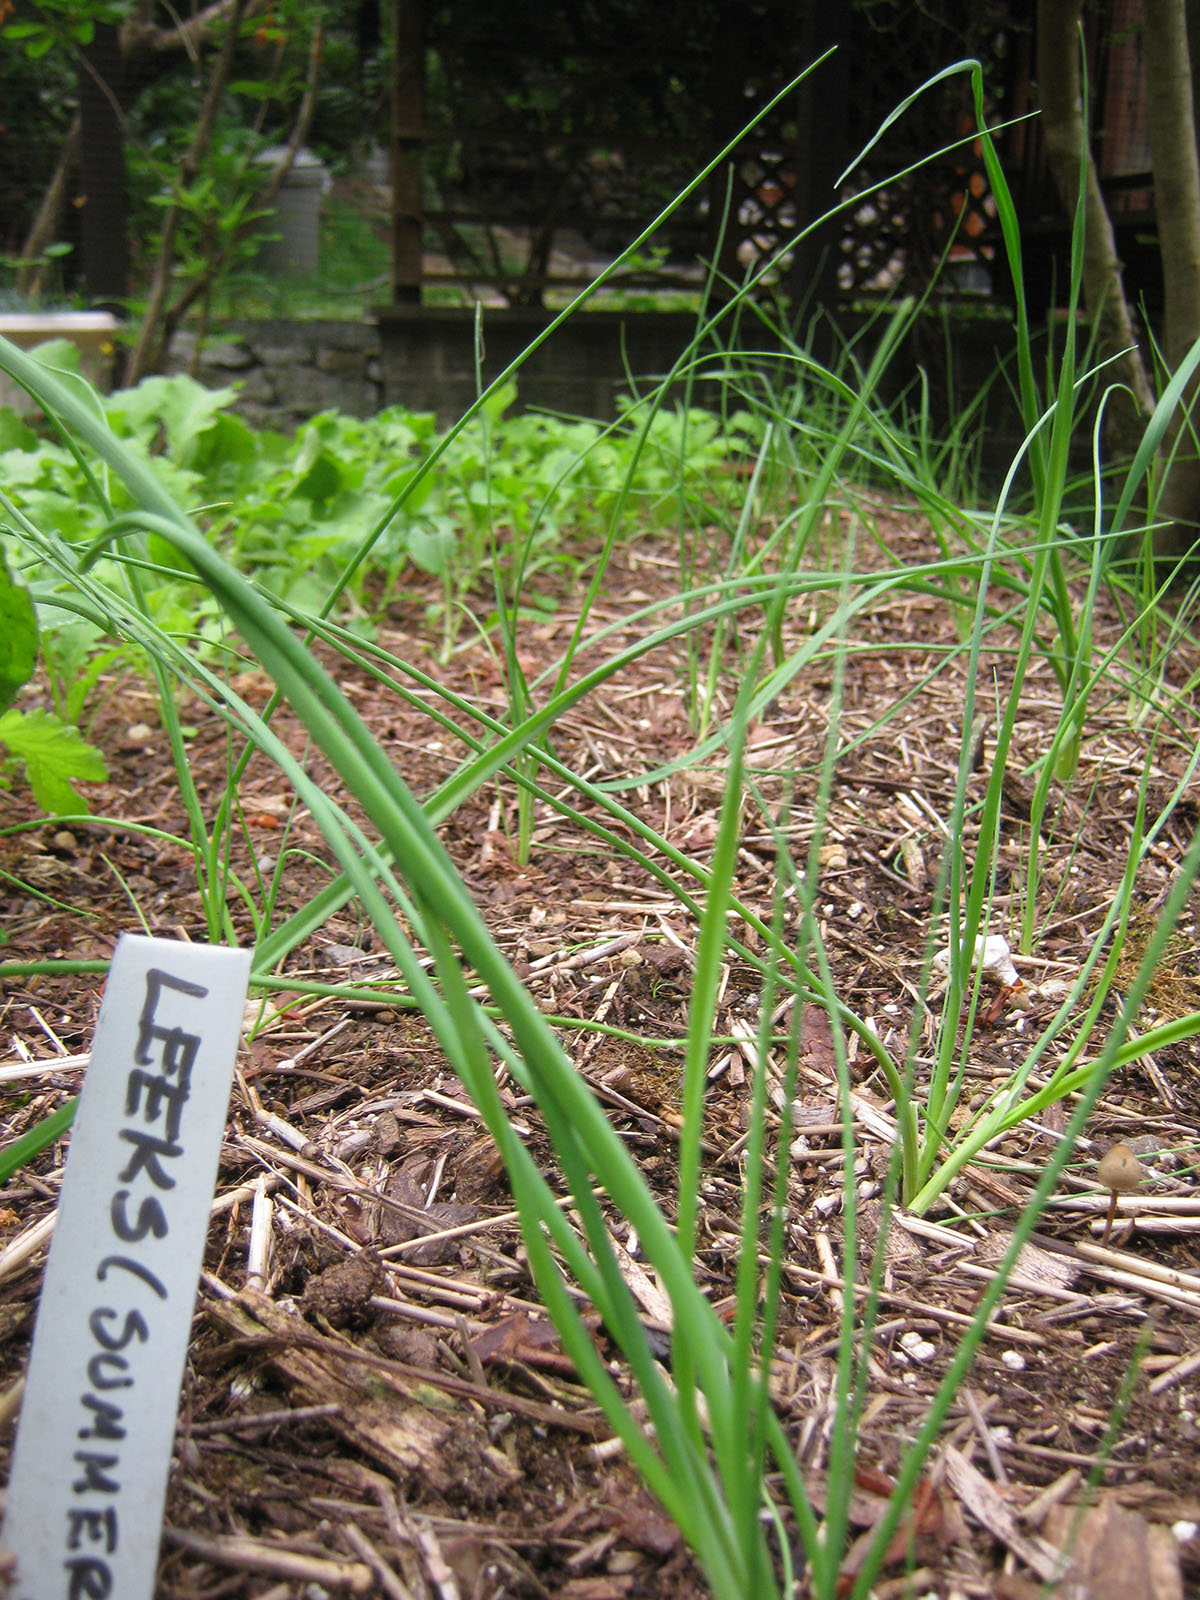
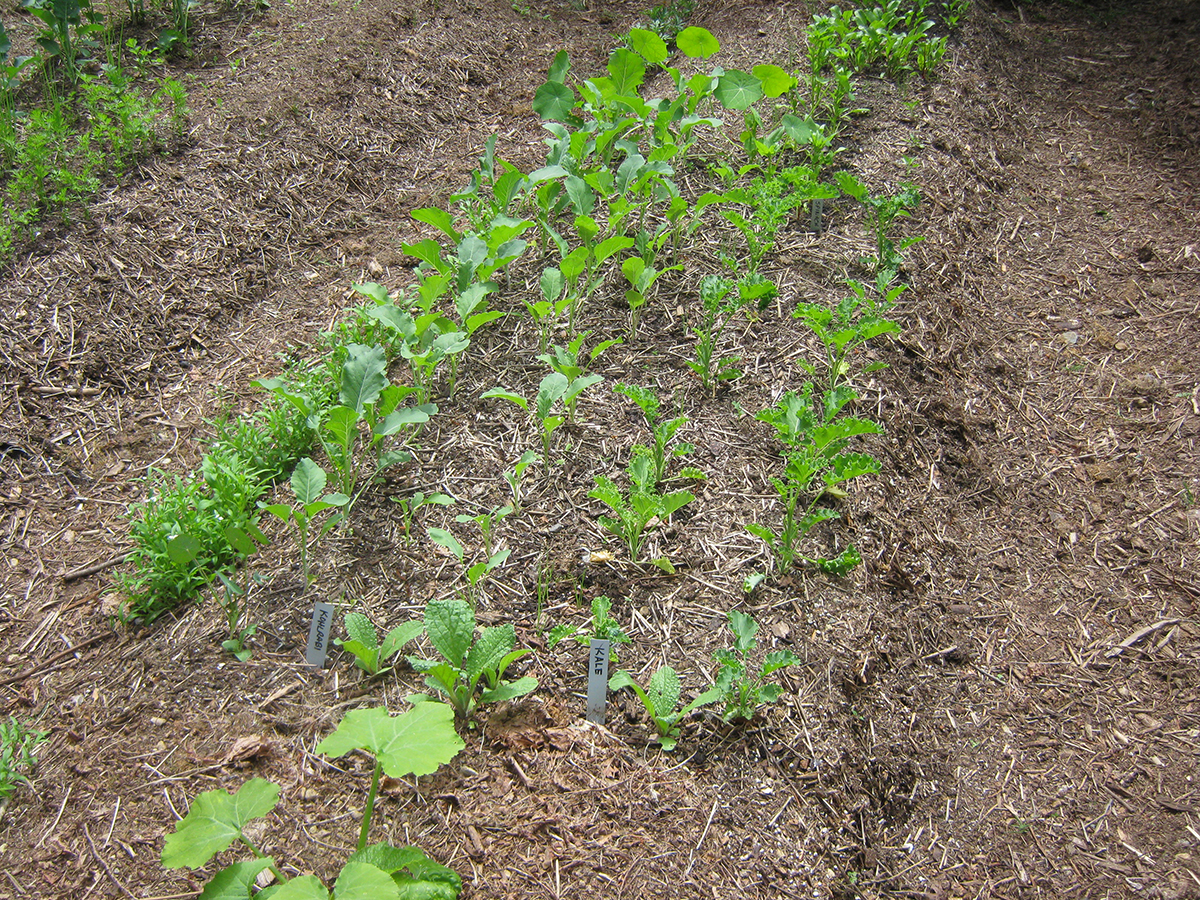
It’s quite simple really – there are several vegetables that can grow quite happily bunched together, such as leeks, onions, green onions, radishes, beets, and turnips.
4 or 5 leek or onion seeds, 10 or 12 green onion seeds, or 4 radish, beet or turnip seeds, can be sown in one spot (or cell of a seed tray), and will just push each other aside as they grow.
You can try it with other plants as well. I’ve done it with broccoli – two plants in each spot – and they grew just fine. I think the heads end up being slightly smaller; but they mature earlier, which works well for me.
Multi-seeding is advantageous in two ways:
- You can fit more vegetables into the garden
- If you’re growing transplants, it’s much faster to transplant 300 onions if you plant them 4 or 5 seeds per cell. You’ll end up setting out 75 transplants instead of 300!
Supplies
You can use just about anything to start your seeds in. Repurposed plastic containers, milk cartons or whatever you have handy. Some even use toilet paper or paper towel tubes.
Whatever you decide to use, make sure it has drainage holes in the bottom. You don’t want your seedlings to have waterlogged feet. They don’t like that much.
You can also purchase brand new seed trays and paper pots to start your seeds in. If you get good quality seed starting equipment, and take good care of it, you can reuse it for many years.
A spray bottle is a handy thing to have for watering new seedlings. It’s a gentle way to water, and won’t dislodge tiny seeds or seedlings. You can also poke small holes in the lid of a plastic milk jug or soda bottle. This works well for watering too.
And of course, you’ll need some seeds. There are so many seed companies out there, you’re sure to find one that you like.
If you’re looking for inexpensive, organic, non-GMO seeds for a vegetable garden (and I strongly suggest organic and non-GMO seeds), try Seeds Now! They have a good selection of vegetable, herb, and flower seeds; and their prices are more than reasonable.
=>> Seeds Now! is not accepting new orders at this time. <<=
=>>Try Botanical Interests in the US; and West Coast Seeds in Canada.<<=
Seeds Now! also has these nifty expanding seed starting pods, at a super price. You can get 100 of them for $20 USD! An amazing deal. They can be planted directly into the ground once your seedlings are big enough. Coolness.
Taking care of the garden
So now your garden is planted. What next? Well, you have to take care of your carefully grown plants, so they give you the best harvest possible. The first consideration is water.
As a general rule, a garden needs about an inch of water per week. It’s best to do a few really deep waterings, rather than lots of shallow ones.
Deep waterings encourage plant roots to go deeper, creating a stronger plant with more chances to find water and nutrients. Shallow waterings encourage shallow roots, and shallow roots can dry out much faster than deep ones.
Shallow waterings can evaporate faster than deep ones, so it really is in your best interest to water once or twice a week, very deeply. You’ll save water, and have much stronger and more resilient plants.
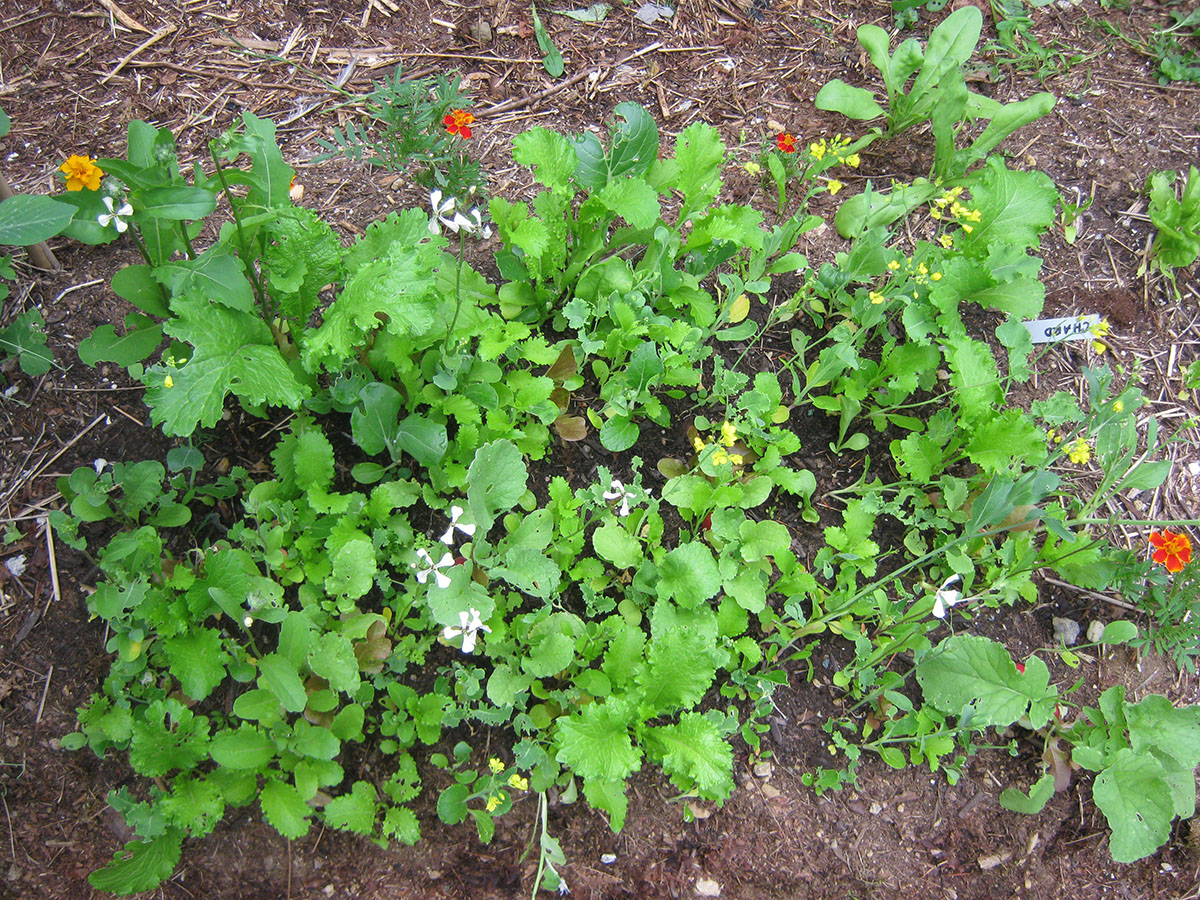
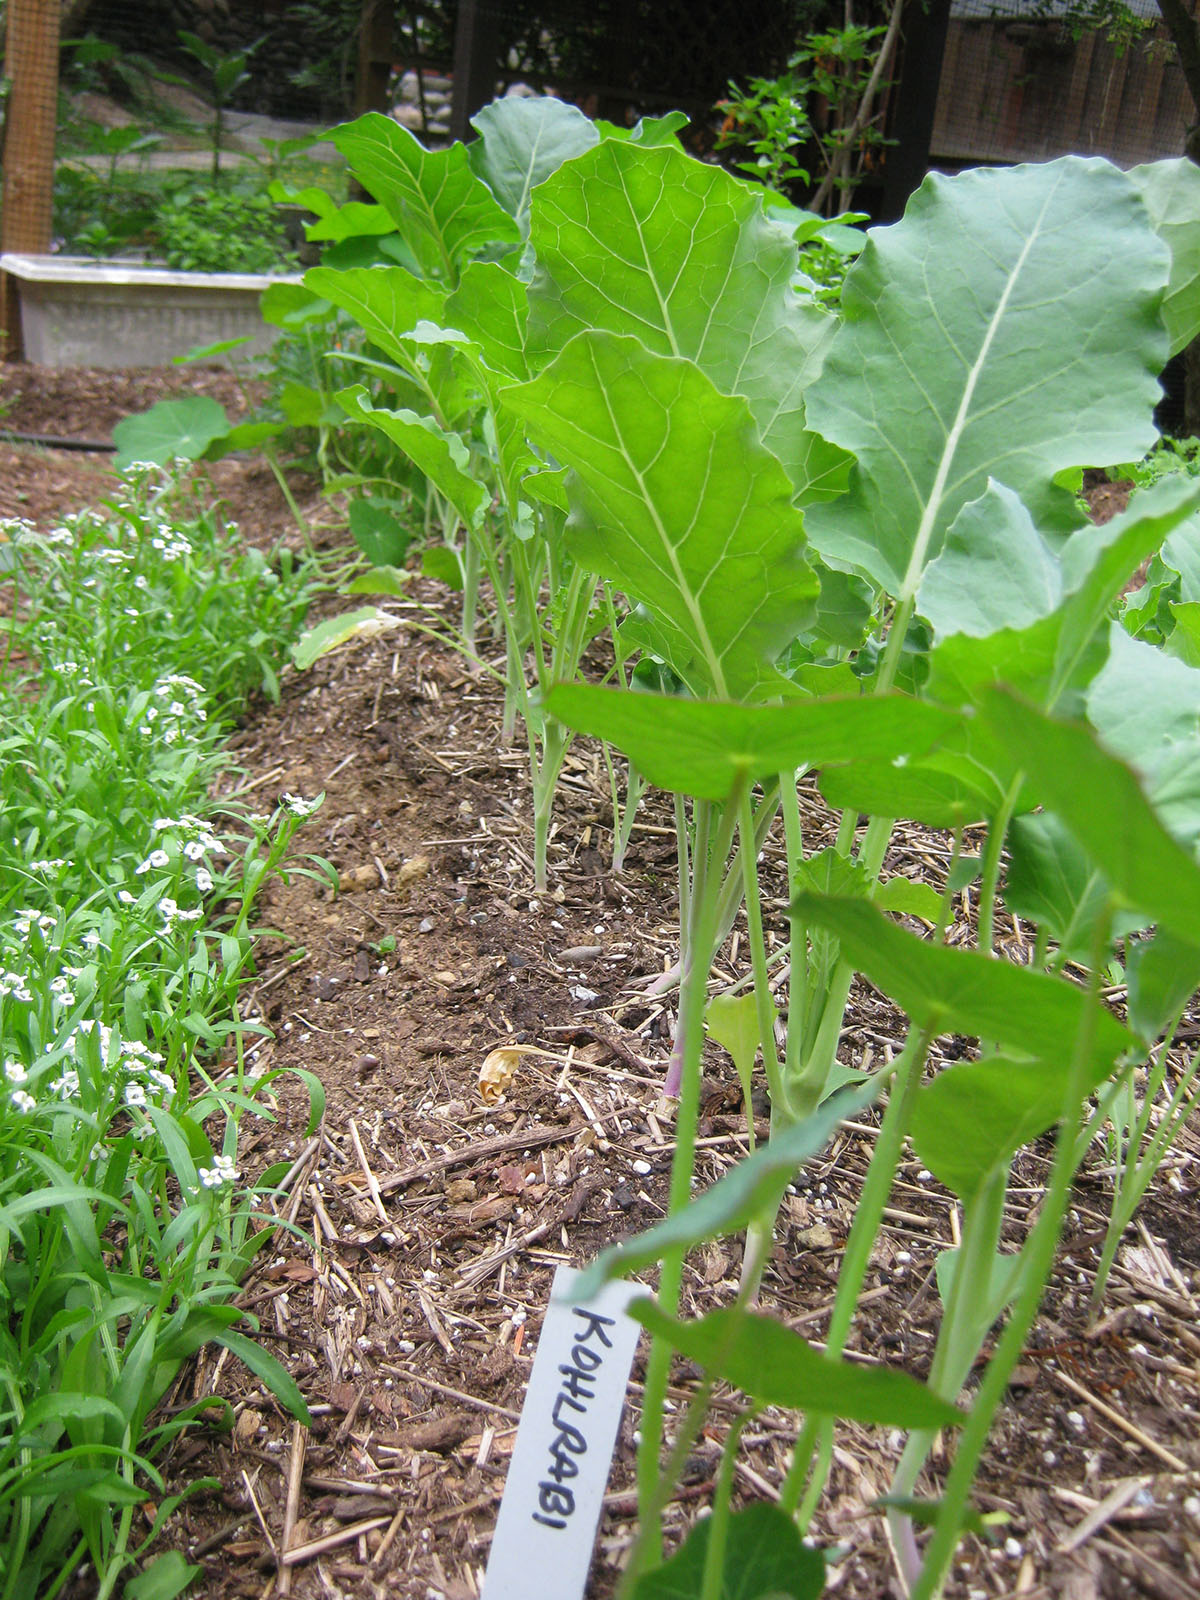
Weeds can be another consideration. If the compost you’re using is relatively weed seed free, you probably won’t have much of a problem the first year. But weed seeds can blow in from near and far, so you will eventually find weeds in your garden.
This shouldn’t worry you. I don’t mind a few weeds in the garden; especially if they’re edible weeds such as dandelion or chickweed. They just go into the salad!
If you have a lot of tenacious weed pressure, the cardboard or newspaper layer is going to help a lot. And the other thing that will help is not tilling your soil.
Tilling just brings new weed seeds to the surface, where they quickly sprout and grow. But practicing no-dig, as Charles Dowding does, will help ensure that weed seeds remain firmly underground where they belong.

Watch your garden grow
And really, that’s about it! Gardening really isn’t all that difficult or expensive or mysterious. At least, it doesn’t have to be.
Permaculture advocates emulating natural systems when we build our gardens, and natural systems are simple systems. They can be intricate, but they are simple, and rely on simple concepts.
Check out other articles on this site to discover more ideas and tips for the beginner gardener, including what to do with your harvest.
If you read this article and still have questions about how to start a vegetable garden for beginners, please feel free to ask. It is my mission to help as many people as possible start their first gardens, and hopefully catch the gardening bug!
Please leave your comments or questions below, and I’ll get back to you as quick as I can.
Health, Hope & Happiness
Tracy
This article may contain affiliate links. If you click on a link and make a purchase, I will receive a small commission, at no extra cost to you. See the full Affiliate Disclosure here.
I want to thank you for sharing this post. I’ve found so many great ideas here that make me want a garden of my own. And perhaps I will plant one in the future. Your site has been amazingly helpful so far. I like the ideas you share so please, keep up the good work!
Thanks, Ivan. I’m glad that you find the information inspiring. I hope you get to grow your own garden someday. It’s a wonderful experience. Nothing better than going out to the garden and picking dinner!
This is such a great post. Thank you. It seems so straightforward. Just a couple of questions. Can you make a garden like this directly on a concrete floor or does the paper need to be laid over land? What do you mean exactly when you talk about flipping it, would that mean that the paper ends up on top? And you you say seaweed is good for the soil, is that any old seaweed or does it need some sort of treatment before you put it on the soil? Thanks for your time.
Hi Debbie
You can build a raised bed garden on concrete (at least 2 feet deep), but for this technique the paper and compost need to be laid over soil.
When I talk about flipping, I mean if something is growing where you want to put your garden (grass and weeds, for instance), use a shovel and take that top layer and flip it over so that the grass/weeds are down and their roots are up. Then put the wet paper/cardboard over that and top with compost.
Any seaweed that you gather from the beach is going to add many nutrients to your garden soil. I usually rinse it a bit, or leave it out in the rain, to get some of the salt off of it. Then I either put it in the compost, or lay it right on the garden.
I hope you stop by again; and please feel free to ask me anything. I’m here to help.
Cheers
Tracy
Thanks so much for your answers. Now I understand better I think I’ll give it a go. Cheers
Excellent! I hope you do. Come back any time with questions, and I’ll be happy to help.
This post is great! I love how simple and straight forward it is. This gives me a little confidence boost that maybe I don’t have a black thumb of death, maybe I can grow things!
You’re really great at writing about complicated things in an understandable way. I feel like when I try to learn about permaculture practices, it goes way over my newb head.
Hi Olivia
I’m so glad the article was helpful. I think it’s important information, so I’m happy that I can make it accessible.
I find many permaculture teachers use the permaculture ‘jargon’ a bit too much, and that can make it confusing for the new kids. 🙂 I hope the other articles are helpful to you. And please feel free to ask questions! I’ll answer as best I can.
Cheers
Tracy