Learning how to design a permaculture garden can be as simple or complex as you want, or need. In this article, I want to walk you through the basics of designing and building a quick permaculture garden, so you can get planting right away. Spring is just around the corner!
As you’ll see while you read this article, there is nothing terribly complex or difficult about this particular garden. It is a simple design, using free materials; and it’s quick to put together. You’ll be planting in no time.
Choosing a site
When choosing the site of your permaculture garden, keep these questions in mind:
- Where is the sun?
- Where is the water?
- What objects might shade the garden?
- Is it conveniently placed?
Where is the sun?
Obviously you’ll want your garden to get full sun, or as close to that ideal as possible. That is what we all strive for, but it’s not always 100% possible, and that’s okay.
If you have a shaded property like I do, you’ll just want to find the best place, which gets the most sun available on your property. You may need to get creative like we are, and use roofs and other places that get more sun.
If you live in an area that enables you to grow some plants in the winter, then you’ll also want to take note of the winter sun on your garden. That’s pretty simple in my case: there isn’t any. None. Zip. Zilch.
Hopefully you’ll have more sun shining on your chosen garden spot during the winter months, and can keep some things growing.
Where is the water?
This a two-fold answer. Firstly, where is the water that you are going to use to water your garden? You may need to run a hose from an outside tap. Or perhaps you are able to put a tap right near the garden. I’m lucky to have a tap right outside the garden gate!
The second part of the answer is concerned with where water (rain) flows when it falls on the property. Can you catch some of that rain water for the garden?
Using either water catchment systems attached to your gutters, or in-ground systems such as ponds, swales, or hugelkultur, you can catch and store water for future use in the garden.
Another aspect of water is the path it takes through your property. For example, if your garden is going to be built at the bottom of a hill, make sure that you know where the water flows when it rains; otherwise, your garden could get washed away.
In permaculture, we learn to catch and soak water into the soil. That is the best water tank there is. We do that using swales (ditches dug on contour), ponds and dams on the property.
Because we are just building a small home garden right now, we’ll just stick to the basics. But for larger gardens, we’ll want to figure out how to catch and store all the rain that falls on your property, so that it’s available to your plants during the dryer season.
What objects might shade the garden?
Another aspect you want to look at is whether there are any large structures or trees that will drop their shade on the garden. It may come from a neighbor’s yard, so there isn’t anything you can do about it.
The property I live on is surrounded by trees. Very tall trees. And there is a hill, directly to the south. So yeah, lots of shade here. And there’s not much I can do about it. Rich did top some of his trees for the garden, and that helped; but it would be rude to do that to the neighbor’s trees . . . wouldn’t it?
If you find that there are objects that shade part of your chosen garden area, don’t worry. There are lots of garden plants that love the coolness of a shady area. You can take advantage of that area by planting things like mustard greens, lettuce, and radishes.
Is it conveniently placed?
What I mean by this is, is it in a place that is easy to get to? If a garden is hard to access, or just a little too far away for convenience, your garden will suffer. Poor thing.
In permaculture, we talk about Zones (more on this in future posts). Zone 1 is your yard and surrounding areas that you visit the most. Your garden should be in your Zone 1; somewhere easily accessed, and not tucked away in the back corner somewhere.
Maybe you even walk past it while going to and from work each day, so you’re always reminded that fresh veggies are just a step away, and you don’t have to go to the store.
A garden should be visited at least once a day; even if you only stroll through it, pulling a few weeds or harvesting a basket of goodies for dinner. I love evenings in the garden. It’s probably my favorite part of summer.
Okay, now you know where you’re going to start building your garden. Awesomeness. Getting excited yet? I hope so.
Next, we’ll gather together a few materials, and get started building your permaculture garden.
Materials
Depending on how you plan to build your vegetable garden, you might not need too much to get started. The simplest and quickest way is to lay out wet cardboard (or thick layers of wet newspaper) over the grass, then completely cover that with 4 to 6 inches of compost. Then plant into that. Voila! A garden, right there in your yard.
But if you don’t have heaps of compost just lying around waiting for you to put it on the garden, there are other ways to go about this.
I’m a great believer in gathering and scavenging. Everything we used to build the garden here was found by scouting around the country side, and finding little treasure troves.
There is stuff we can use that is literally just lying around everywhere. Anything organic is going to be great to use – but make sure it doesn’t have any ‘cides (pesticides, herbicides, etc.) of any kind on it!
We divide all of this organic matter into two categories:
Greens, which are higher in nitrogen:
- Grass clippings
- Weeds
- Kitchen scraps
- Manure (we go out into the country side and gather deer and elk poop. Really. We do.)
Browns, which are higher in carbon:
- Leaves
- Straw
- Hay
- Wood chips
So let’s pretend that you now have piles of these organic goodies, and you’re champing at the bit to get started.
How to build a quick vegetable garden
There are a few ways you can proceed. You can layer the green and brown materials into what is referred to as a Lasagna-style garden bed – similar to how you layer greens and browns in a compost pile. About equal amounts of each, layer after layer.
But this kind of bed sometimes needs to sit for a while before it’s ready to be planted into, especially if the manure is fresh. And we want our garden NOW! But if you’re not using hot, fresh manure, you might be okay.
Here’s another way to go about it. Let’s pretend we’re just making one bed to start. Mark out where you want to put your garden bed, with string or sticks or whatever you have at hand.
A good width for a garden bed is whatever you can reach to the middle of easily. Four feet should do it. And you can make it any length your little heart desires.
Now, you’re going to take the ‘green’ material you have – grass clippings, veggies scraps, manure, whatever you have – and spread it out fairly evenly over the area where the new garden bed is going to be. Then you’re going to cover it with your wet cardboard or newspaper.
Make sure your paper is good and wet – soak it in a bathtub or wheelbarrow – and then completely cover the greens you’ve spread out. Make sure to overlap the paper, so sneaky weeds don’t poke through. Got it all covered? Good
Now you can put some browns on top of the paper layer. Straw or mulched leaves work well. Wood chips are okay, as long as they are aged.
If the wood chips are fairly fresh, I’d probably save them for mulching paths. But if they are pretty decayed and smelling like compost, they would work for this layer. And you can mix them up together with the leaves and straw, too; or just use whichever you have.
Make this layer nice and thick. This is going to hold little pockets of soil or compost into which you’ll plant your transplants or seeds. So be generous.
Now that you have built your garden bed, let’s look at getting some plants in there.
How to plant your new garden bed
Oh, the joy of planting a garden. I get seriously giddy this time of year, waiting to put those first seeds into soil. What a geek.
Okay, so you now have a garden. It’s just waiting for you to plant something in it. But where to start? What to plant where? So many questions still unanswered!
It’s gonna be okay. You got this.
The first question you’ll ask yourself is, “What do I like to eat?” That might seem like a no-brainer, but we gotta start somewhere. Plus, you might think you can grow everything you like to eat right in your garden. But, no. You probably can’t.
So start with the basics. If I had to pick only 5 vegetables to grow in my garden, they would be:
- Zucchini
- Carrots
- Kale
- Peas
- Black beans
So you need to first think about your favorite vegetables; and then find out if they grow where you live. The 5 vegetables I picked for my garden should grow just about anywhere. And there are many more!
Once you have decided on the vegetables you’d like to plant, I suggest you also pick a few herbs, and some flowers. Herbs and flowers are not only aesthetically pleasing, but can be very helpful in the garden by attracting beneficial insects and pollinators. They also help to confuse the nasty insects if planted in and amongst your veggies.
What to plant where
Figuring out what to plant where can cause a bit of stress for some people – especially if they have been researching online and reading about companion planting, and the possibility of some plants being bad if planted next to other plants.
But don’t worry about all that too much. While there is probably some form of truth in some of those companion planting charts, in general, I don’t really worry about it. If there is a slight difference in production or vitality, you probably won’t even notice. I believe that growing healthy plants is the most important thing.
When planning what to plant where in your vegetable garden, you have 3 choices (at least, I’m giving you 3 choices):
- You can make nice straight rows, with a single crop in each row. Very proper.
- You can grow a pure polyculture, where all the plants are jumbled up together and happily grow into a productive jungle.
- You can do something somewhere between these two extremes. That’s the choice I generally make.
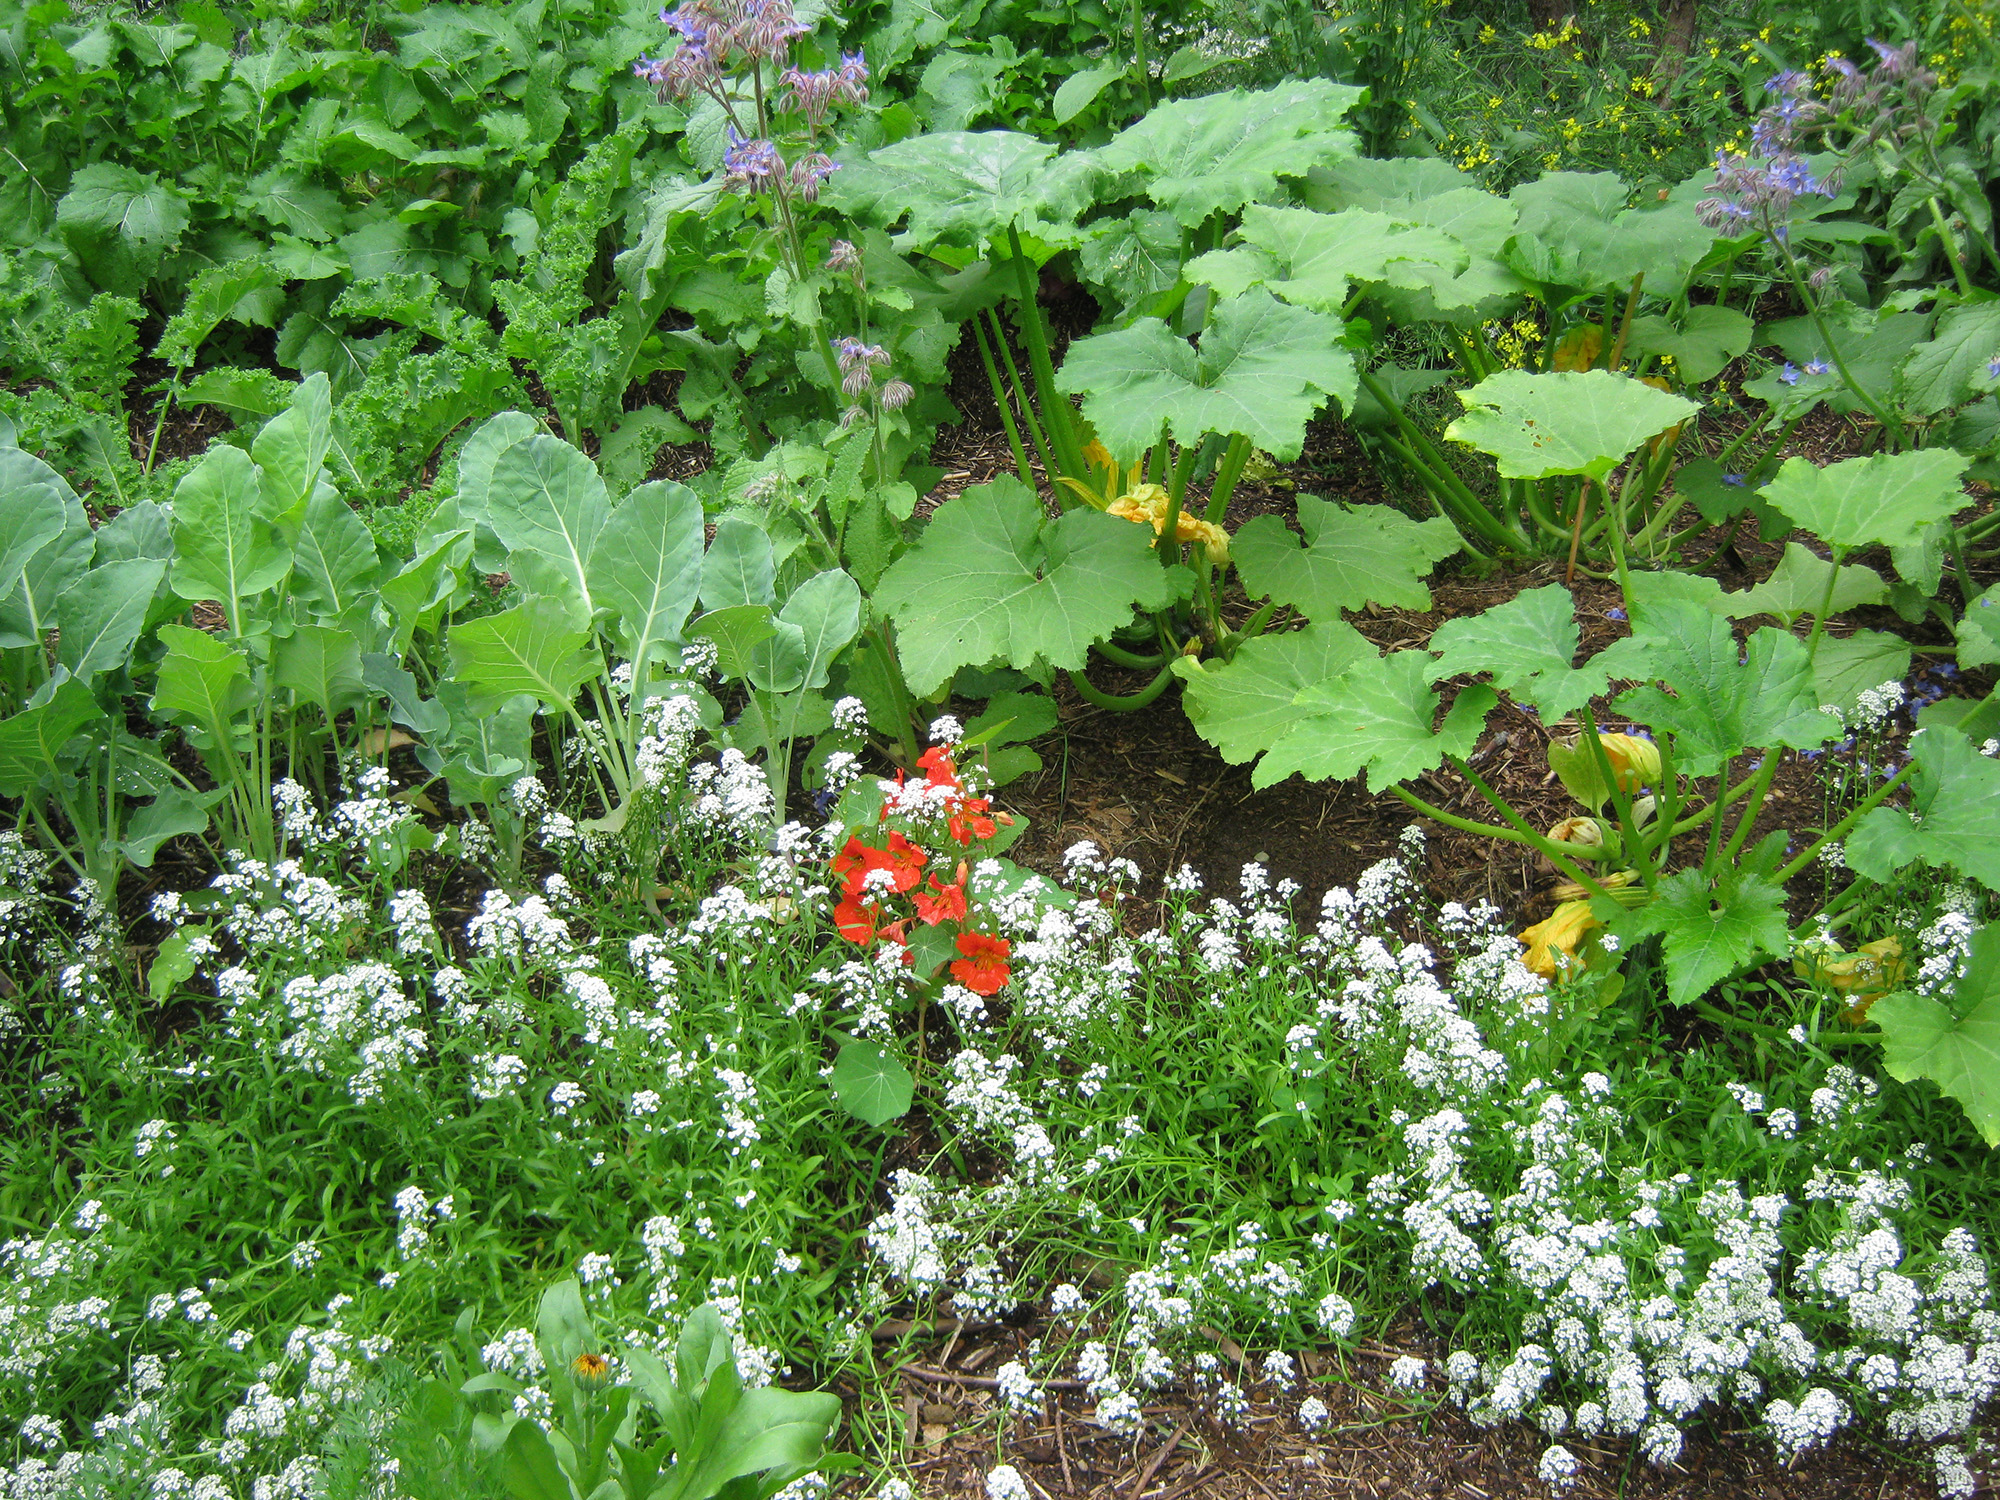
I love the look of a garden that is all mixed together, with nasturtiums growing around the broccoli, borage standing guard in the lettuce patch, and calendula presiding over the kale. Beautiful. And the diversity helps your garden grow healthier plants.
However you arrange your plants – whether in a jumble or in drill-perfect rows – here are a few suggestions that will help.
- Shortest plants at the front, facing the sun.
- Tall things at the back – except in the case of shade-loving plants (such as lettuces), which can grow behind the tallest plants. Read your seed packets or seed catalog, and make sure you know how tall things are going to be when full-grown.
- Herbs and flowers are generally best along the edges – cilantro and chervil at the back of the garden, enjoying the cool shade of taller plants; and basil and other sun lovers on the sun side. Perennial herbs are best planted at the ends.
Other than that, it’s pretty straight forward! You can buy transplants or grow them yourself. Or you can grow everything from seed planted directly in the garden.
If you have a long growing season, direct seeding is awesome. If you have a short growing season, maybe try transplants, at least for some things that need a head start such as tomatoes and peppers.
Planting your vegetable garden
So, here’s how to plant your new garden. Wherever you are going to plant a transplant, make a little nest in the brown material layer you’ve just laid down. Now you can put a bit of soil or compost into the nest and plant your transplant. Tuck it down into the mulch layer, so it will be warm and protected.
You can give the paper layer a bit of a poke, in case the plants roots want to dip down through that layer of juicy bits into the soil layer below. It won’t take long before worms are all over that green layer beneath the paper, turning it into amazing worm castings.
If you’re direct seeding, you’ll just make a little trench in the brown layer, fill it with soil or compost, and plant your seeds in that.
It really is that easy. You can throw together a garden in a matter of days, with very little money spent. I suppose it would be a bit harder in big cities, to find all of that organic matter.
But there is always a way. Ask neighbor’s if they can save their grass trimmings and kitchen scraps for you. Get throwaways from grocery stores and restaurants. Ask the tree guys for their chips. Use your imagination!
What makes it a permaculture garden?
So what is it that will make this a permaculture vegetable garden? Isn’t this just a vegetable garden?
Well, yes, it is. It’s a vegetable garden. It’s an organic garden. It’s whatever you’d like to call it. What will make it a permaculture garden is how you take care of it moving forward.
In a permaculture garden:
- we don’t use synthetic fertilizers, or any kind of ‘cide (pesticide, herbicide, etc.)
- we feed the soil, so the soil can feed the plants.
- we don’t freak out about weeds. Weeds are extremely helpful, often edible, and sometimes medicinal; and they add to the diversity of the garden. We don’t let them take over, but we eat the edible ones, and compost the non-edible ones.
- we don’t keep the garden freakishly tidy. Many beneficial insects live and overwinter in garden debris.
- we plant berry bushes and shrubs in and around the garden.
- we grow trees in or near the garden.
- we harvest rainwater where possible to water the garden.
- we plant things that attract beneficial insects, instead of spraying poisons around the garden.
- we make a LOT of compost.
- we work toward following the 12 Principles of Permaculture
- we do this and much more.
Permaculture gardening requires a mindset: We want to eat the healthiest food, so we do the things that will ensure that the food we grow is grown in the healthiest soil possible. Healthy soil equals healthy plants. Period.
Now you’re ready to build your permaculture vegetable garden!
This is just one technique for building a permaculture garden. But it’s so beautifully quick and easy, I had to share. If you’re new to gardening, having a quick success can often lead to more successes. So please, if you try this method of building a garden, let me know in the comments how it worked for you, or if you have any questions.
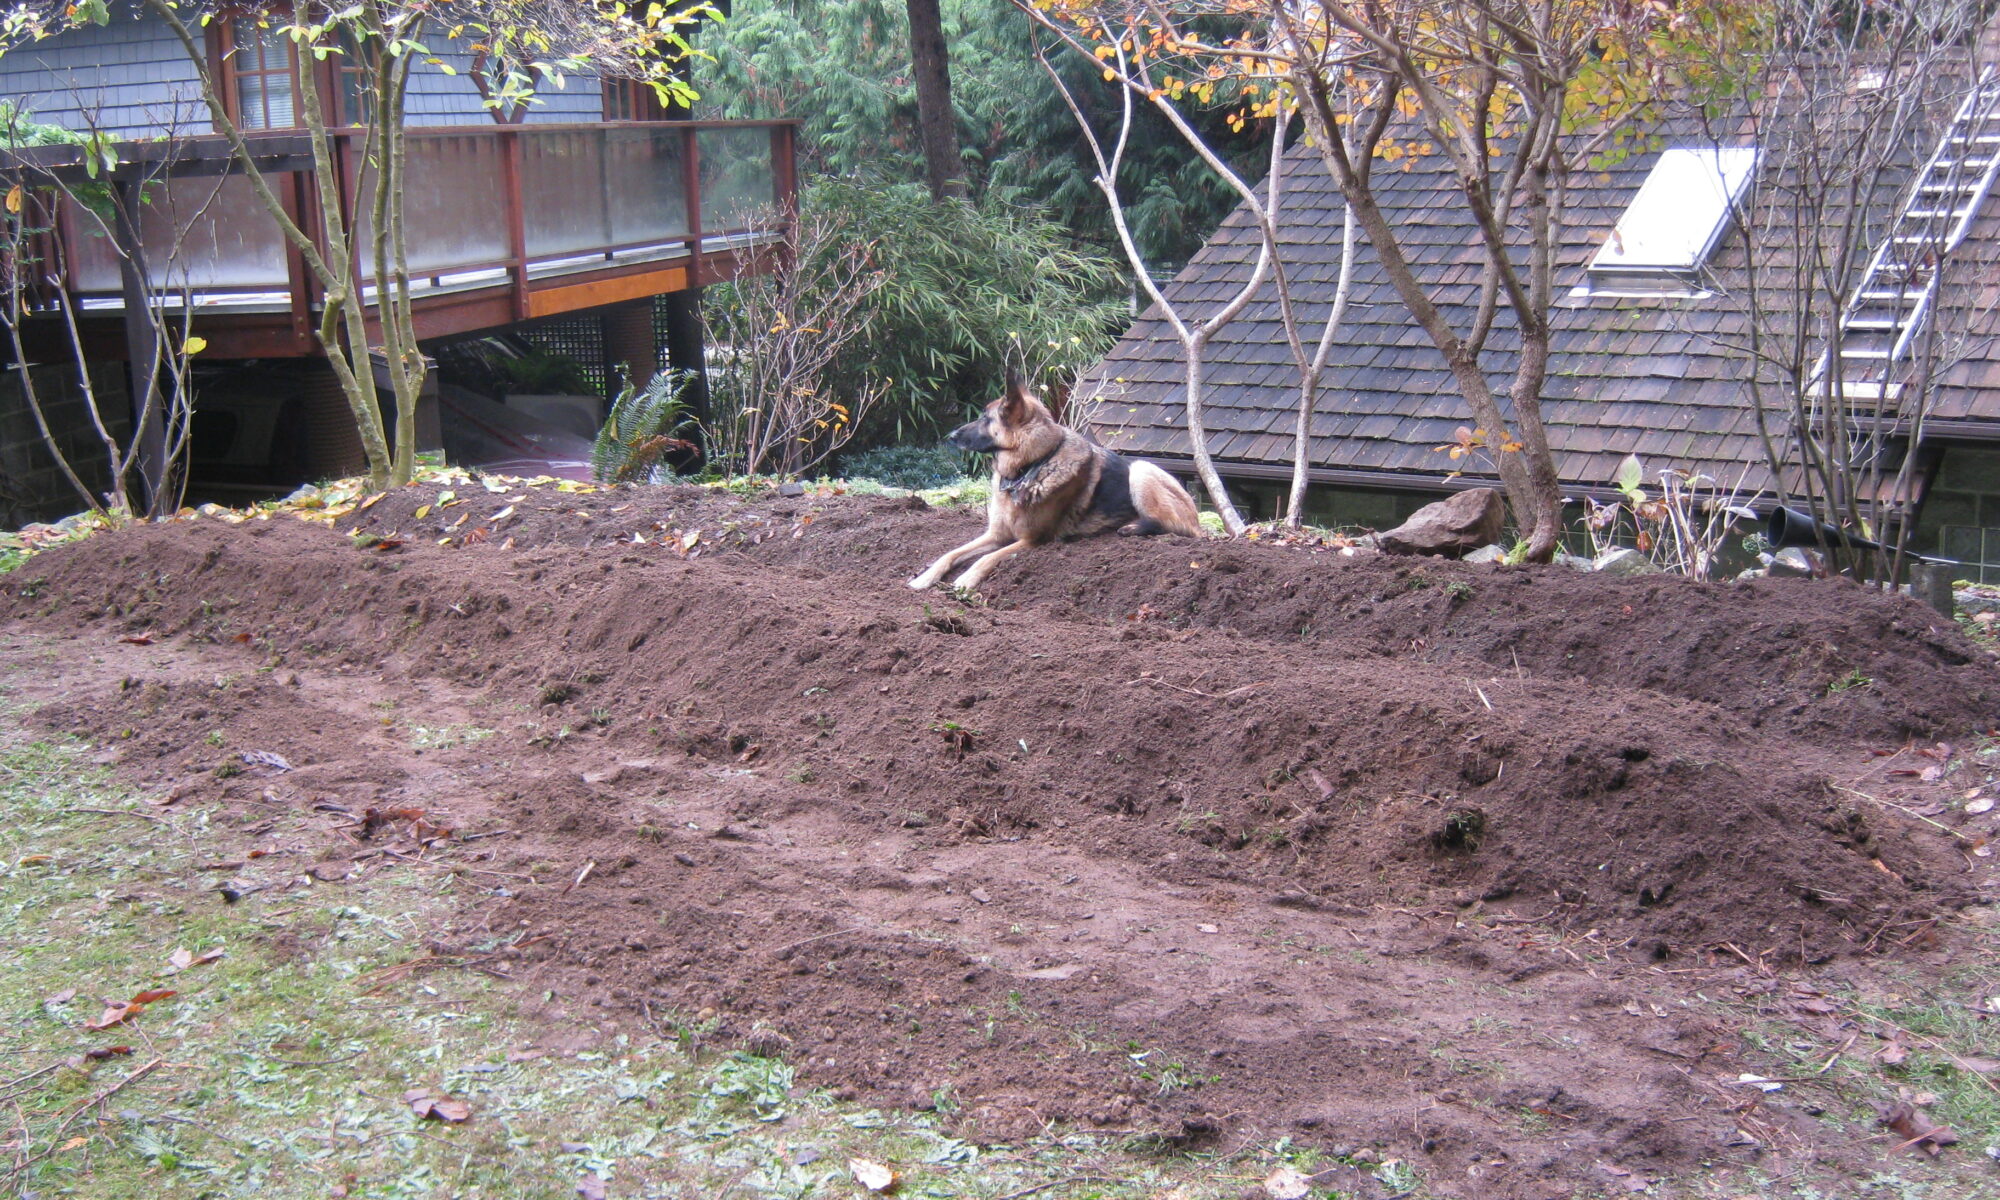
You can see how I built my garden in this article. In future articles I will explain how to design a permaculture garden using different techniques and strategies, so you can suit the technique to your growing conditions.
I’ll be writing more about composting and feeding the soil in future articles. In the meantime, take a look at the other articles on this site to get a feel for what permaculture is, and how easy it can be to start applying some of its principles and techniques in your life. Even in a small way.
Every little step counts.
Health, Hope & Happiness
Tracy
Wow, you definitely have some great experience with planting! Those are great tips for planting a garden. I’d never considered putting shorter plants in front, for example.
I grew up with my mom planting a garden every year, we had lots of fresh produce! I do have a garden spot at my house now, but I haven’t had a lot of success with growing things (my own lack of a ‘green thumb’ I suppose).
The information you have provided is very helpful and makes me feel like maybe I could just do it. Thank you!
Thanks, Heidi. I’m glad you found it useful.
And you really must try gardening. Growing your own food is so satisfying. And in this world, it’s almost a necessity. Even just a small garden can provide a lot of food. I’ll be doing an article about how much food you can grow in a small garden soon. I hope you’ll watch for it.
Cheers
Tracy
I’ll definitely have to watch for that article! I have had a minimal amount grow before, but I do love having fresh produce on hand.
Hi! I love this article! When I lived in a home with a big yard, I planted the most beautiful vegetable garden! It was therapeutic working with the plants and there is nothing better than reaping the rewards of your hard work. It was my happy place. I now live in a home with no room for gardening and it is the one thing I truly miss about that life. Anyway, I had no idea what the term permaculture meant until now! I love it. I love the idea of sustainable living. This makes we want to try it at my current place.
Thank you, Virginia
Yes, it’s hard to go from having a garden to not having a garden. Some withdrawal definitely happens!
I hope the articles on this site give you some ideas for your sustainable life. I’ll be doing an article on container gardening soon. Watch for it!
Thanks so much for dropping by.
Tracy
Absolutely amazing, you provide so much content and information for those who are interested in starting a permaculture garden. I also like how you differentiated between a typical and a permaculture garden, as I was unaware. The less ‘cides, the better! Thank you so much for sharing your knowledge, keep up the great work!
Thanks, Dereck!
Permaculture is a passion, and we just have to share our passions, don’t we? I hope to help people find a way to practice permaculture in their lives, even in a small way. Hope you get a chance to read the rest of the articles; and share them with your friends and family.
Thank you for the kind comment.
Tracy
Wow, you’ve really laid out these steps clearly to follow. I’m finding that as I’m getting older I’m really starting to enjoy gardening, it’s so relaxing. We just moved into our new home this past fall and will be doing some gardening this year I’ll be definitely popping back to the site for some tips. Thanks for all the information.
I’m so glad you got a lot out of it!
Yes, gardening is very relaxing and rejuvenating. And very healthy for us.
If you have any questions in the future, please do ask, and I’ll do what I can to get you the answers.
Thanks for dropping by.
Tracy
Excellent article! We have very similar ideals when it comes to gardening. We do not use any chemicals as well. All natural materials for us. We also “plant” earthworms in our soil as well. It’s a natural, easy way to improve your soil. Also, I have used newspapers instead of cardboard for sheet mulching and that works well too. They use soy ink, so it is perfectly safe. Great read and happy gardening!
Thanks, Jim
Yes, I think most people are starting to get onboard with the natural way of gardening. Although I’m always shocked to see how many people still use chemicals.
Earthworms! Love them. I just turned a bunch of compost, and the worms have made it into a luxury worm hotel. Very nice to see.
Have a great gardening season, and thanks for stopping in.
Tracy
Great ideas