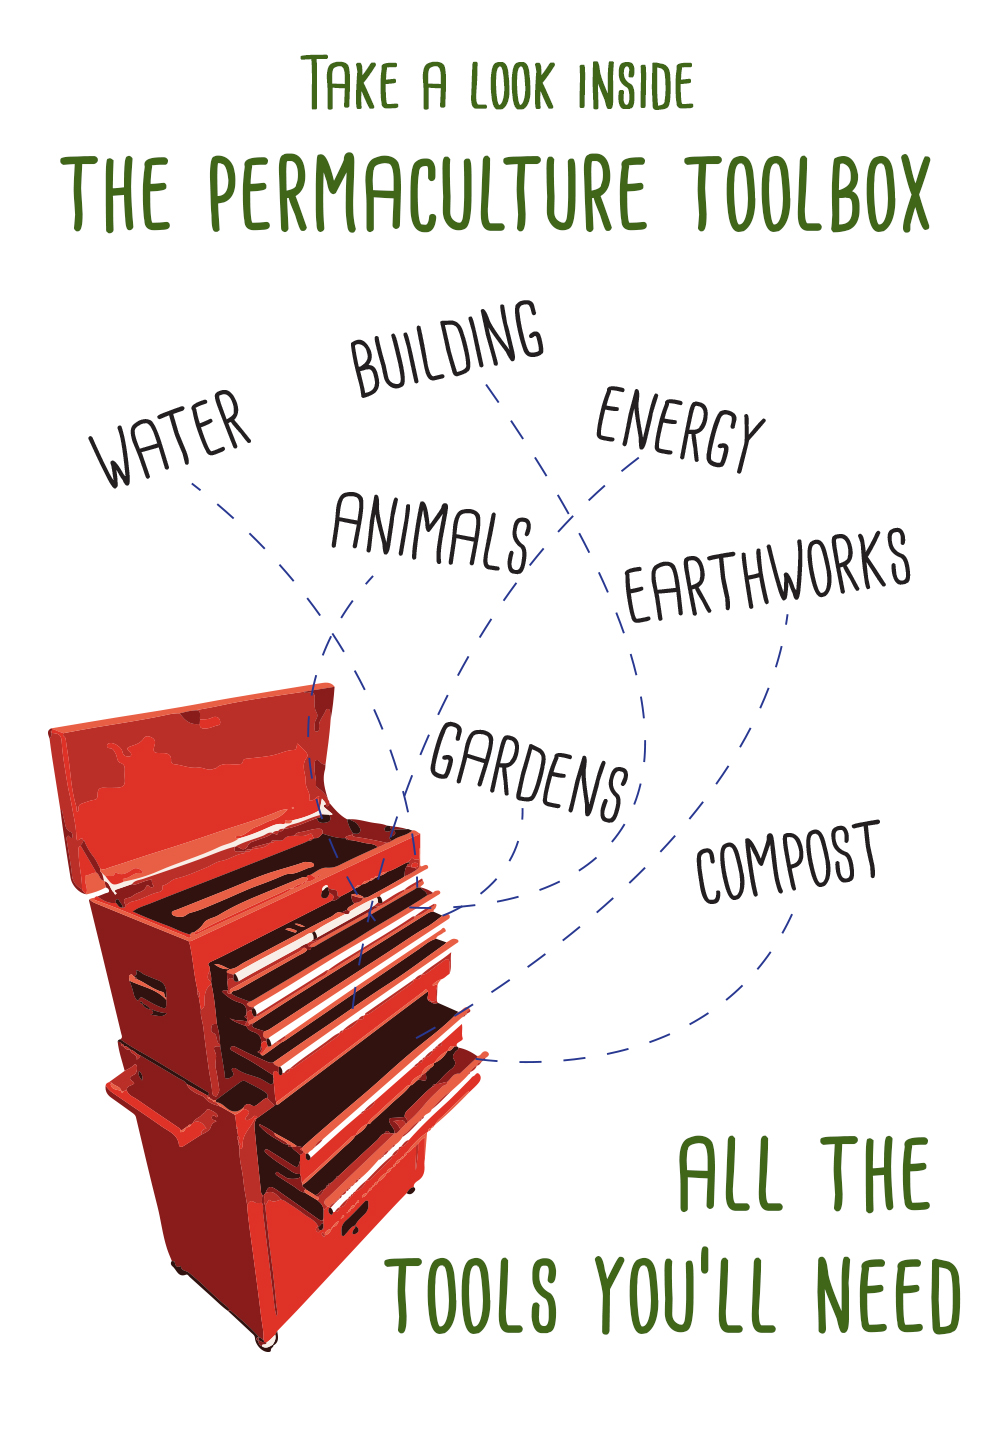
Permaculture is like a vast tool box. The biggest tool box you can imagine. And within that tool box are many drawers, filled with many tools.
Each of the drawers of the permaculture tool box is a concept, and within that drawer are all the different techniques and strategies that someone can use to express and implement that concept.
For instance, compost toilets is a concept. Within the tool box drawer labeled ‘compost toilets’ are all the ‘tools’, such as:
- the different kinds of compost toilets
- different ways to set them up
- materials needed
- how to manage the contents
- how long to compost the contents
- etc.
There might be another drawer labeled ‘gardens’. Within that drawer are many other drawers, that might be labeled:
- raised bed gardens
- hugelkultur
- compost
- weeds
- vegetables
- smart gardens
- etc.
Within each of those drawers will be the tools, techniques, and strategies you will need to learn to create your garden of choice.
That is how I envision permaculture. LOTS of drawers. In this article I’m going to pull open a few of those drawers and show you some of the contents, so you can see how useful they can be in your journey to sustainability, homesteading, farming, or wherever you are headed.
Swales
Two things you will hear a lot of when you start reading or watching videos about permaculture is ’swales’ and ‘on contour’.
Swales are like wide ditches, used to stop and soak water that flows across a landscape.
On contour means along the contour lines of a landscape. Anything that is made on contour will be level. That’s an important distinction, and we’ll see why in a bit.
The purpose of a swale is most often to slow water that flows across a landscape, and soak it into the ground. The soil is the best storage tank we can utilize.
Swales are always dug on contour. There are important reasons for this. In order to do their job – stop and soak water – they must be dug on contour, and with level bottoms.
If done properly, a well constructed swale will slow water and soak it into the ground evenly. If the swale is on contour, water finds its level, and spreads out along the swale.
If it isn’t on contour, or the bottom isn’t level, the water will puddle up in one area. Because the purpose of the swale is to slow water and soak it into the soil, it is important to get these things right. We want the water spread out and soaking in across the landscape, not just in one place.
Swales can be many sizes. You can dig small swales in your yard or home garden to stop and soak water; or you can dig massive swales, like the ones created in the 1930s in the Tucson Desert, to capture rain and stop erosion. (Awesome video.)
The size (holding capacity) of a swale is generally matched to the rainfall of an area. If you normally get heavy rains during the rainy season, you will want your swales to be big enough to catch as much of it as possible.
You will also need to figure out how far apart your swales should be. There is actually a calculator designed for this very purpose. Check it out here.
Geoff Lawton talks a lot about the use of swales, and how they can help to rehabilitate arid lands. His Greening the Desert videos are impressive and inspiring projects, and they are built on the power of swales. Take a look at his channel.
I recently wrote an article about swales, going a little more into how they are built, and the best way to use them.
But swales aren’t the only things that should be built on contour. Garden beds should be built on contour if possible. Sometimes it’s not possible – as in my situation – but in general, building your garden on contour will enable it to capture and store water in the soil beneath the garden. And that’s what ya want.
Accesses such as paths and roads should also be built on contour – or along ridge lines. They will be much easier to maintain; much less susceptible to erosion; and much easier to walk on, for humans and animals.
Chop & Drop
This is another phrase you’ll hear a lot in your permaculture garden travels. Chop & drop is an extremely simple concept; but in our ultra tidy world, it is looked upon in some circles as just laziness or sloppiness.
In fact, chop & drop is one of the best ways to mulch your plants, cycle nutrients back into the soil, and provide habitat and food for overwintering beneficial insects, bacteria, and fungi.
And it’s so easy! Just grab the plant you want to use for mulch, chop it off, chop it up if you want to, and drop it on the area of the garden you want to beef up with some organic matter, or add some mulch to.
In a food forest, legume trees are planted to be used for this very purpose. Legume trees bring needed nitrogen down into their roots, and then release it into the soil when they are pruned, coppiced or cut down, just like pea and bean plants do.
There are lots of great plants that you can grow to be purposely used as chop & drop in your food forest or garden. The most famous of these is comfrey.
Comfrey is a plant which is purported to be an excellent nutrient accumulator, good food for the soil, and it grows quickly, so you will get a lot of organic matter from it over the growing season. It is also an excellent compost accelerator, meaning it kickstarts the composting process.
Legumes are also famous for being excellent chop & drop plants, bring much needed nitrogen down into the soil. Chop & drop is just one of many simple, effective methods of building healthy soil.
Food forests
Ah, the food forest. The holy grail of the permaculture paradise quest. I’m still on that quest myself, but have been studying them intently so I’ll be ready to get to work when I get land of my own.
A food forest (or forest garden, as they are sometimes called) is pretty much just what it sounds like. It’s a forest, with tall trees and short trees, bushes and herbaceous plants, ground cover, vining plants, and root crops.
The difference between a permaculture food forest and a regular forest is that in our food forest we can decide what we want to grow.
Fruit trees, nut trees, berry bushes, herbs, grapes and kiwis, and all manner of perennial plants can be chosen according to whether we like them or not, if they are useful for building or crafting, and for what they can bring to the system.
We want the food forest to be predominately perennial. We can have annuals as well (self-seeding annuals are best), but the main growing system will be perennial.
Perennials are so much easier to maintain: we don’t have to start transplants and replant every year; we will get bigger and bigger yields year after year, in most cases; and we can walk away from it for a few months in the summer, and it will still be there when we get back. An annual garden? Not so much.
Planting a food forest isn’t really that difficult, but like anything amazing, it takes time to establish. So the first thing I will be doing when I get land of my own – after I establish water, access and main building sites – will be to plant trees. Lots of trees.
I’ll plant legumes and other helpful plants to feed the soil as chop & drop. Then I’ll plant all kinds of wonderful things to eat. I think a food forest as a long term system is just brilliant. You could grow just about everything your body needs in a food forest.
And if you want, you can run chickens or ducks in your food forest, once it’s matured enough. They will fertilize it with their manure, eat lots of pests, and lay eggs for us. Ya can’t lose!
Toby Hemenway’s book, Gaia’s Garden, takes you on the wondrous journey of building your very own food forest in your own back yard. I highly recommend this book if you are interested in implementing permaculture growing systems in a small space.
Start filling your permaculture tool box
I hope this little glimpse into the permaculture tool box has given you a nice taste of what studying permaculture has in store for you. There are so many things to learn, and so many ways to approach the different concepts, that I think one could study forever and still not learn everything.
The place to start is in your own yard. Get some garden systems going, and learn about what you can do close to home. That will get your feet wet. You can even build a little food forest in your yard – that’s what the above mentioned book, Gaia’s Garden, is all about.
If you’re looking for a book that really delves deep into permaculture, and if you’ve got a chunk of cash to spare, consider buying Permaculture: A Designer’s Manual, by Bill Mollison, one of the founding fathers of permaculture (David Holmgren is the other).
It’s a massive read, but it is jam packed with excellent information, if you’re interested in all aspects of permaculture. This is what a Permaculture Design Certificate course is based on. Let me know if you decide to pick one up. I’d be interested to know what you think.
As always, if you have any questions about anything you’ve read here today, please don’t hesitate to ask. If I don’t know the answer, I’ll find it. Keep the discussion going.
Once again, thank you for stopping by, and I hope you enjoyed your stay. Please share these articles with someone you think might be interested in them.
Health, Hope & Happiness
Tracy